
The Quiver Jacket
The Quiver Jacket was a project born out of curiosity.
I’m fascinated by tailoring; by exquisitely crafted jackets, fit by hand and sewn together meticulously, sculpted through canvas and padding and steam. Out of all aspects of contemporary sewing, tailoring (at least to me) still seems the most mysterious, the most otherworldly, the most secretive— something that reaches back into a different time, to a more careful relationship between maker and garment.
Not to say that sewing itself isn’t a highly skilled craft. But the process of creating a hand-tailored jacket from start to finish requires a thorough knowledge of sewing while also relying on a host of other skills and senses. I wanted to understand the process more thoroughly, from the inside, by starting with nothing more than a measuring tape.
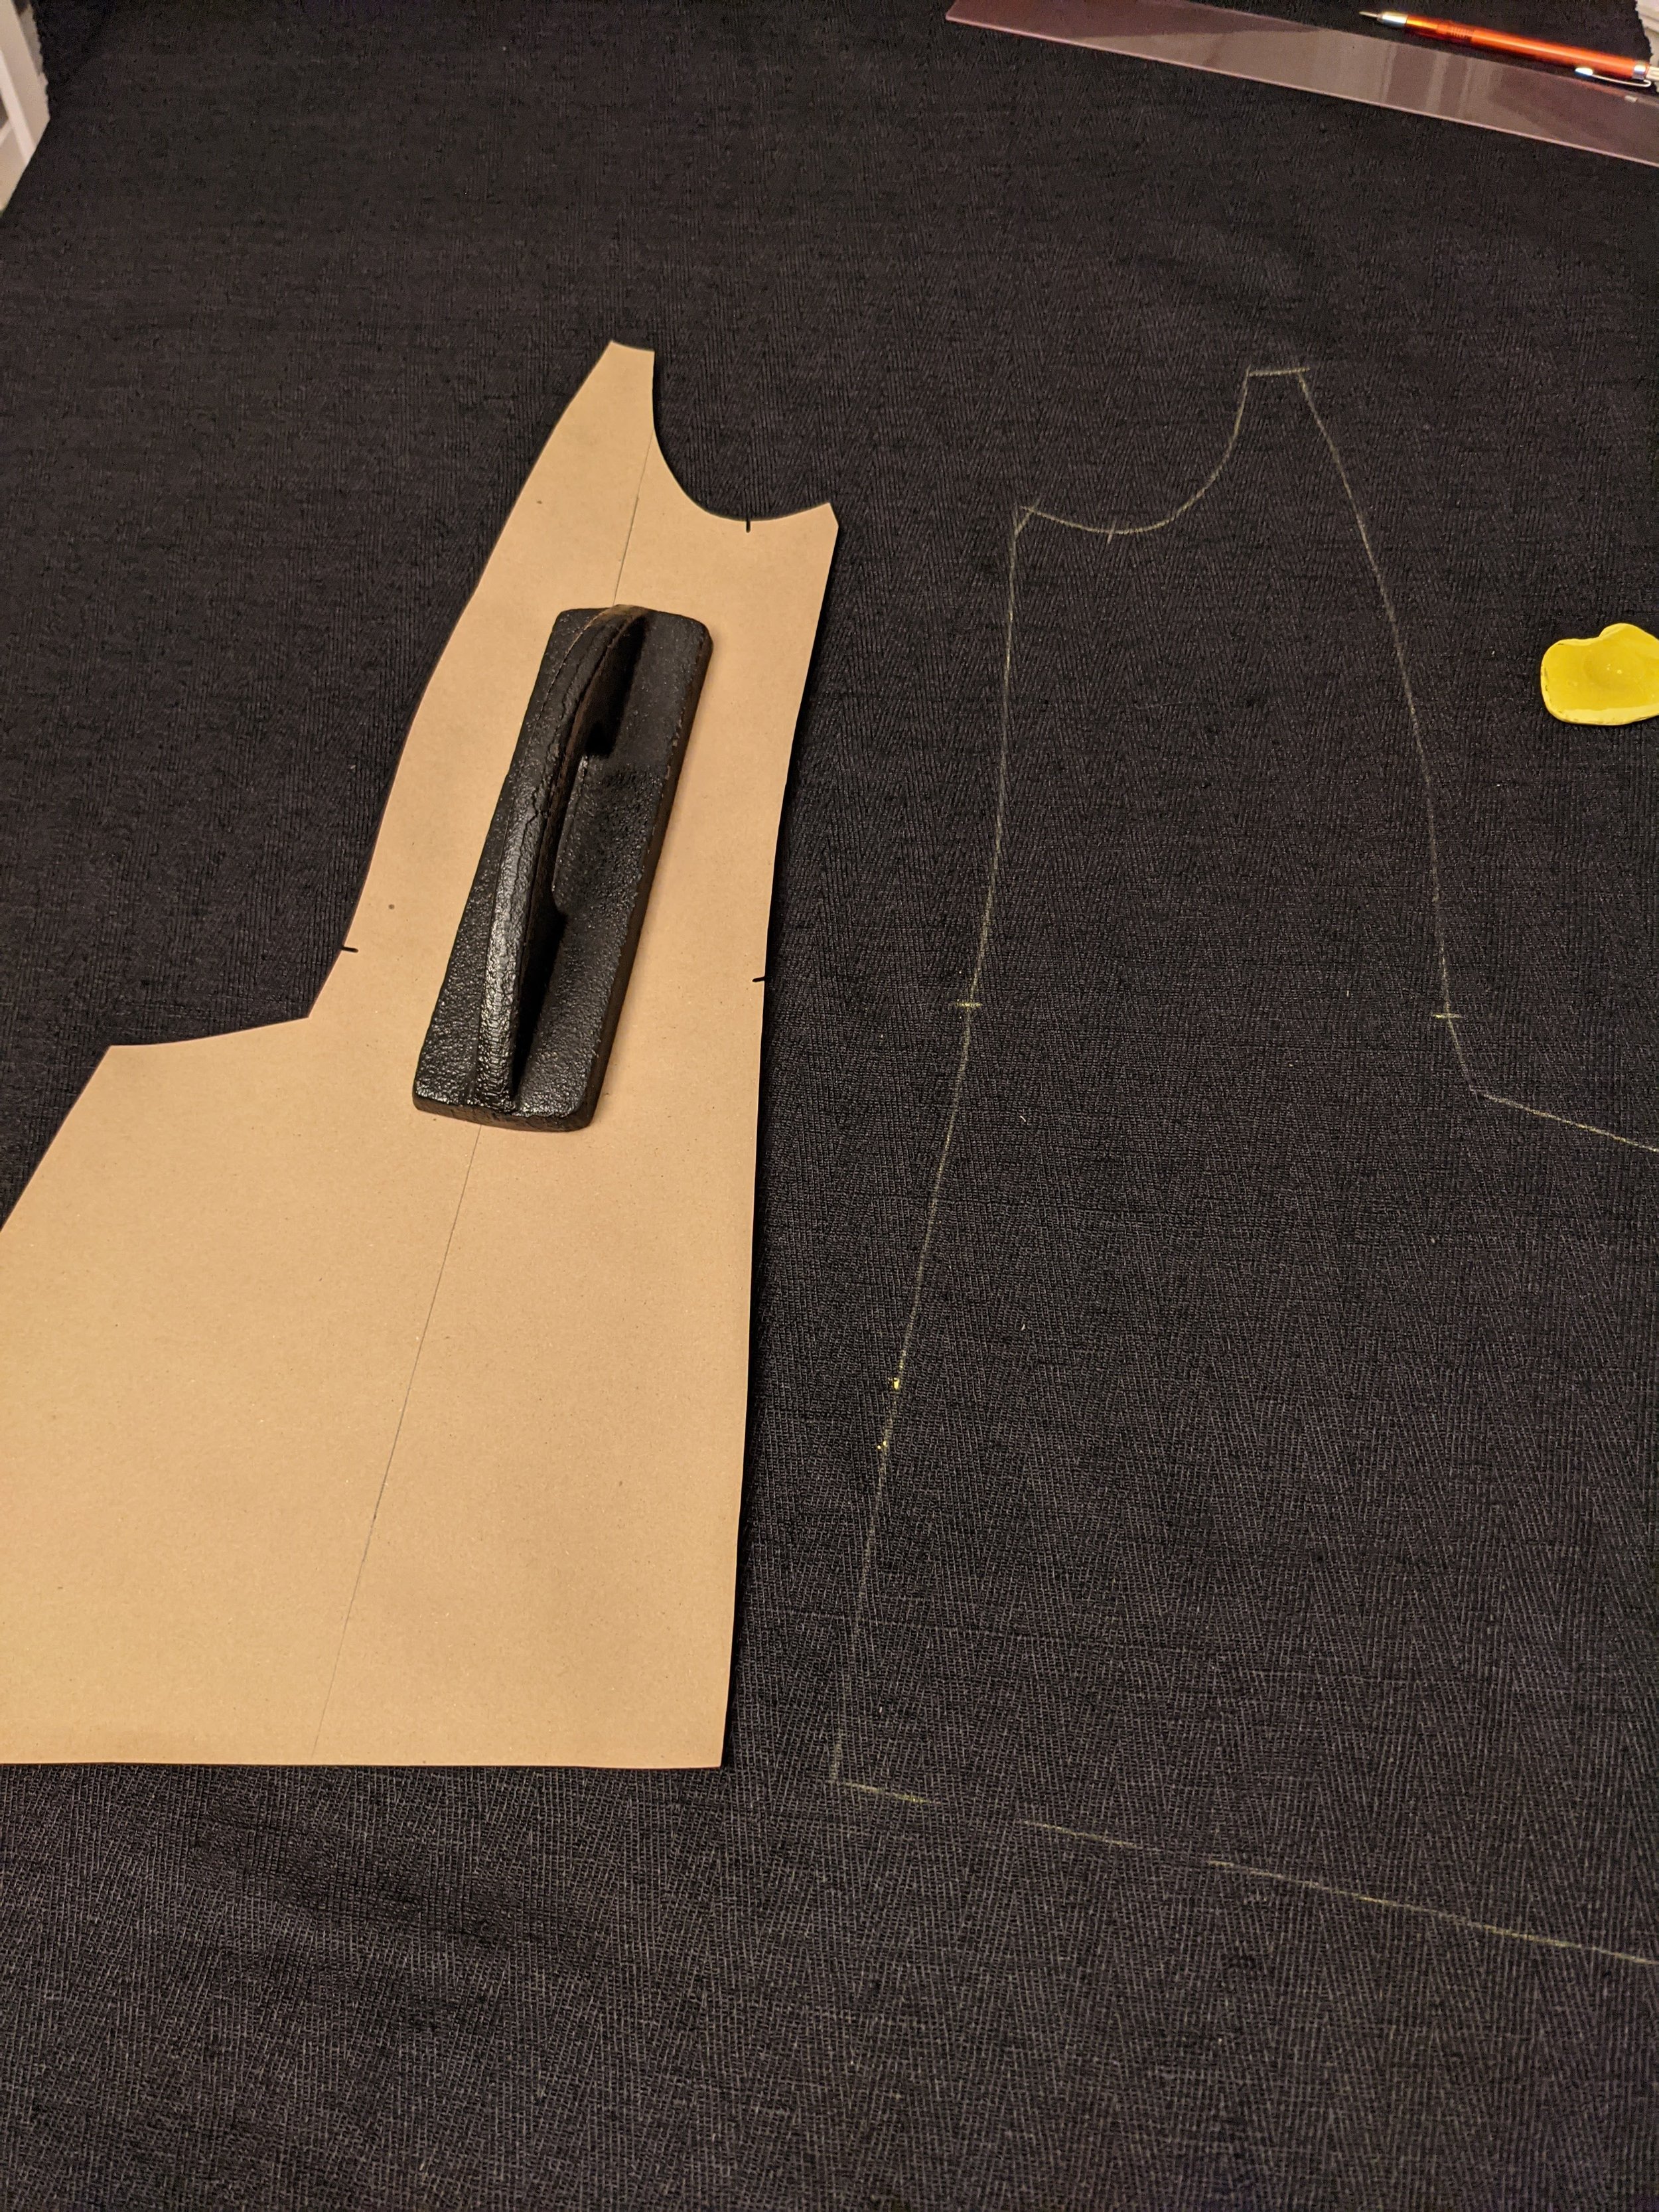
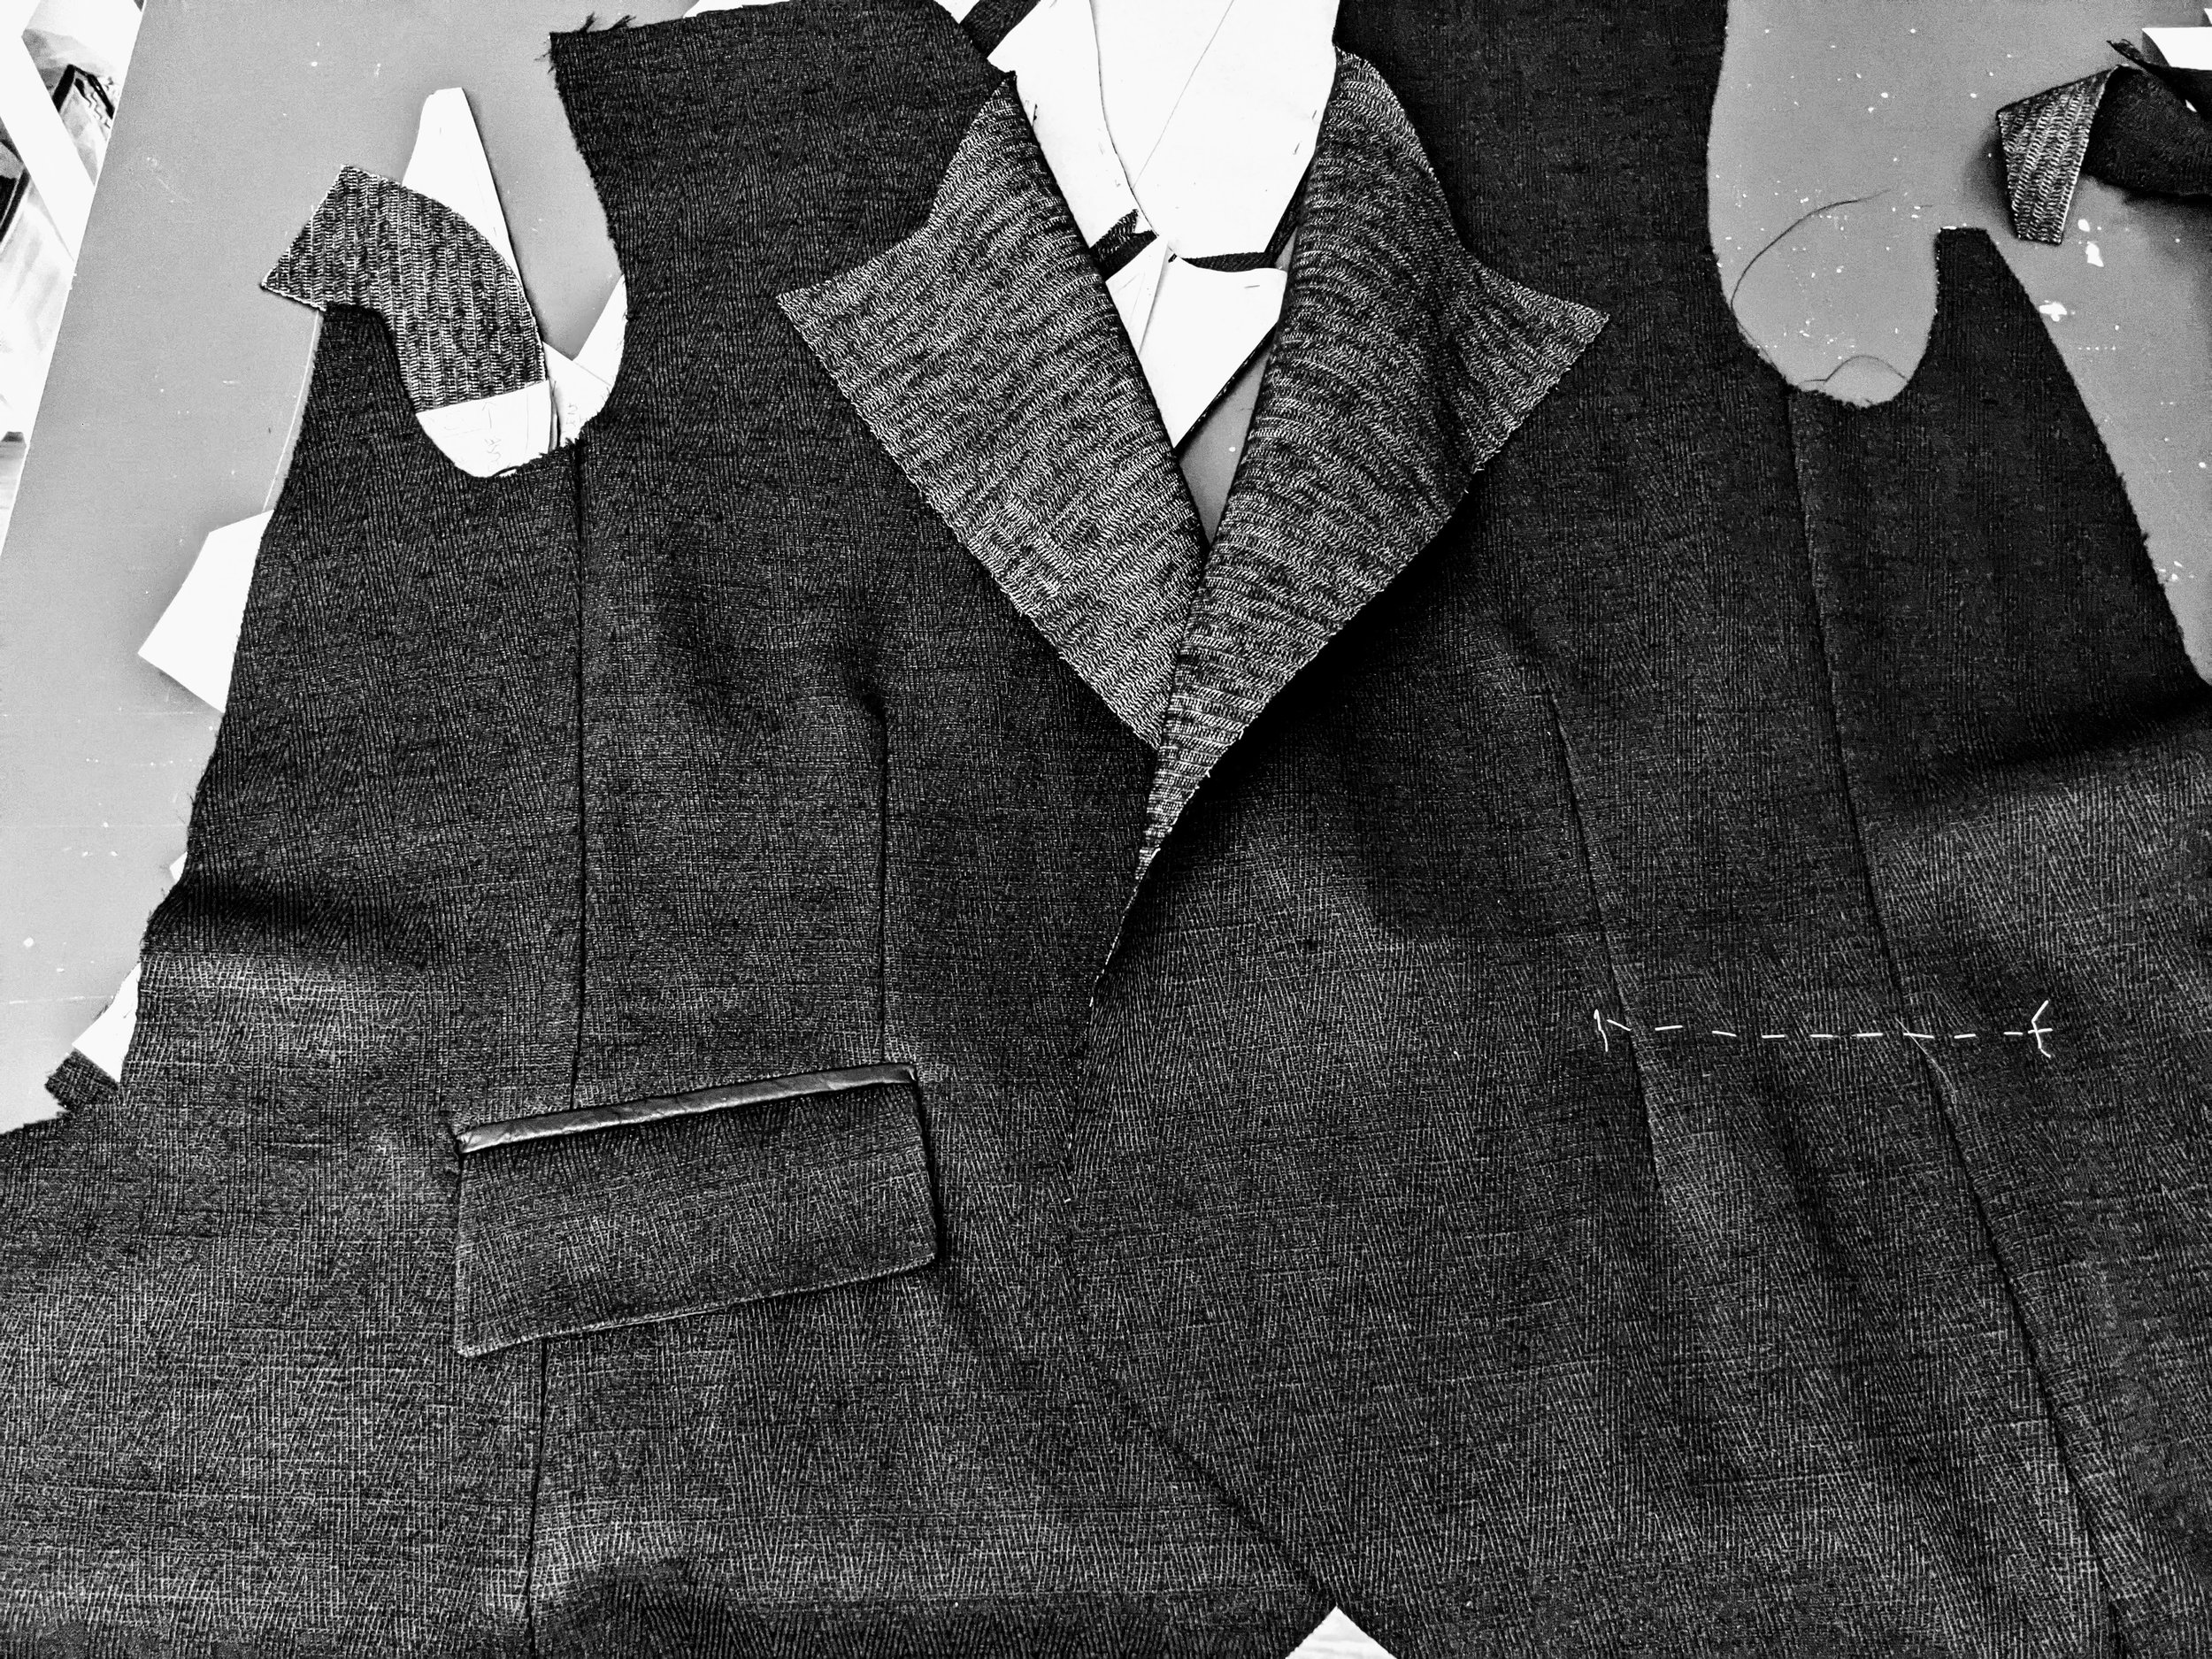
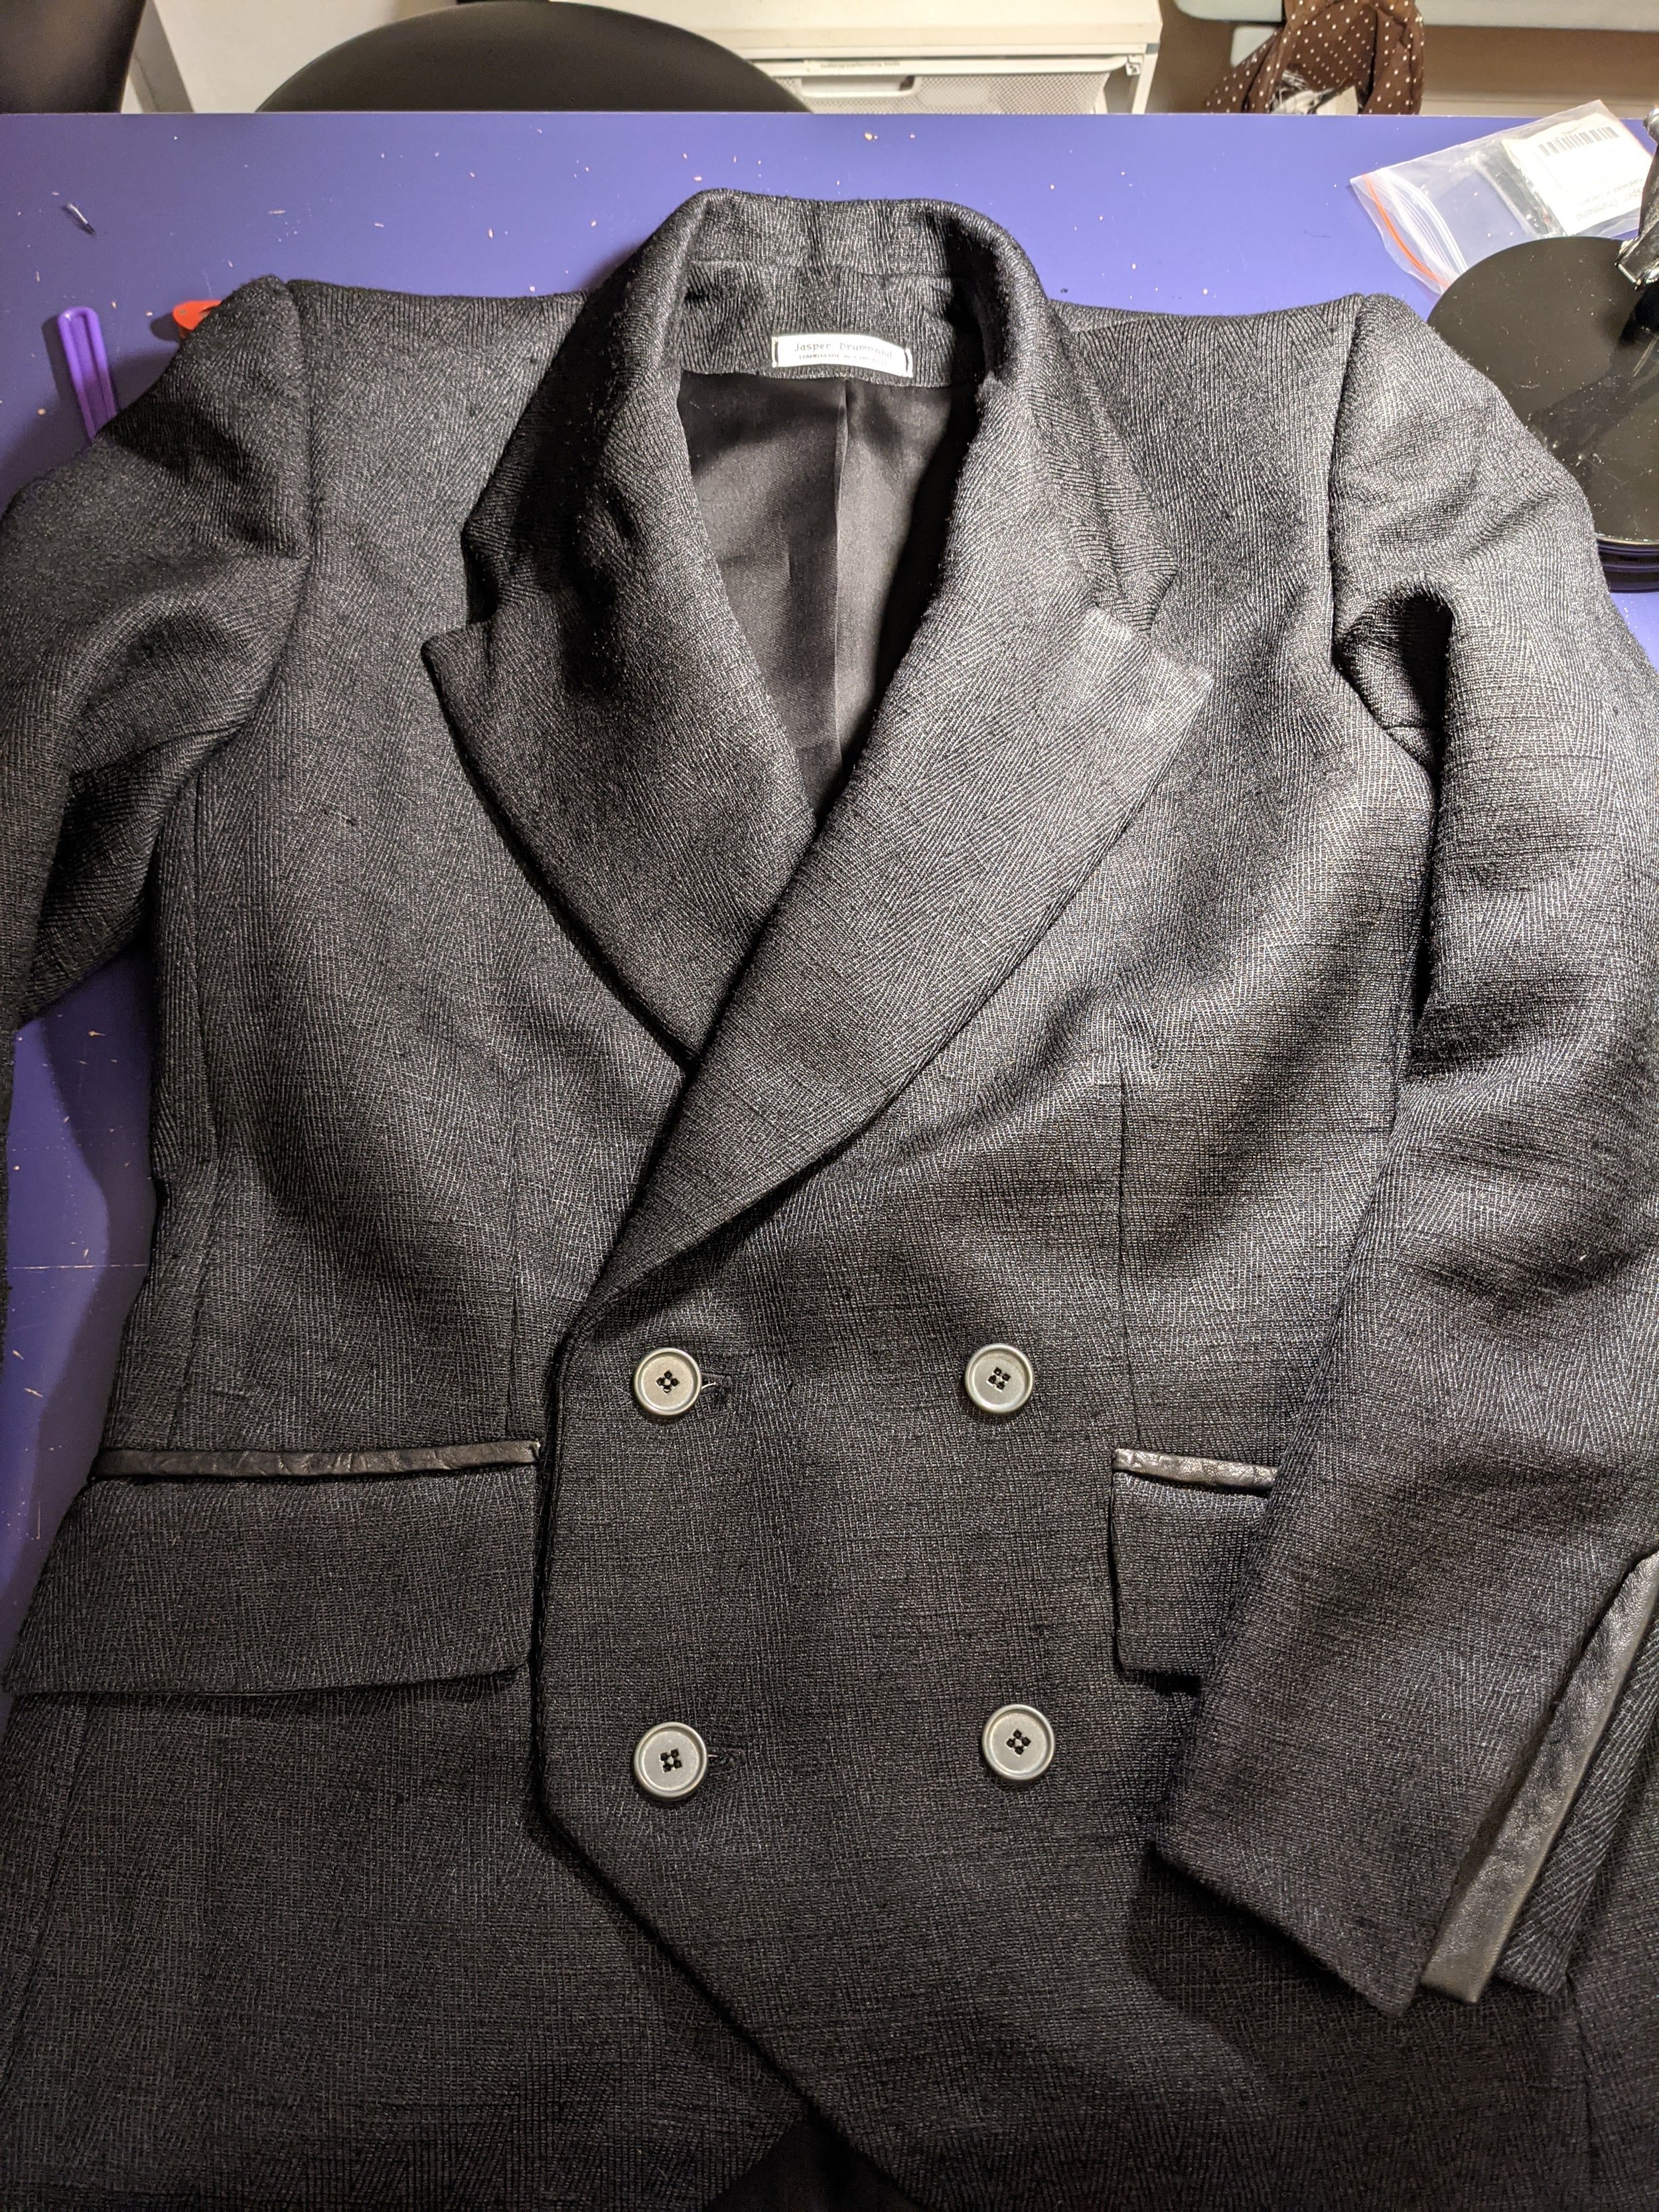
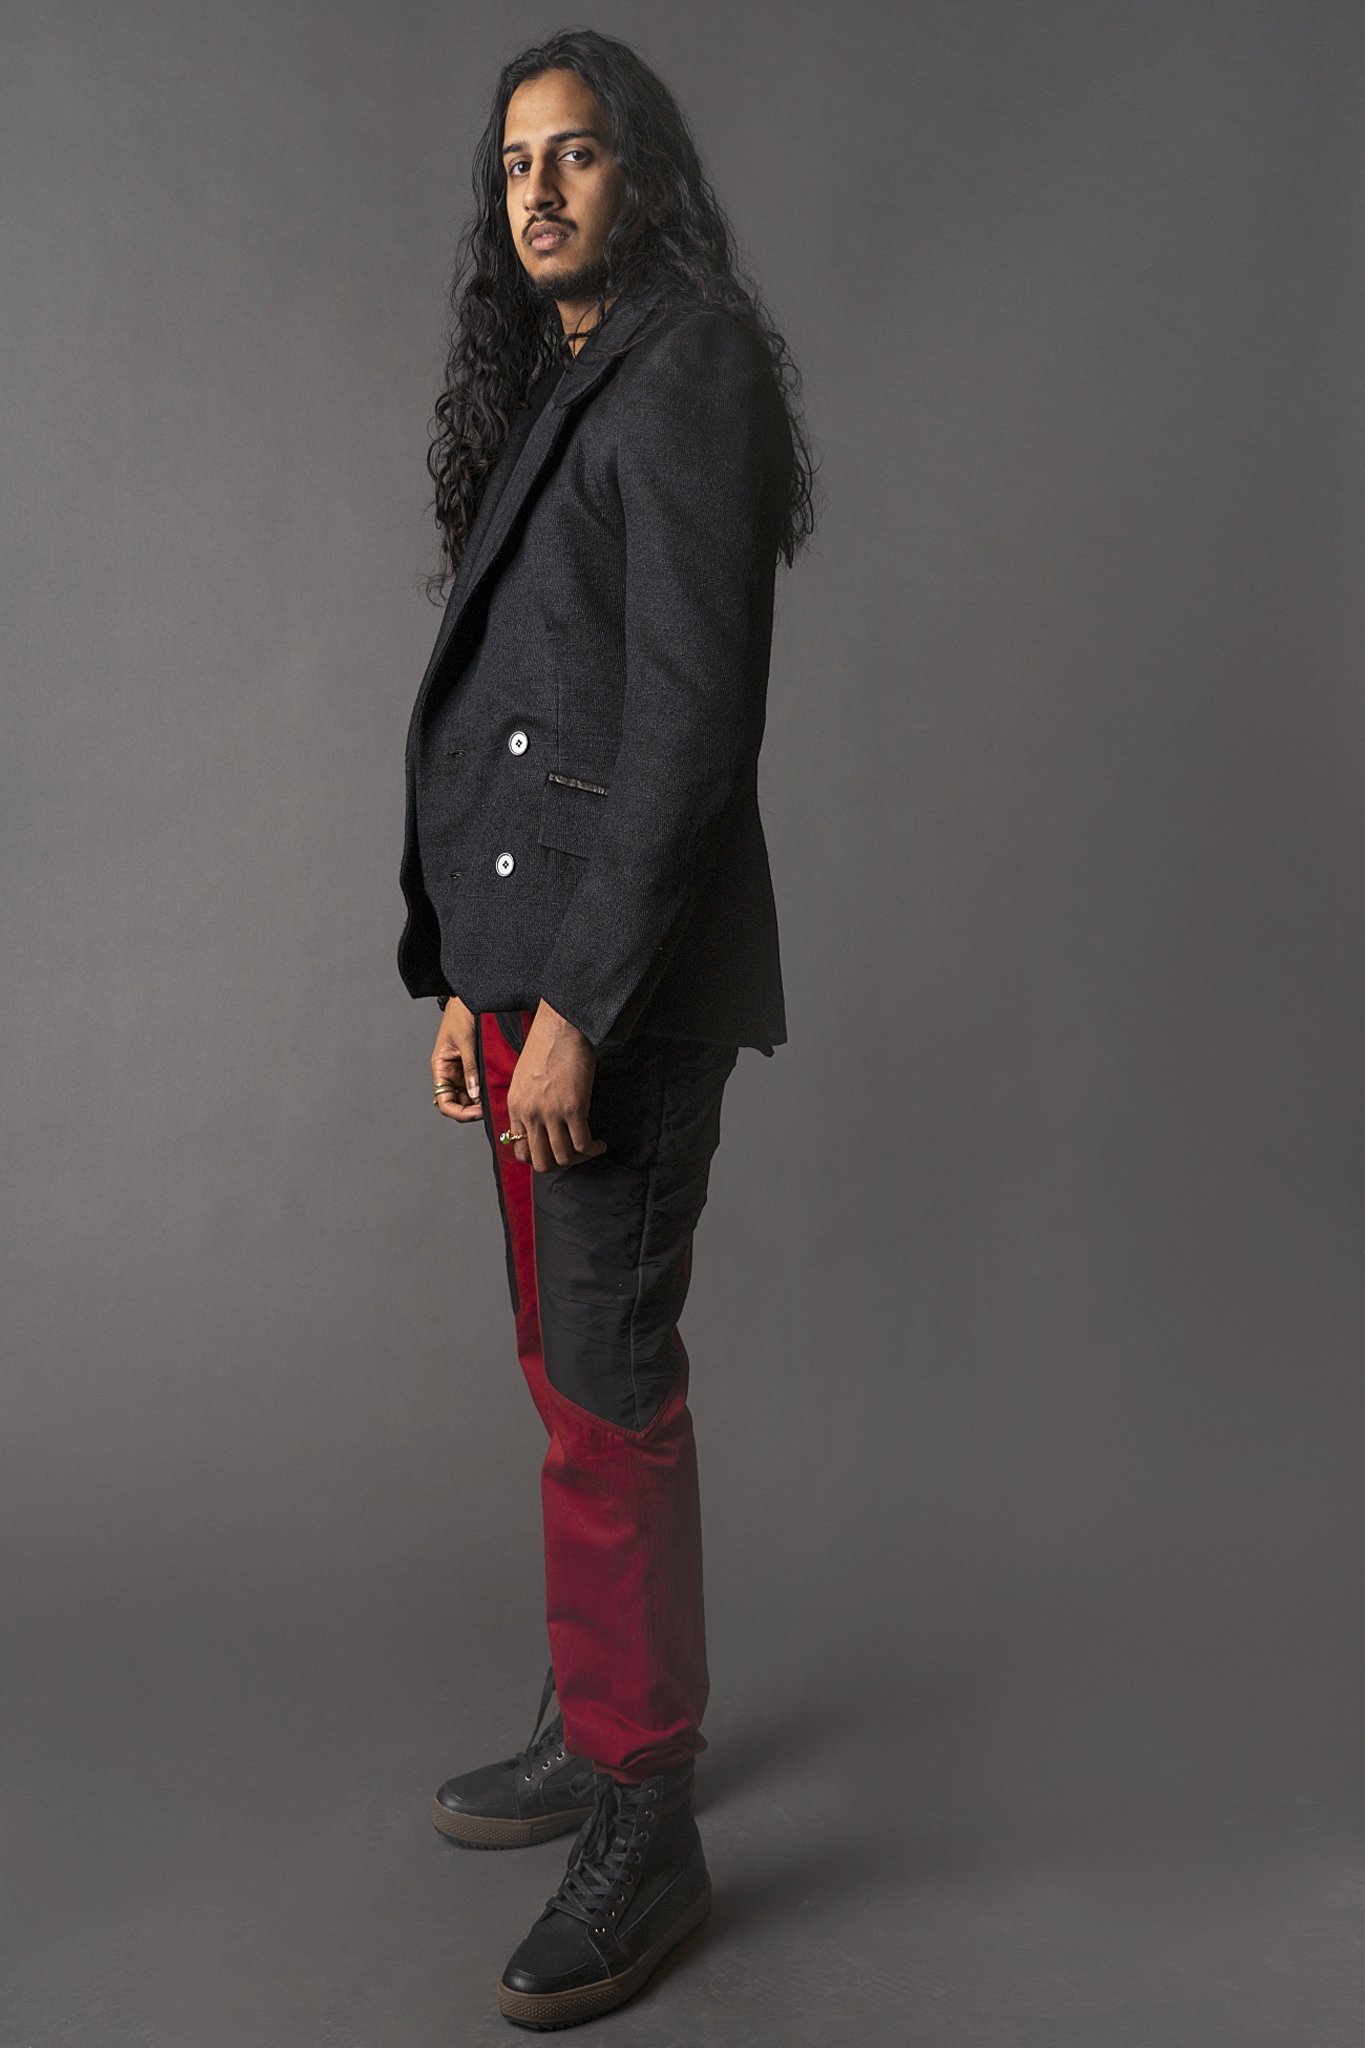
Creating a sloper (or master pattern) from scratch is how many custom pieces begin. In this case I took my own measurements and began drafting a simple jacket base which would then be tweaked into the more deliberate lines of a suit jacket. I knew I wanted to create a double-breasted jacket with large lapels and, as I worked out the pattern, more details came into focus.
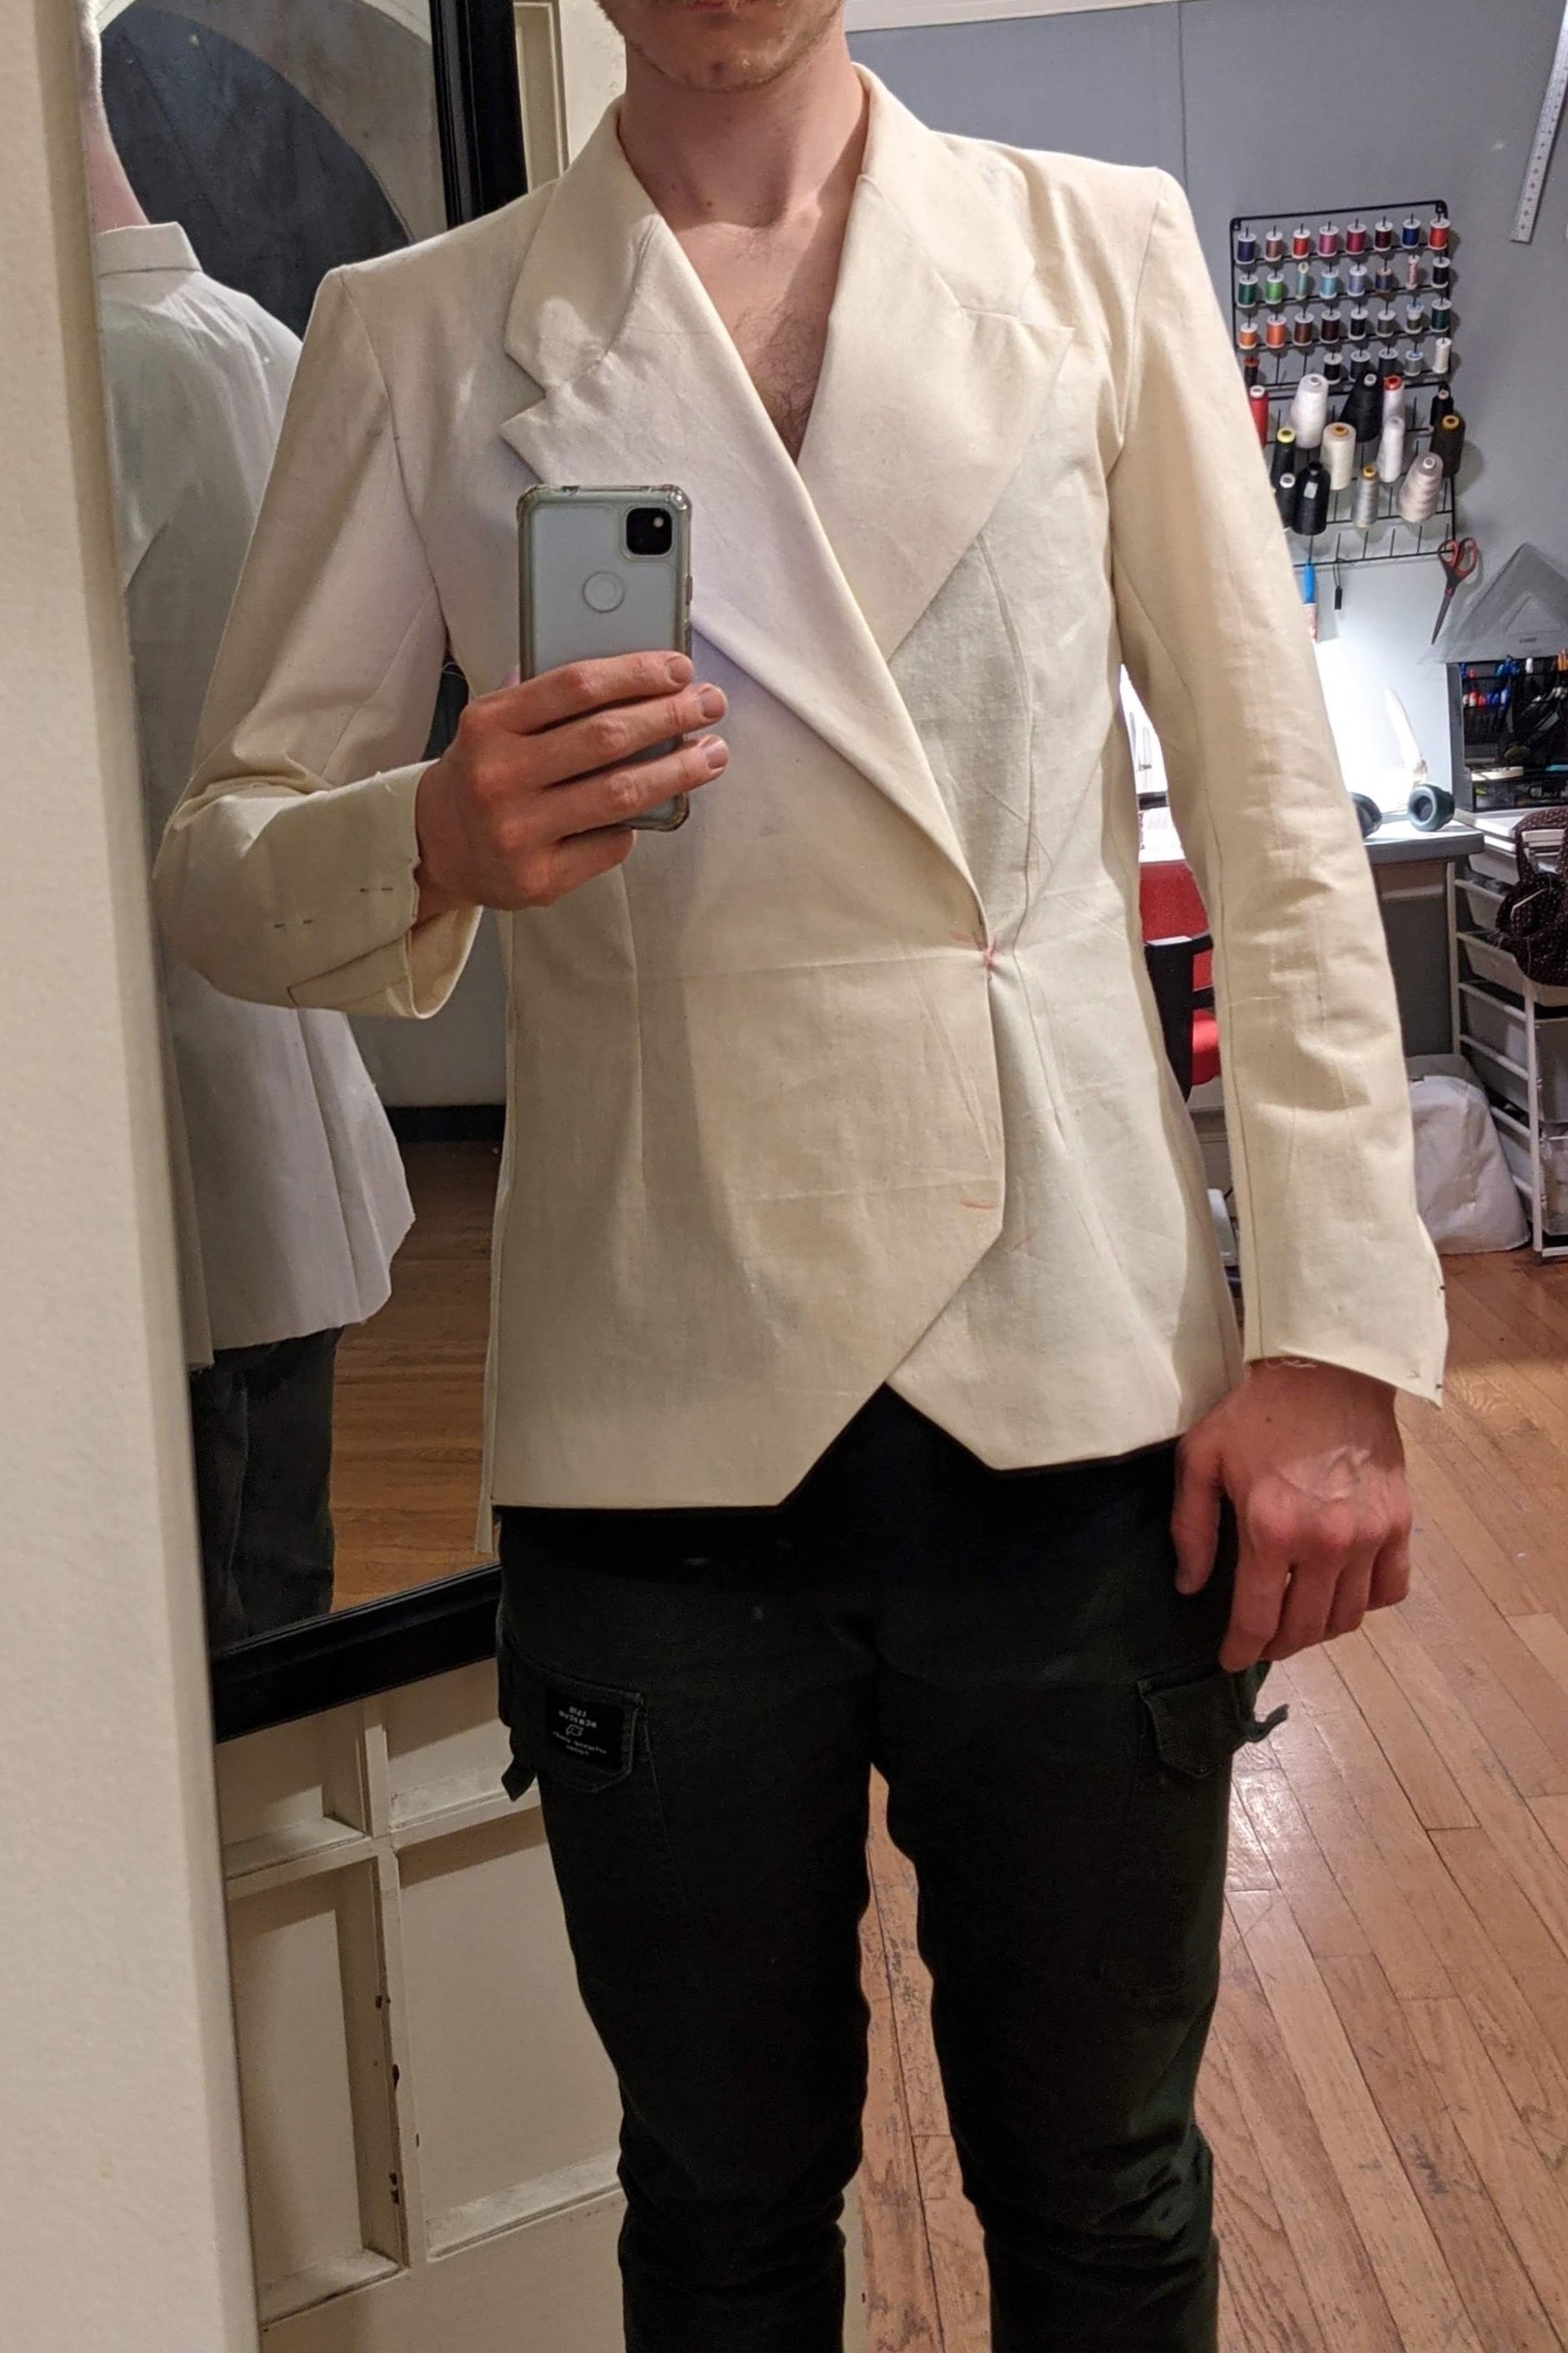

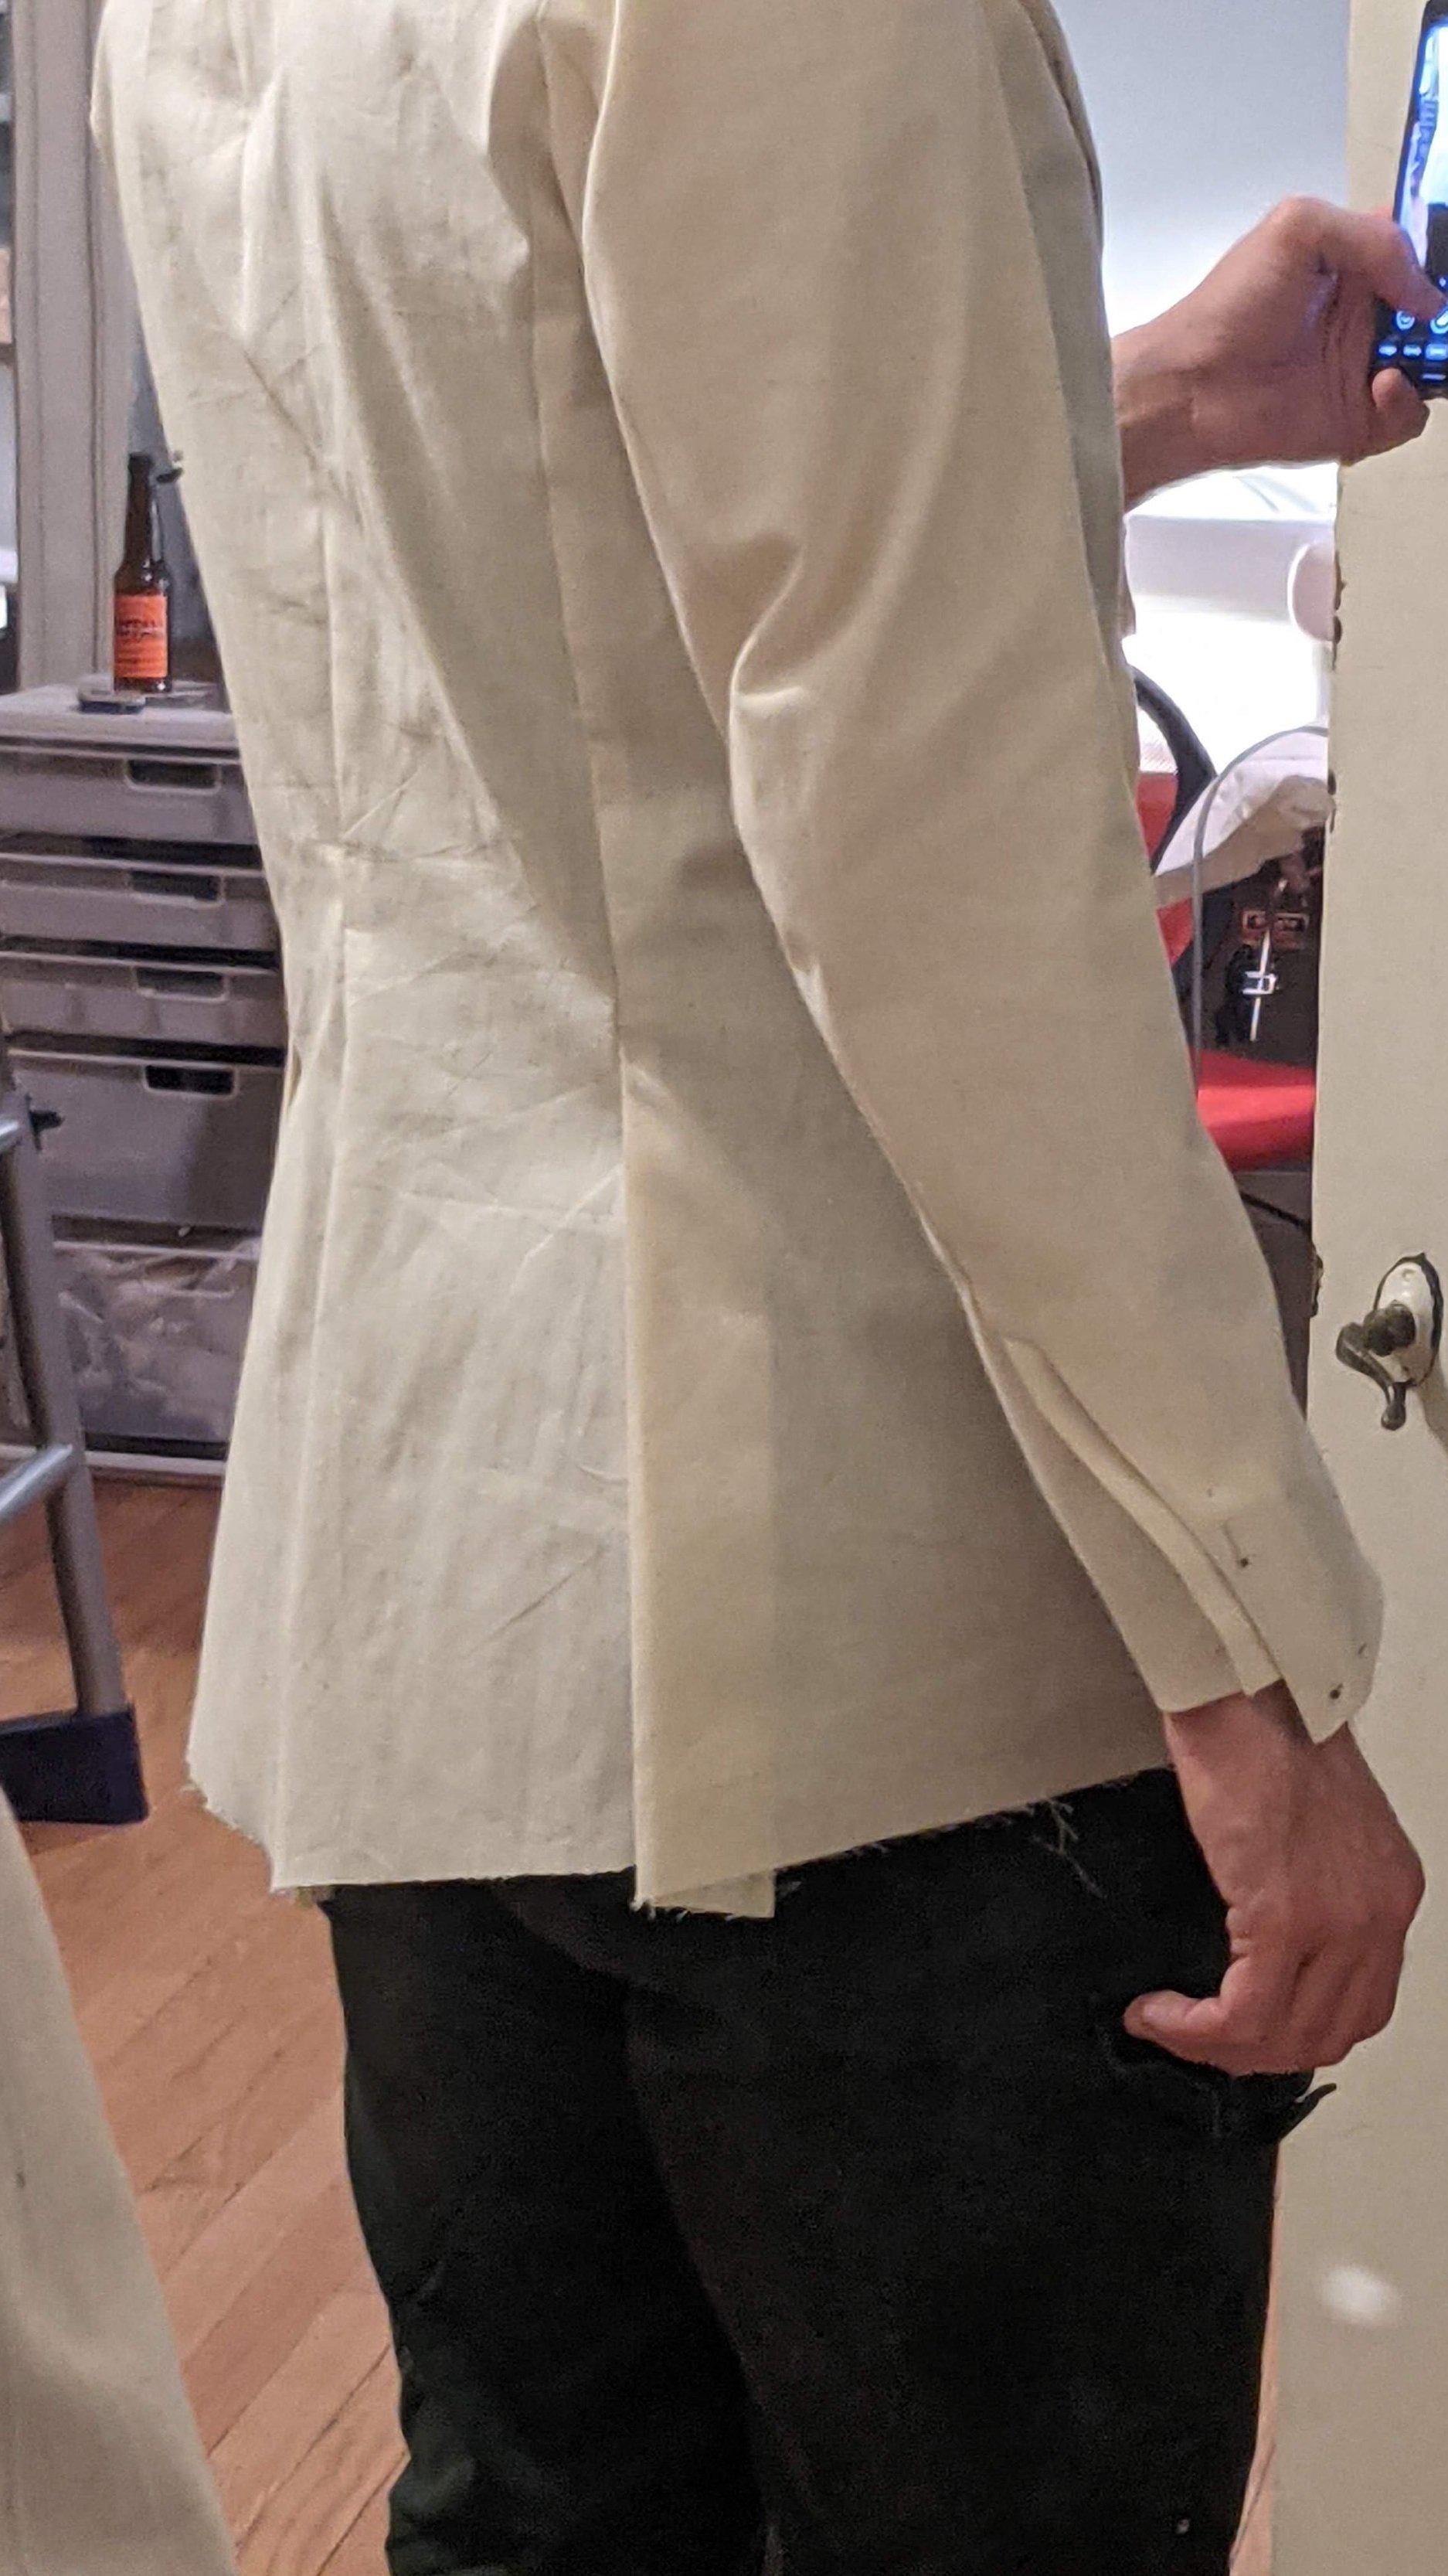
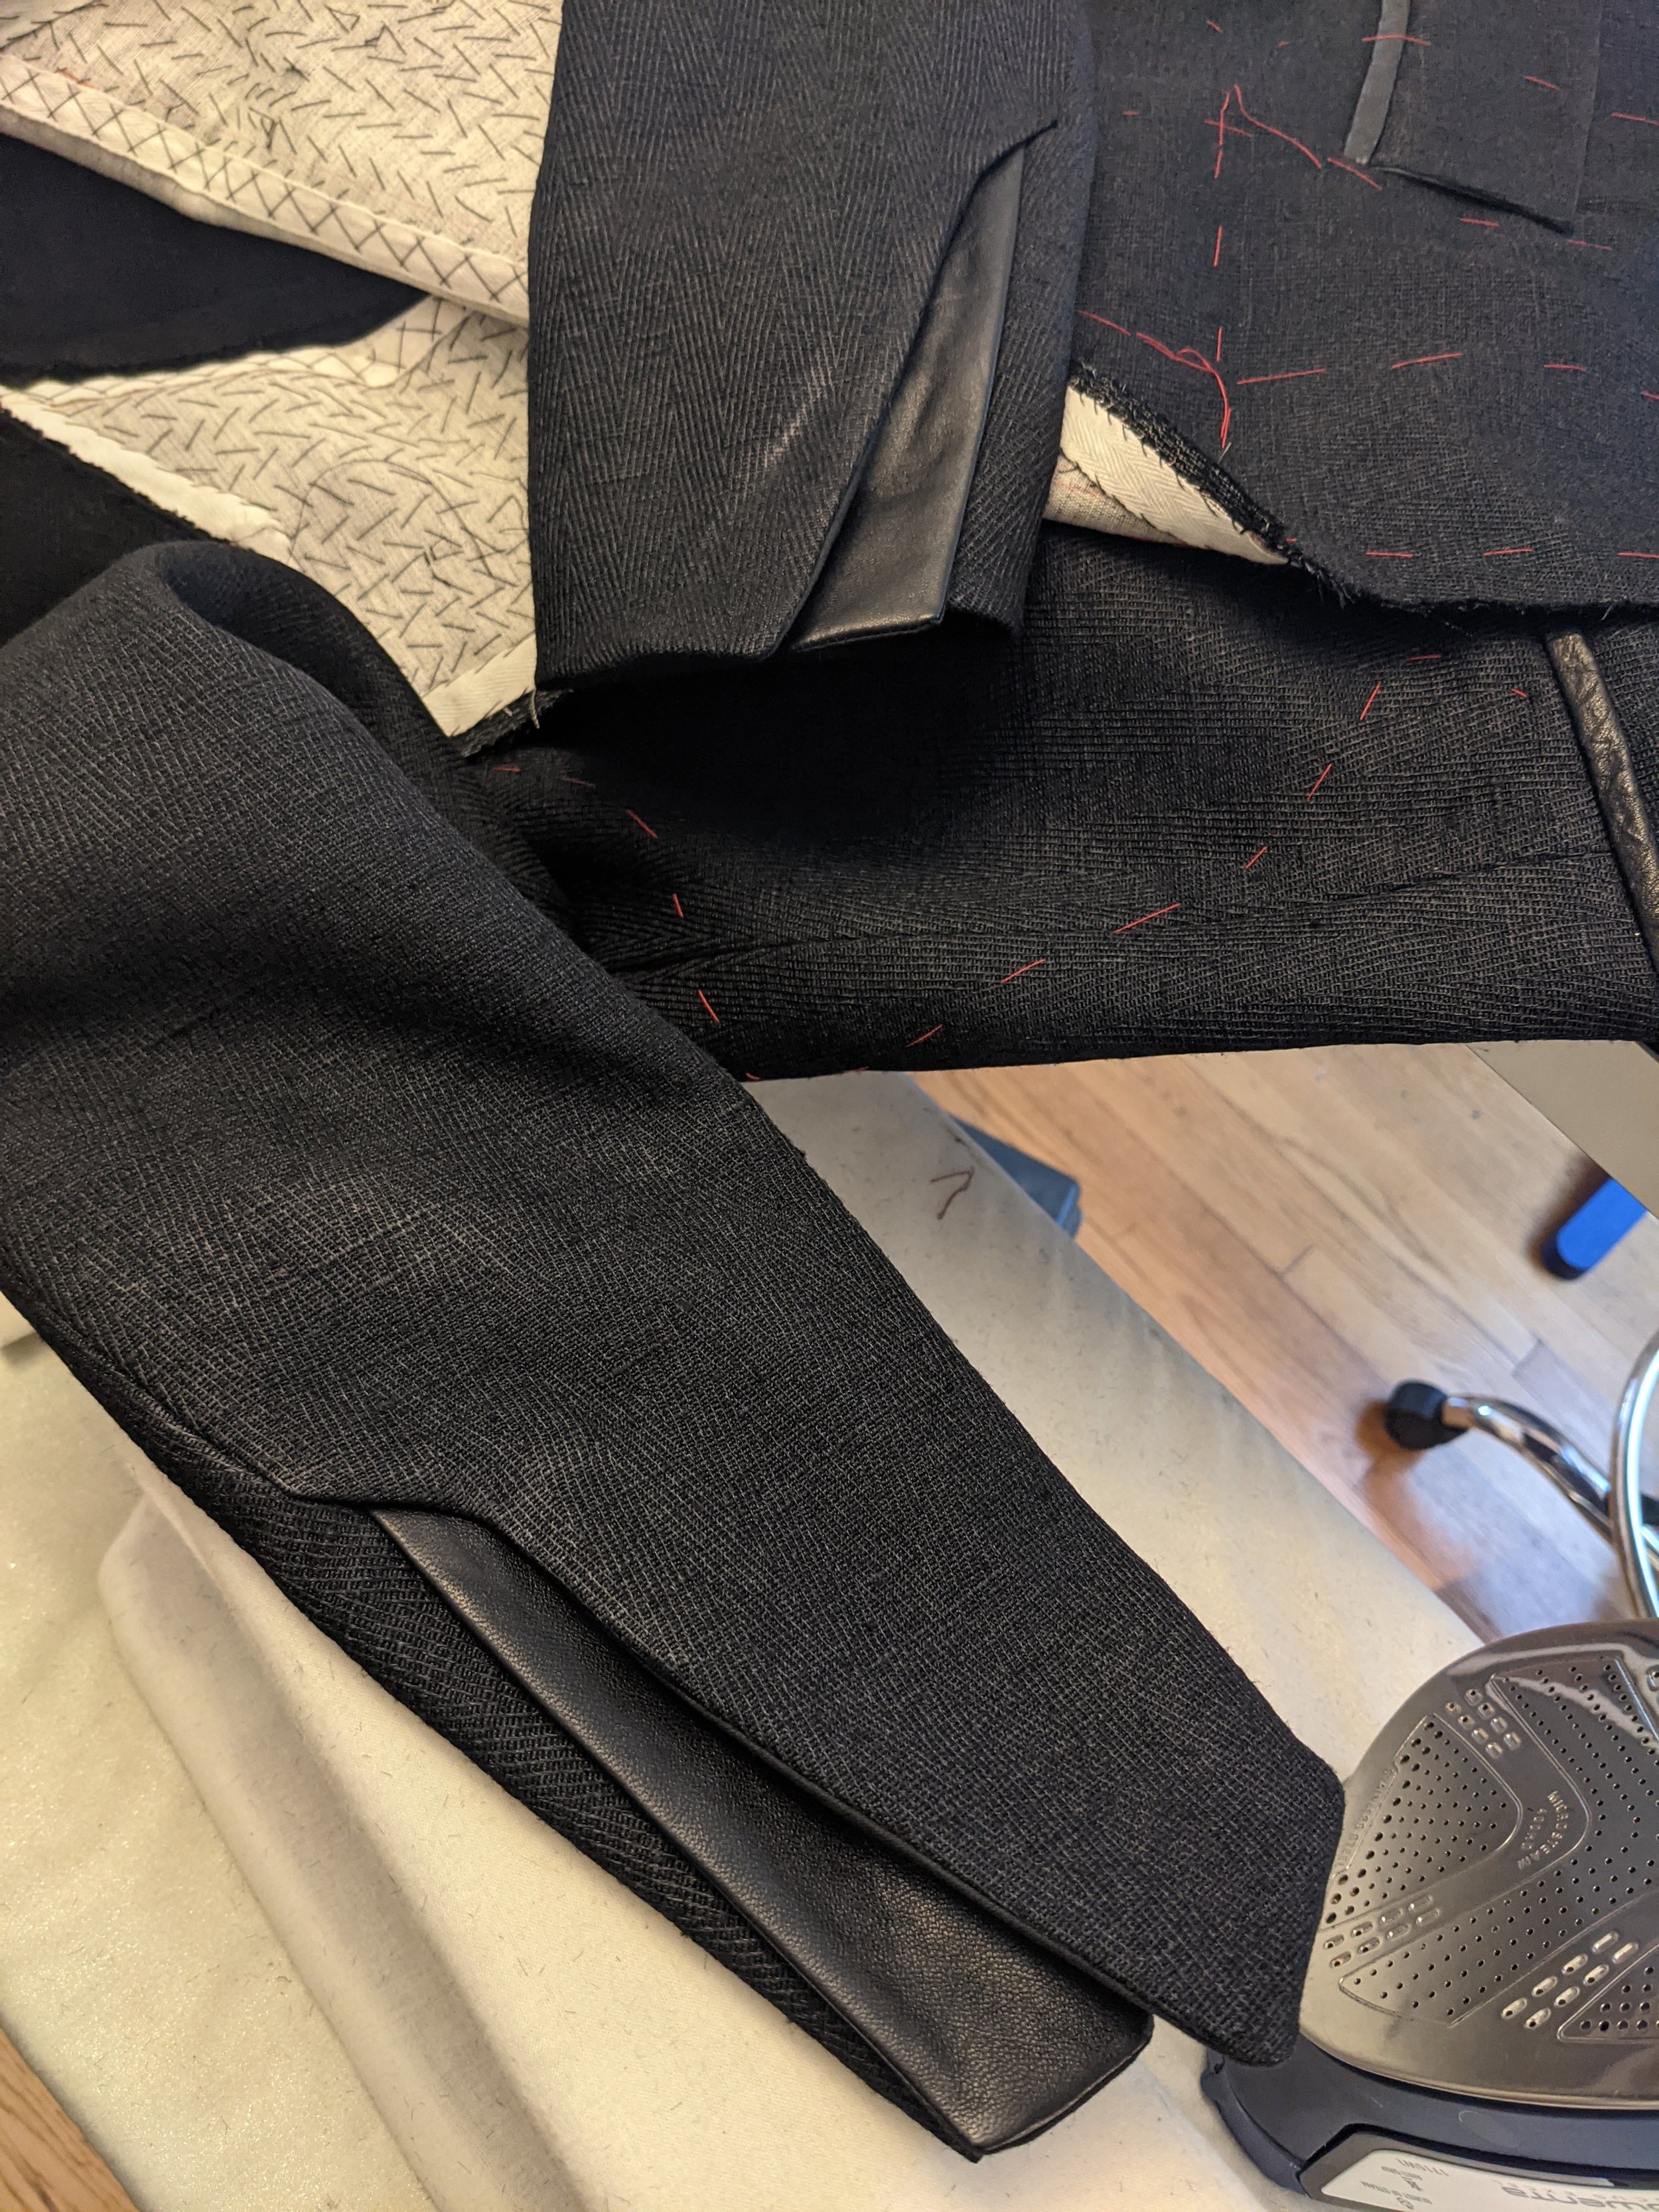
The name Quiver came from romanticized ideas about feathers and arrows, how a bird’s wings lay perfectly arranged, wind winnowed over its body; how humans use feathers for arrows, for hunting. Quiver refers to a group of arrows, a slight trembling, a quick movement. The layered vents at the wrist, double vents at the back, the sleek pocket flaps and sharp shoulders, all of these small moments felt like reflections of the images I returned to, images of flight and feathers and the tension they hold in the wind.
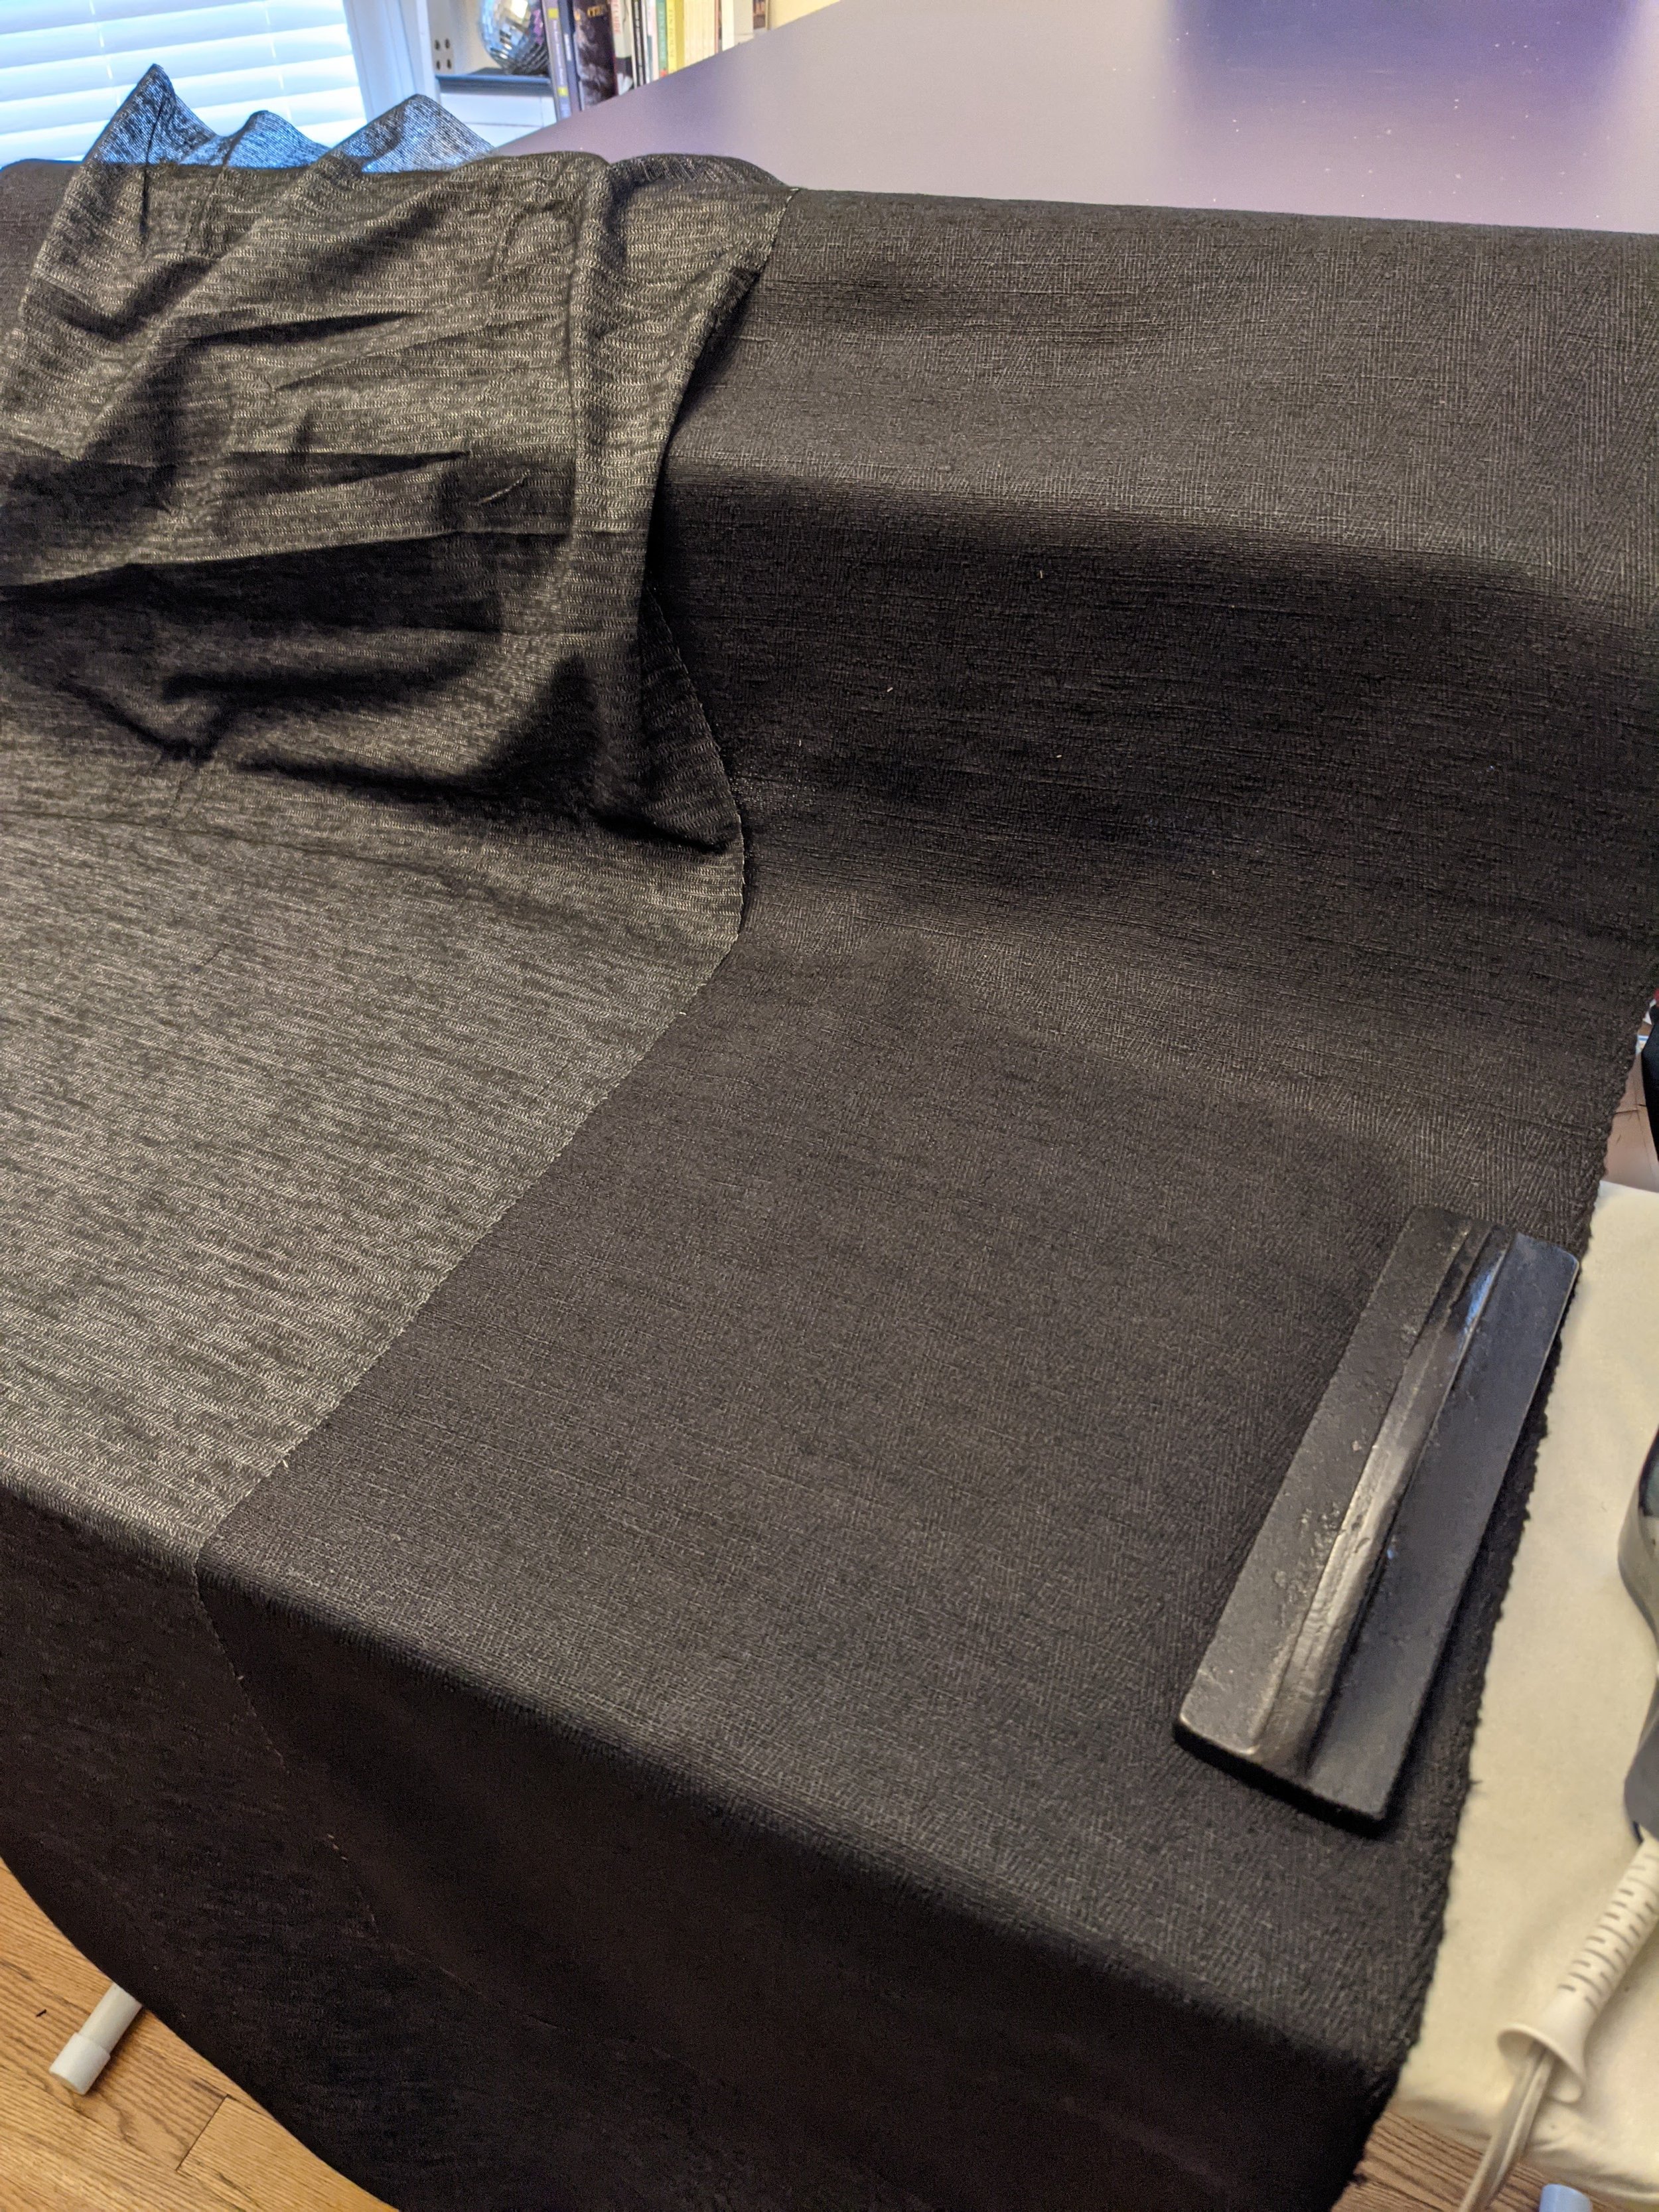
The construction of the jacket required patience above all else, which began by preparing the fabric before I could even cut into it. The material I chose to use was a hand-woven silk with a beautiful alternating twill texture, which also reminded me of a feather’s barbs. However, the entirety of the material needed to be fused before I cut it, as the looser weave and thick yarns of the material made it incredibly prone to fraying. “Fusing” refers to bonding a layer of supportive material called interfacing to the back side of a fabric or garment using heat. After the interfacing was applied to the silk, I could begin cutting in earnest.
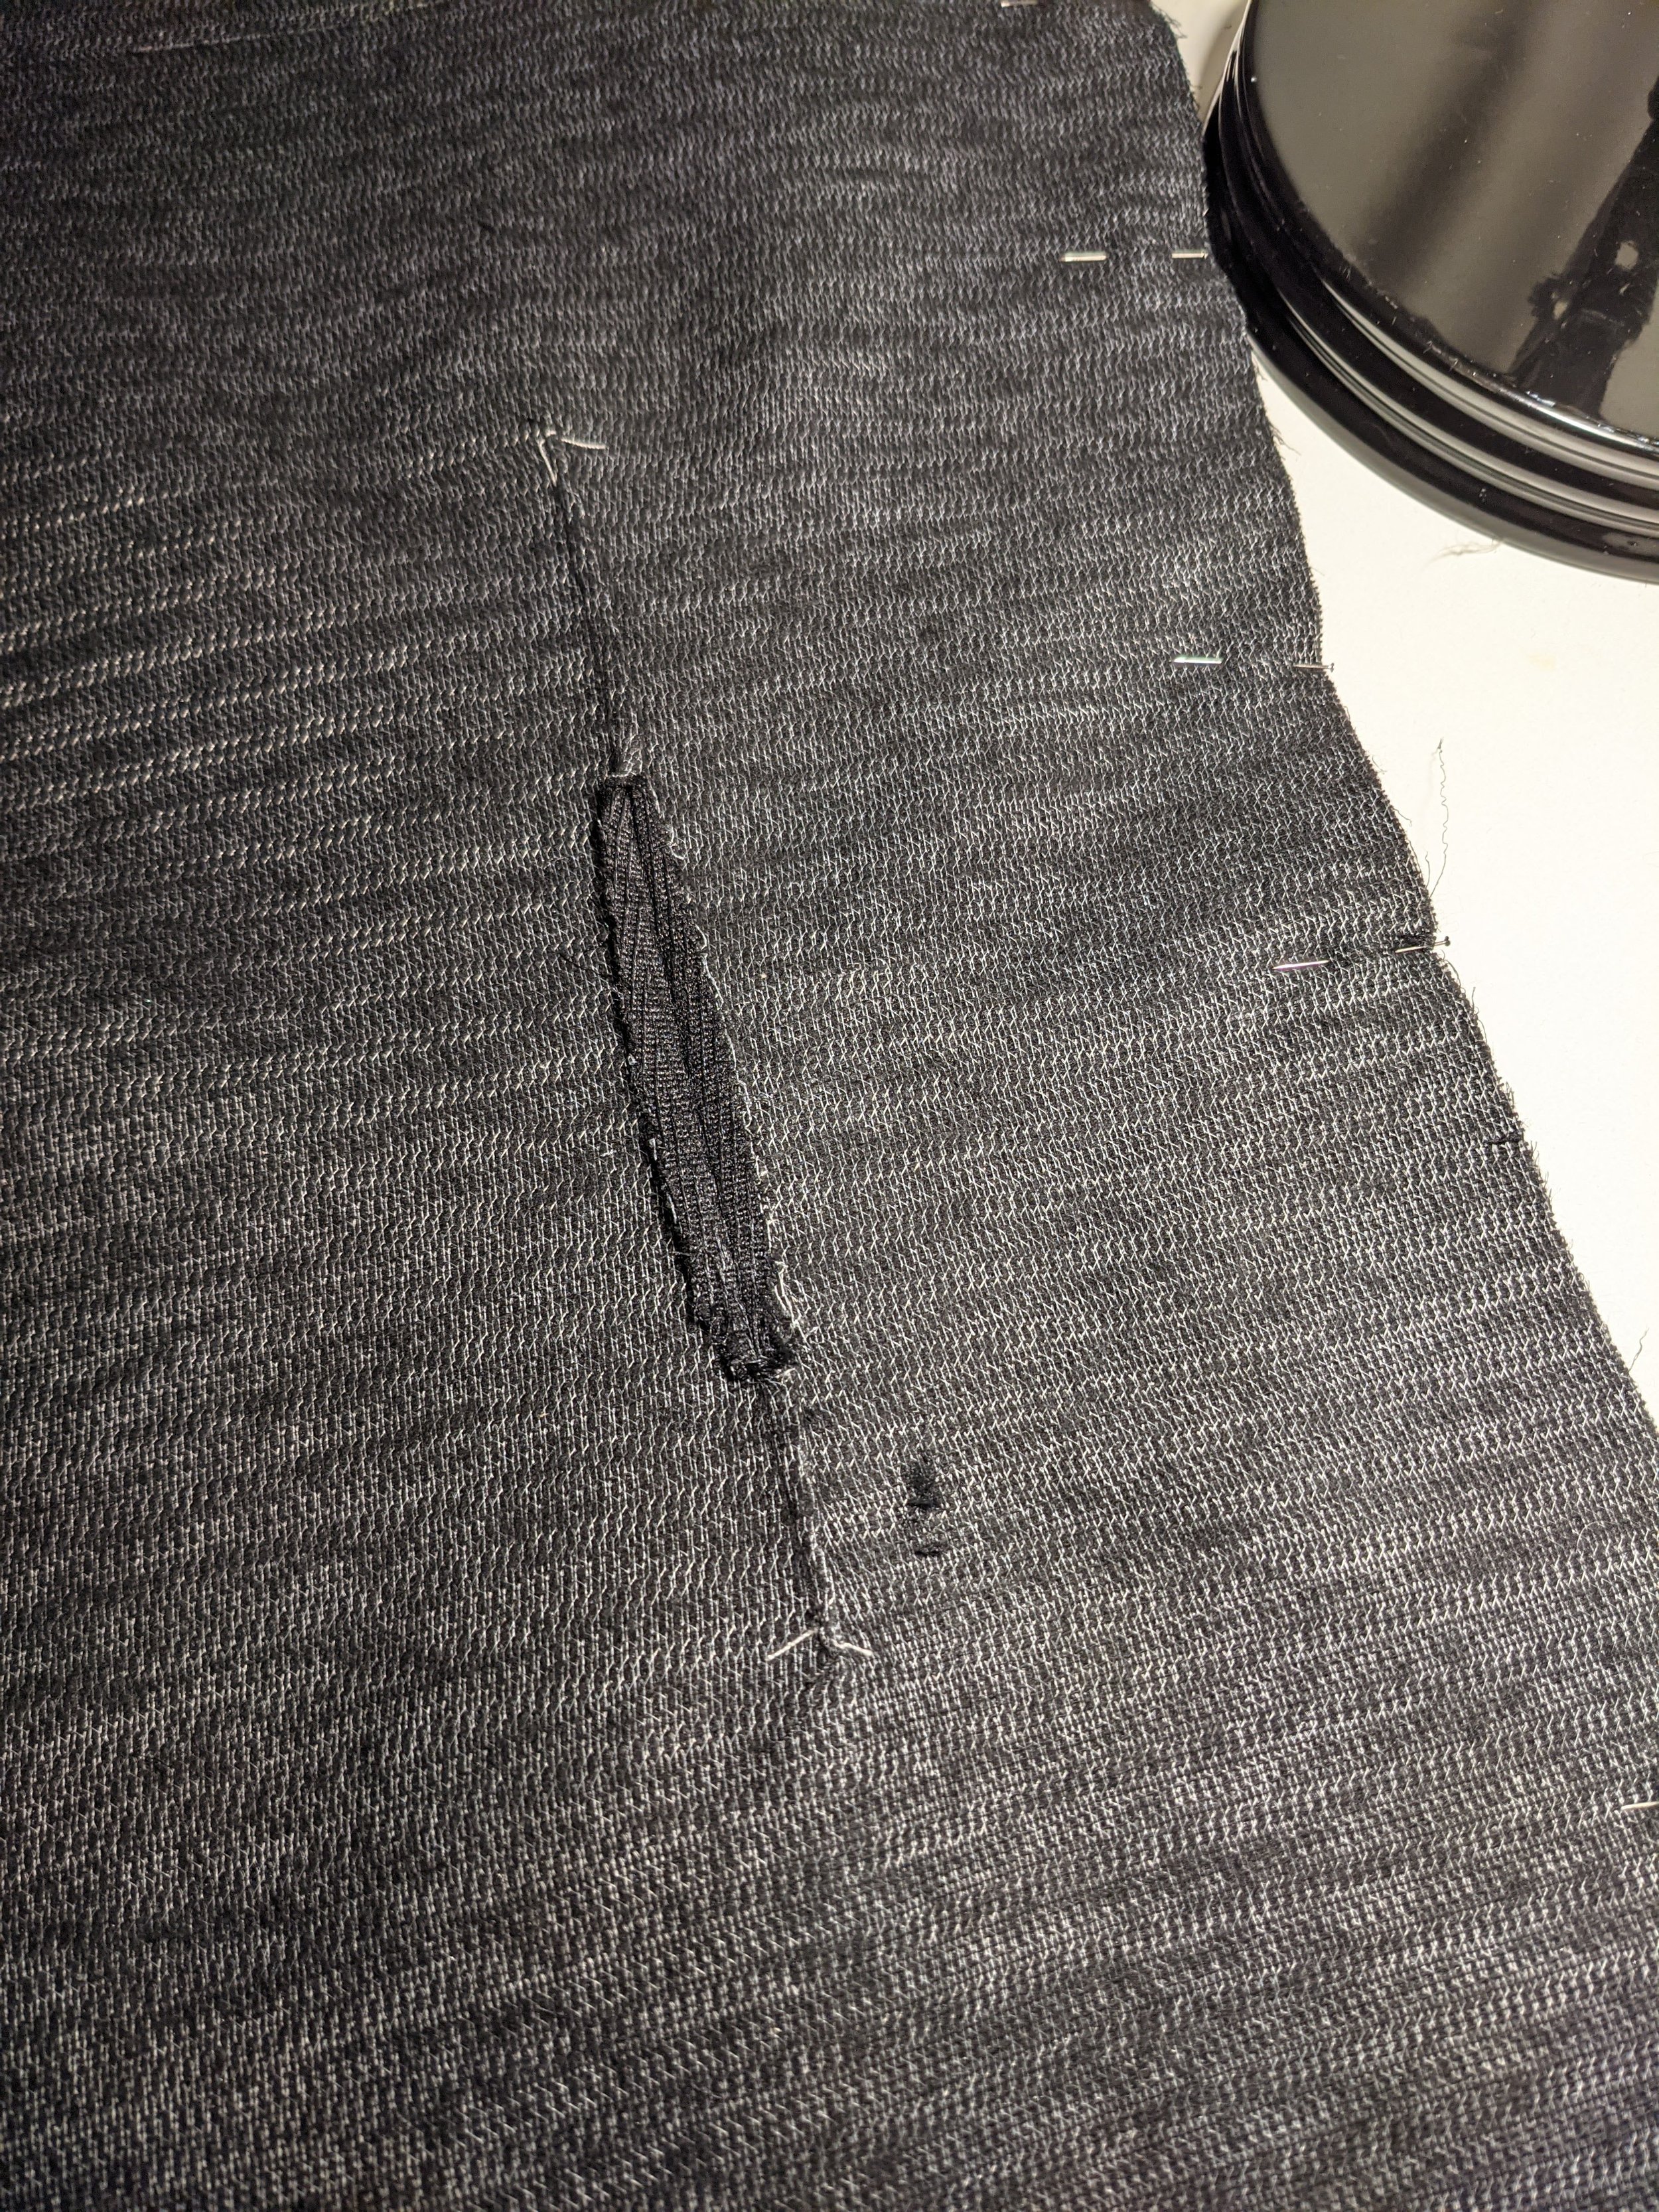
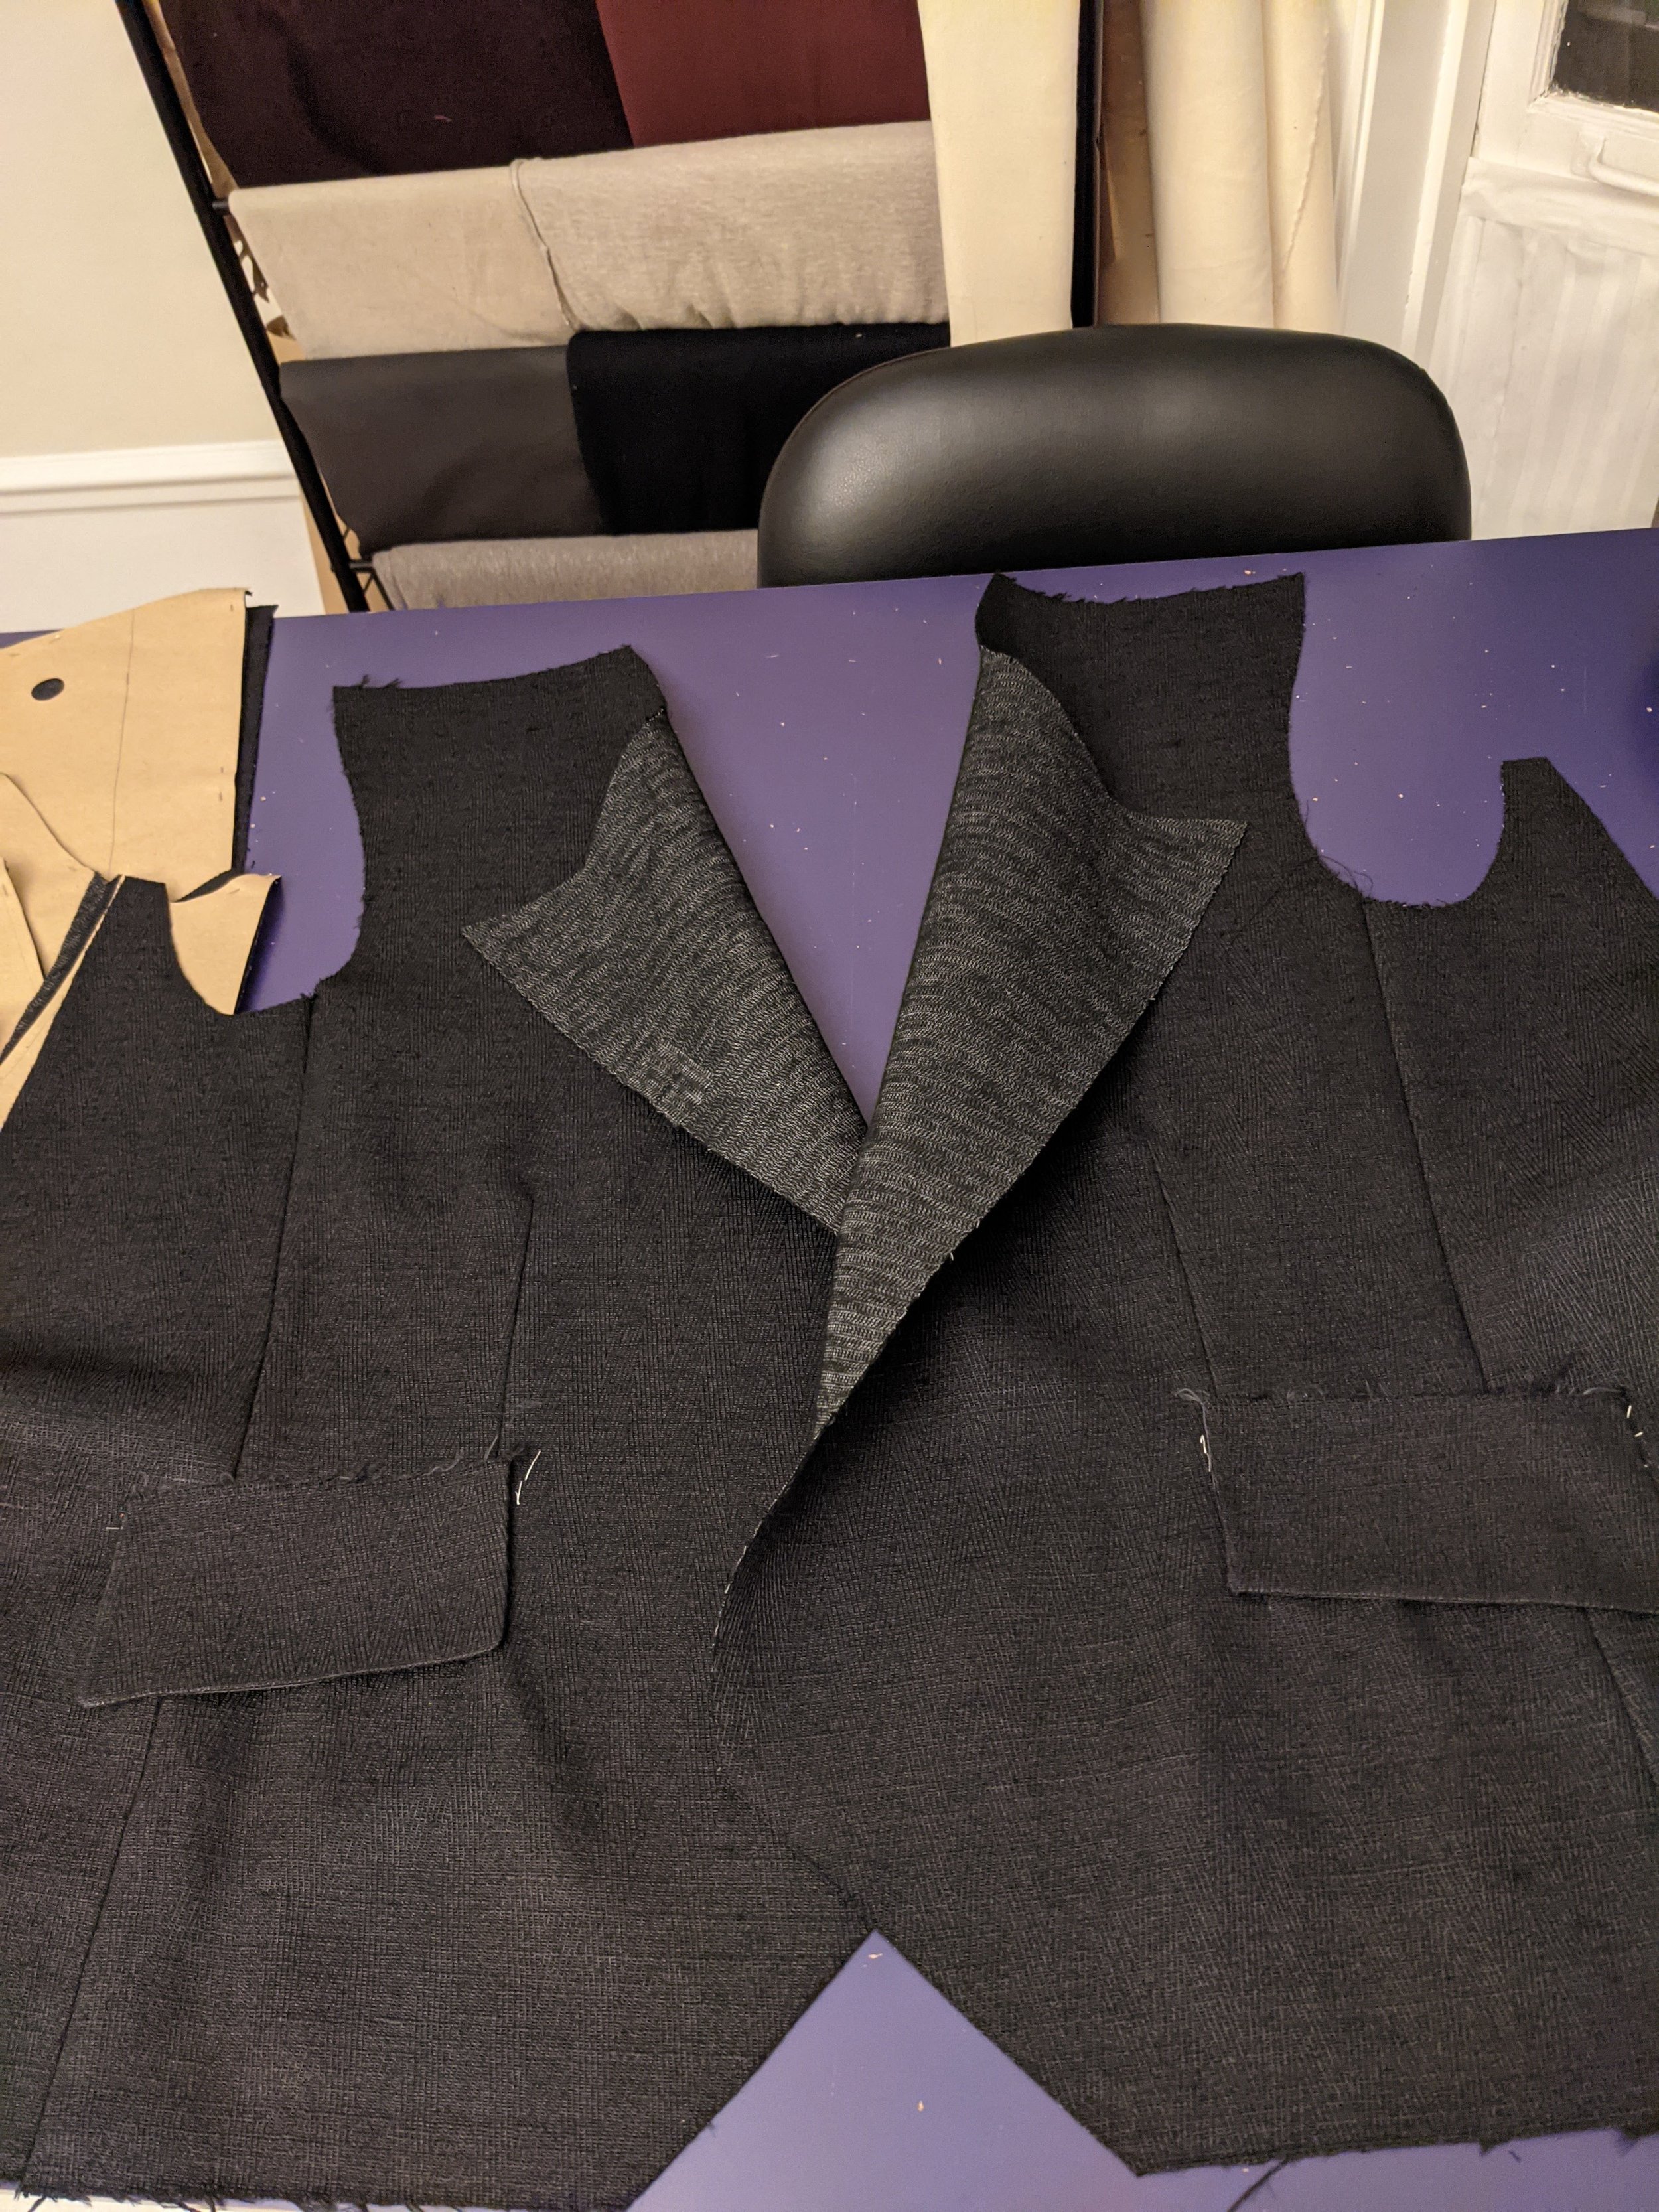
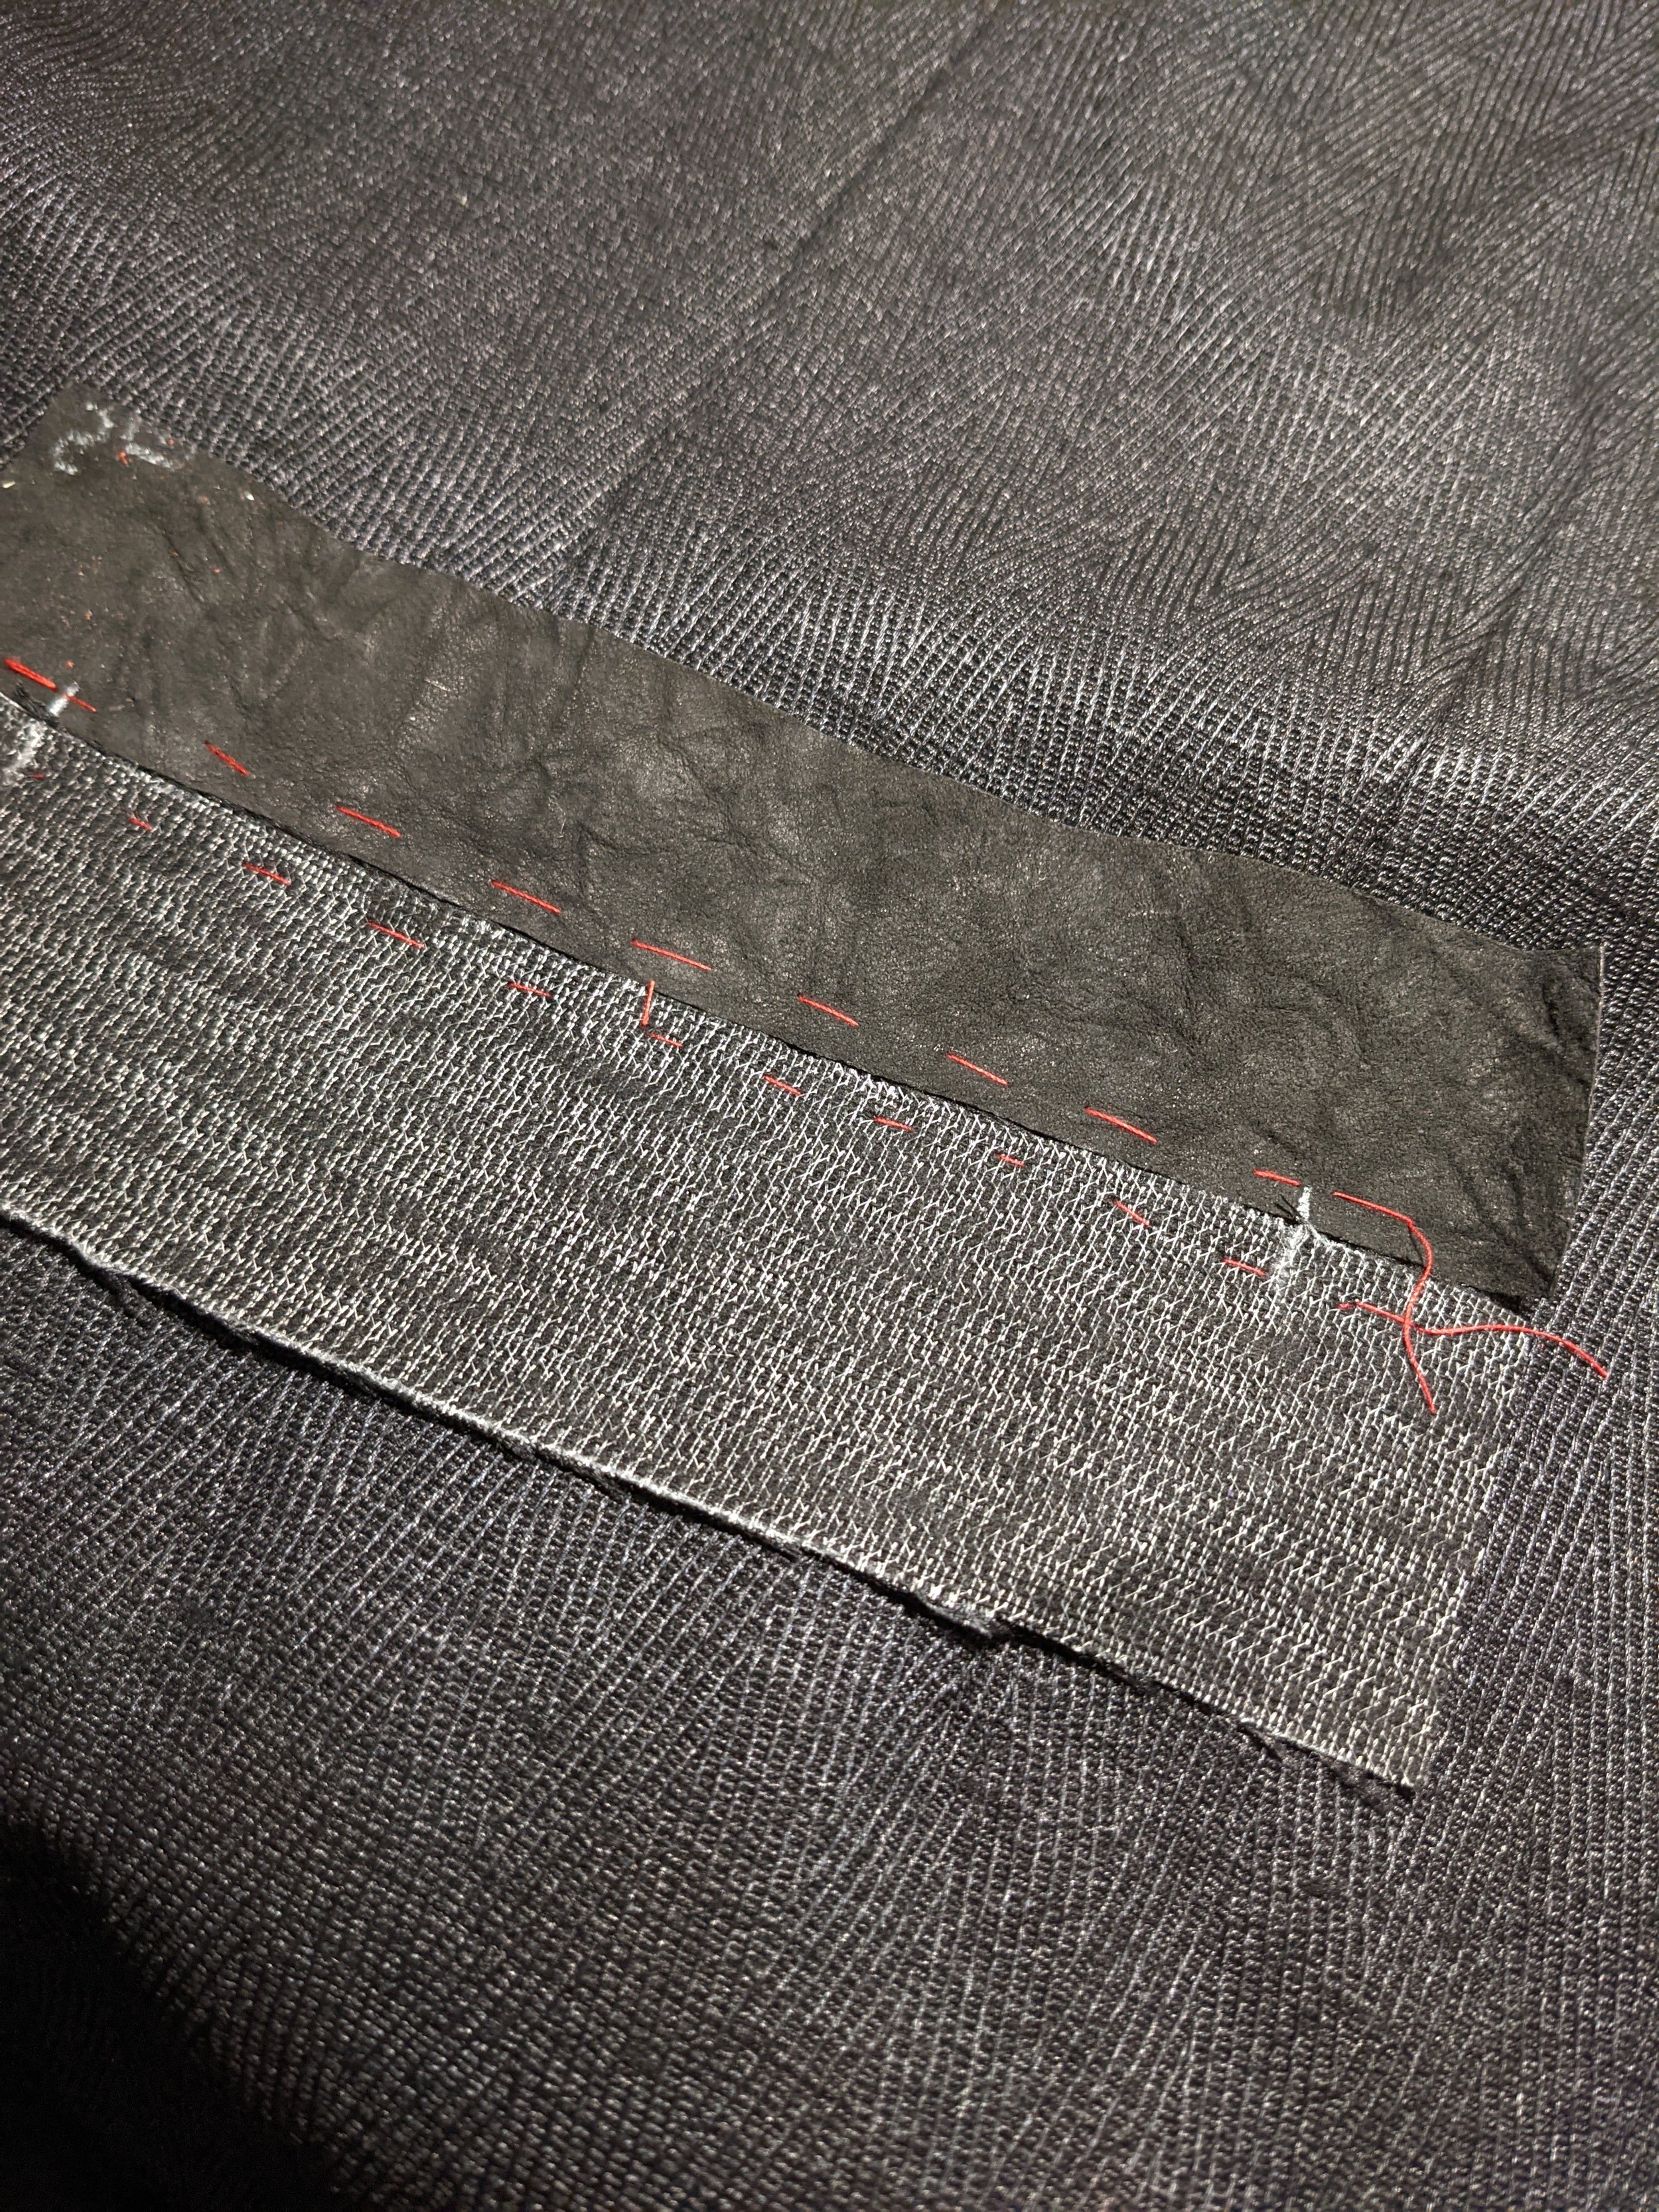
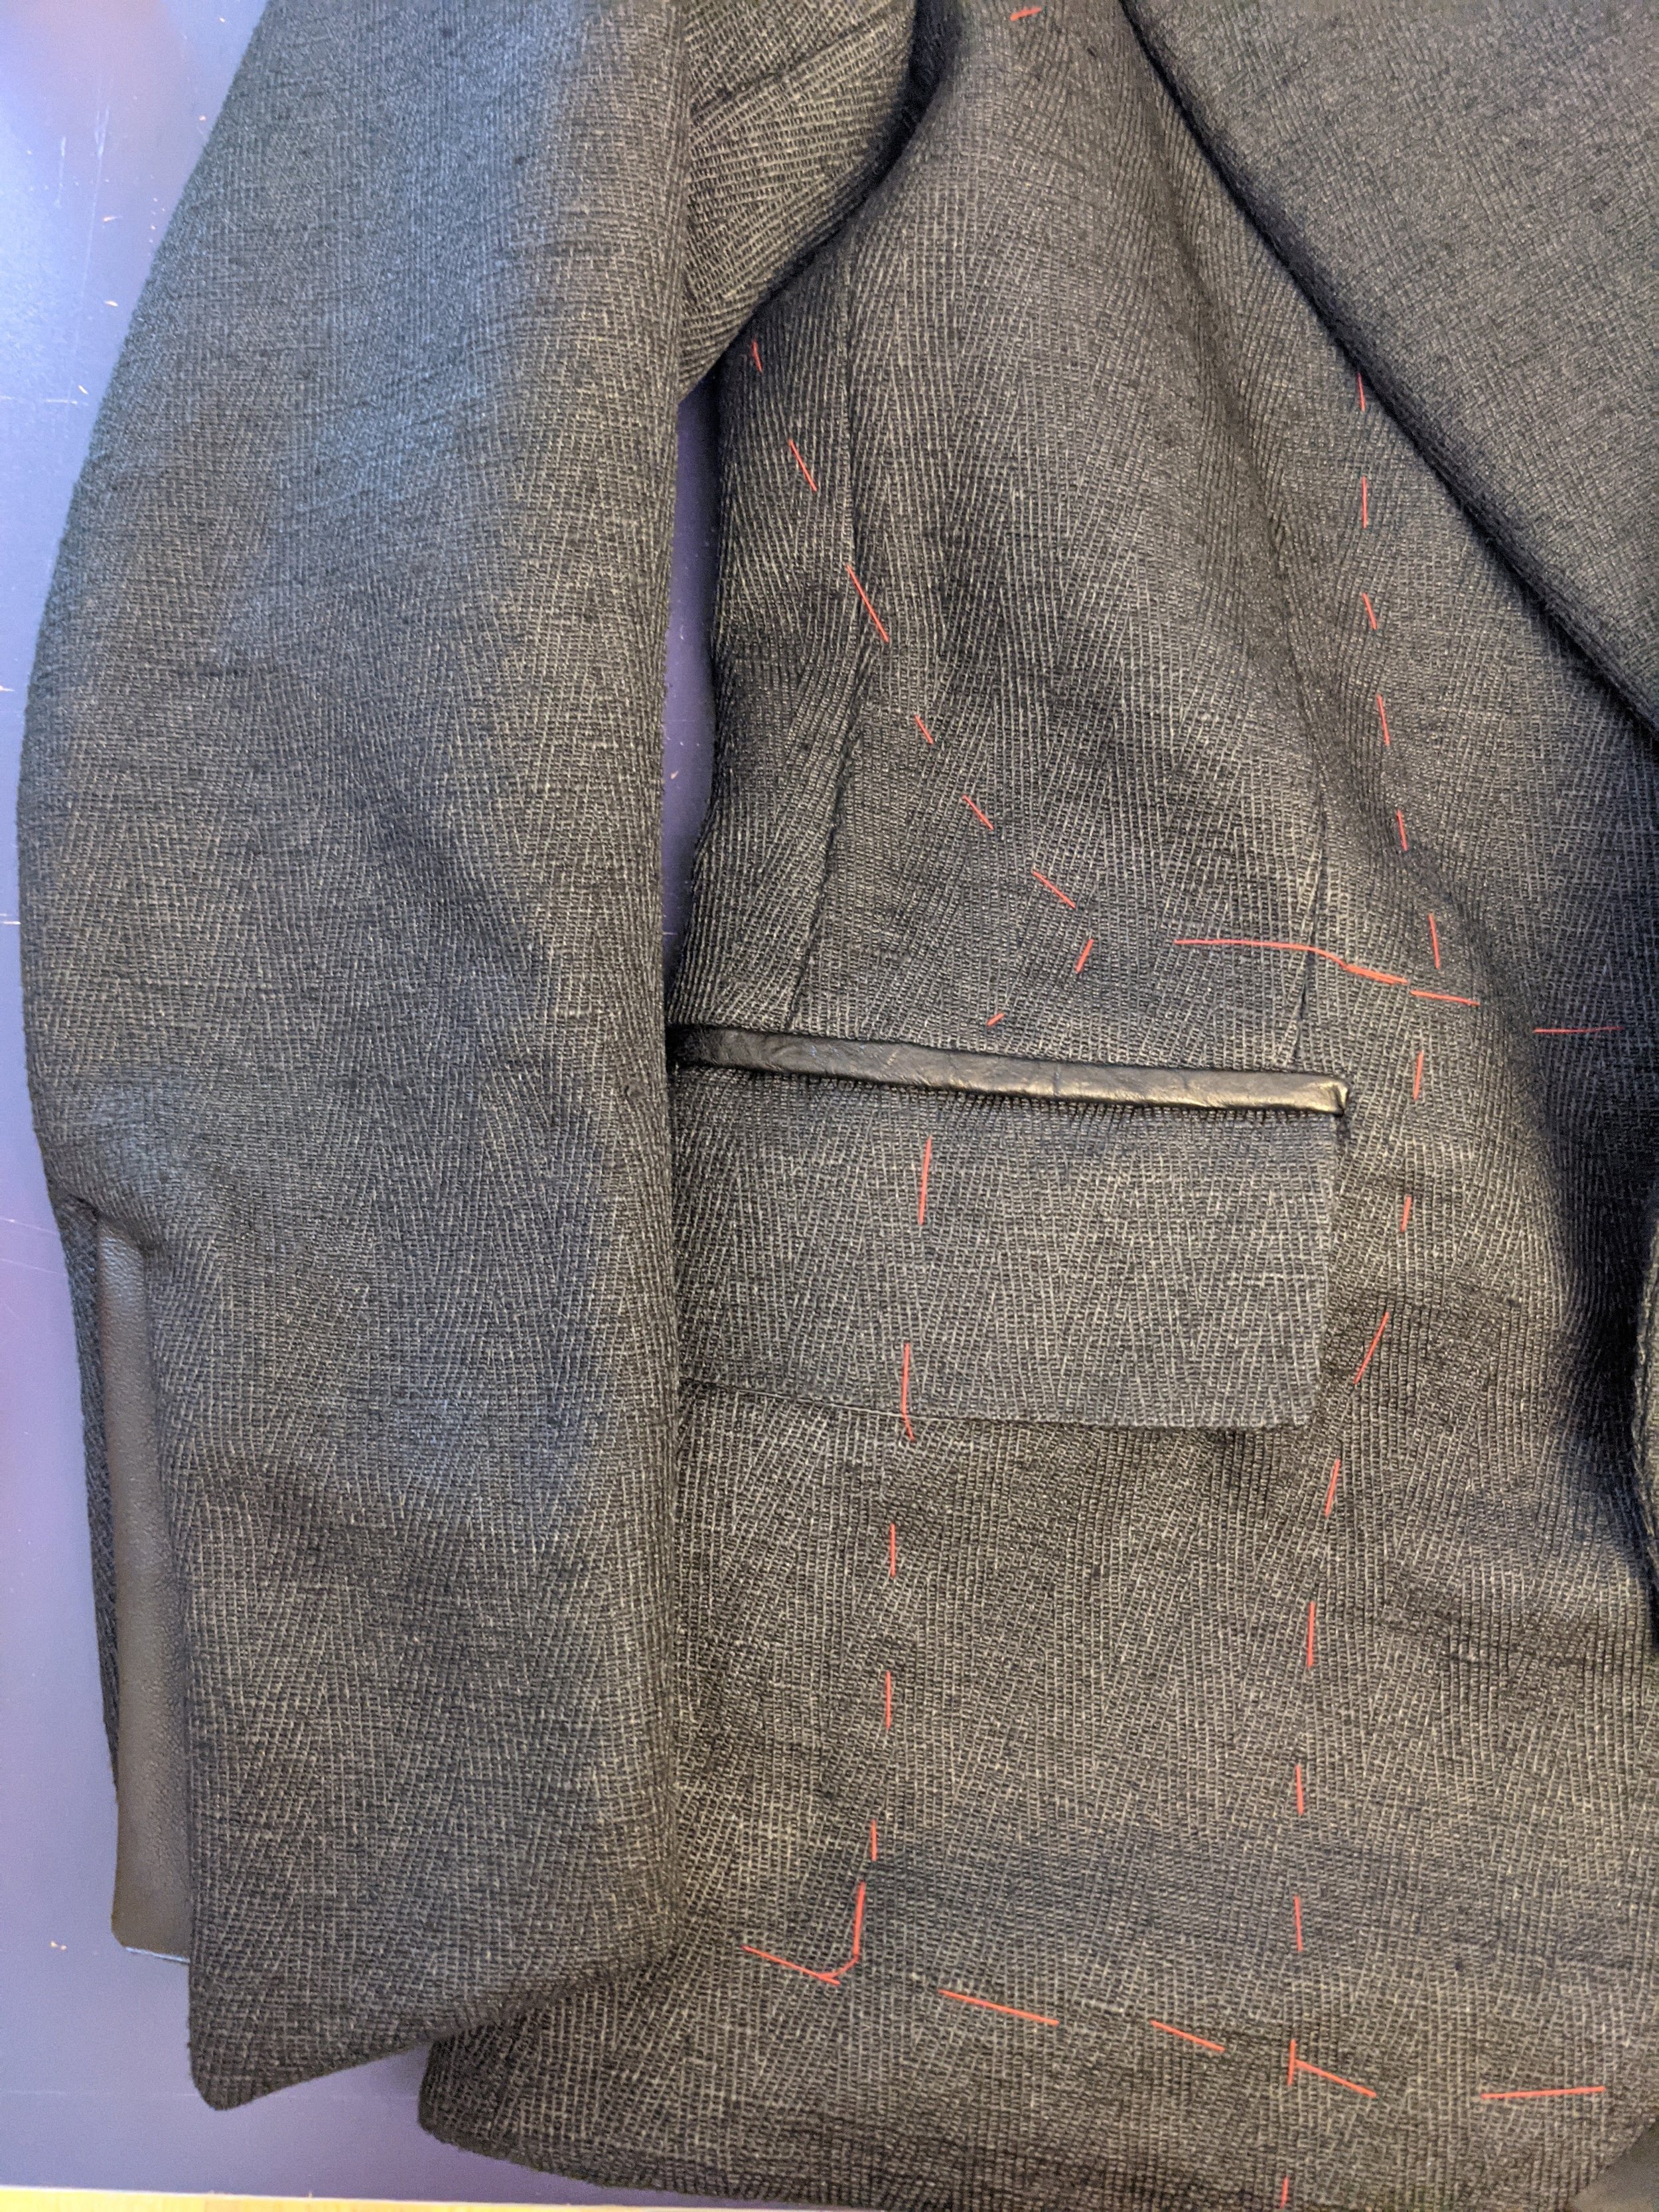
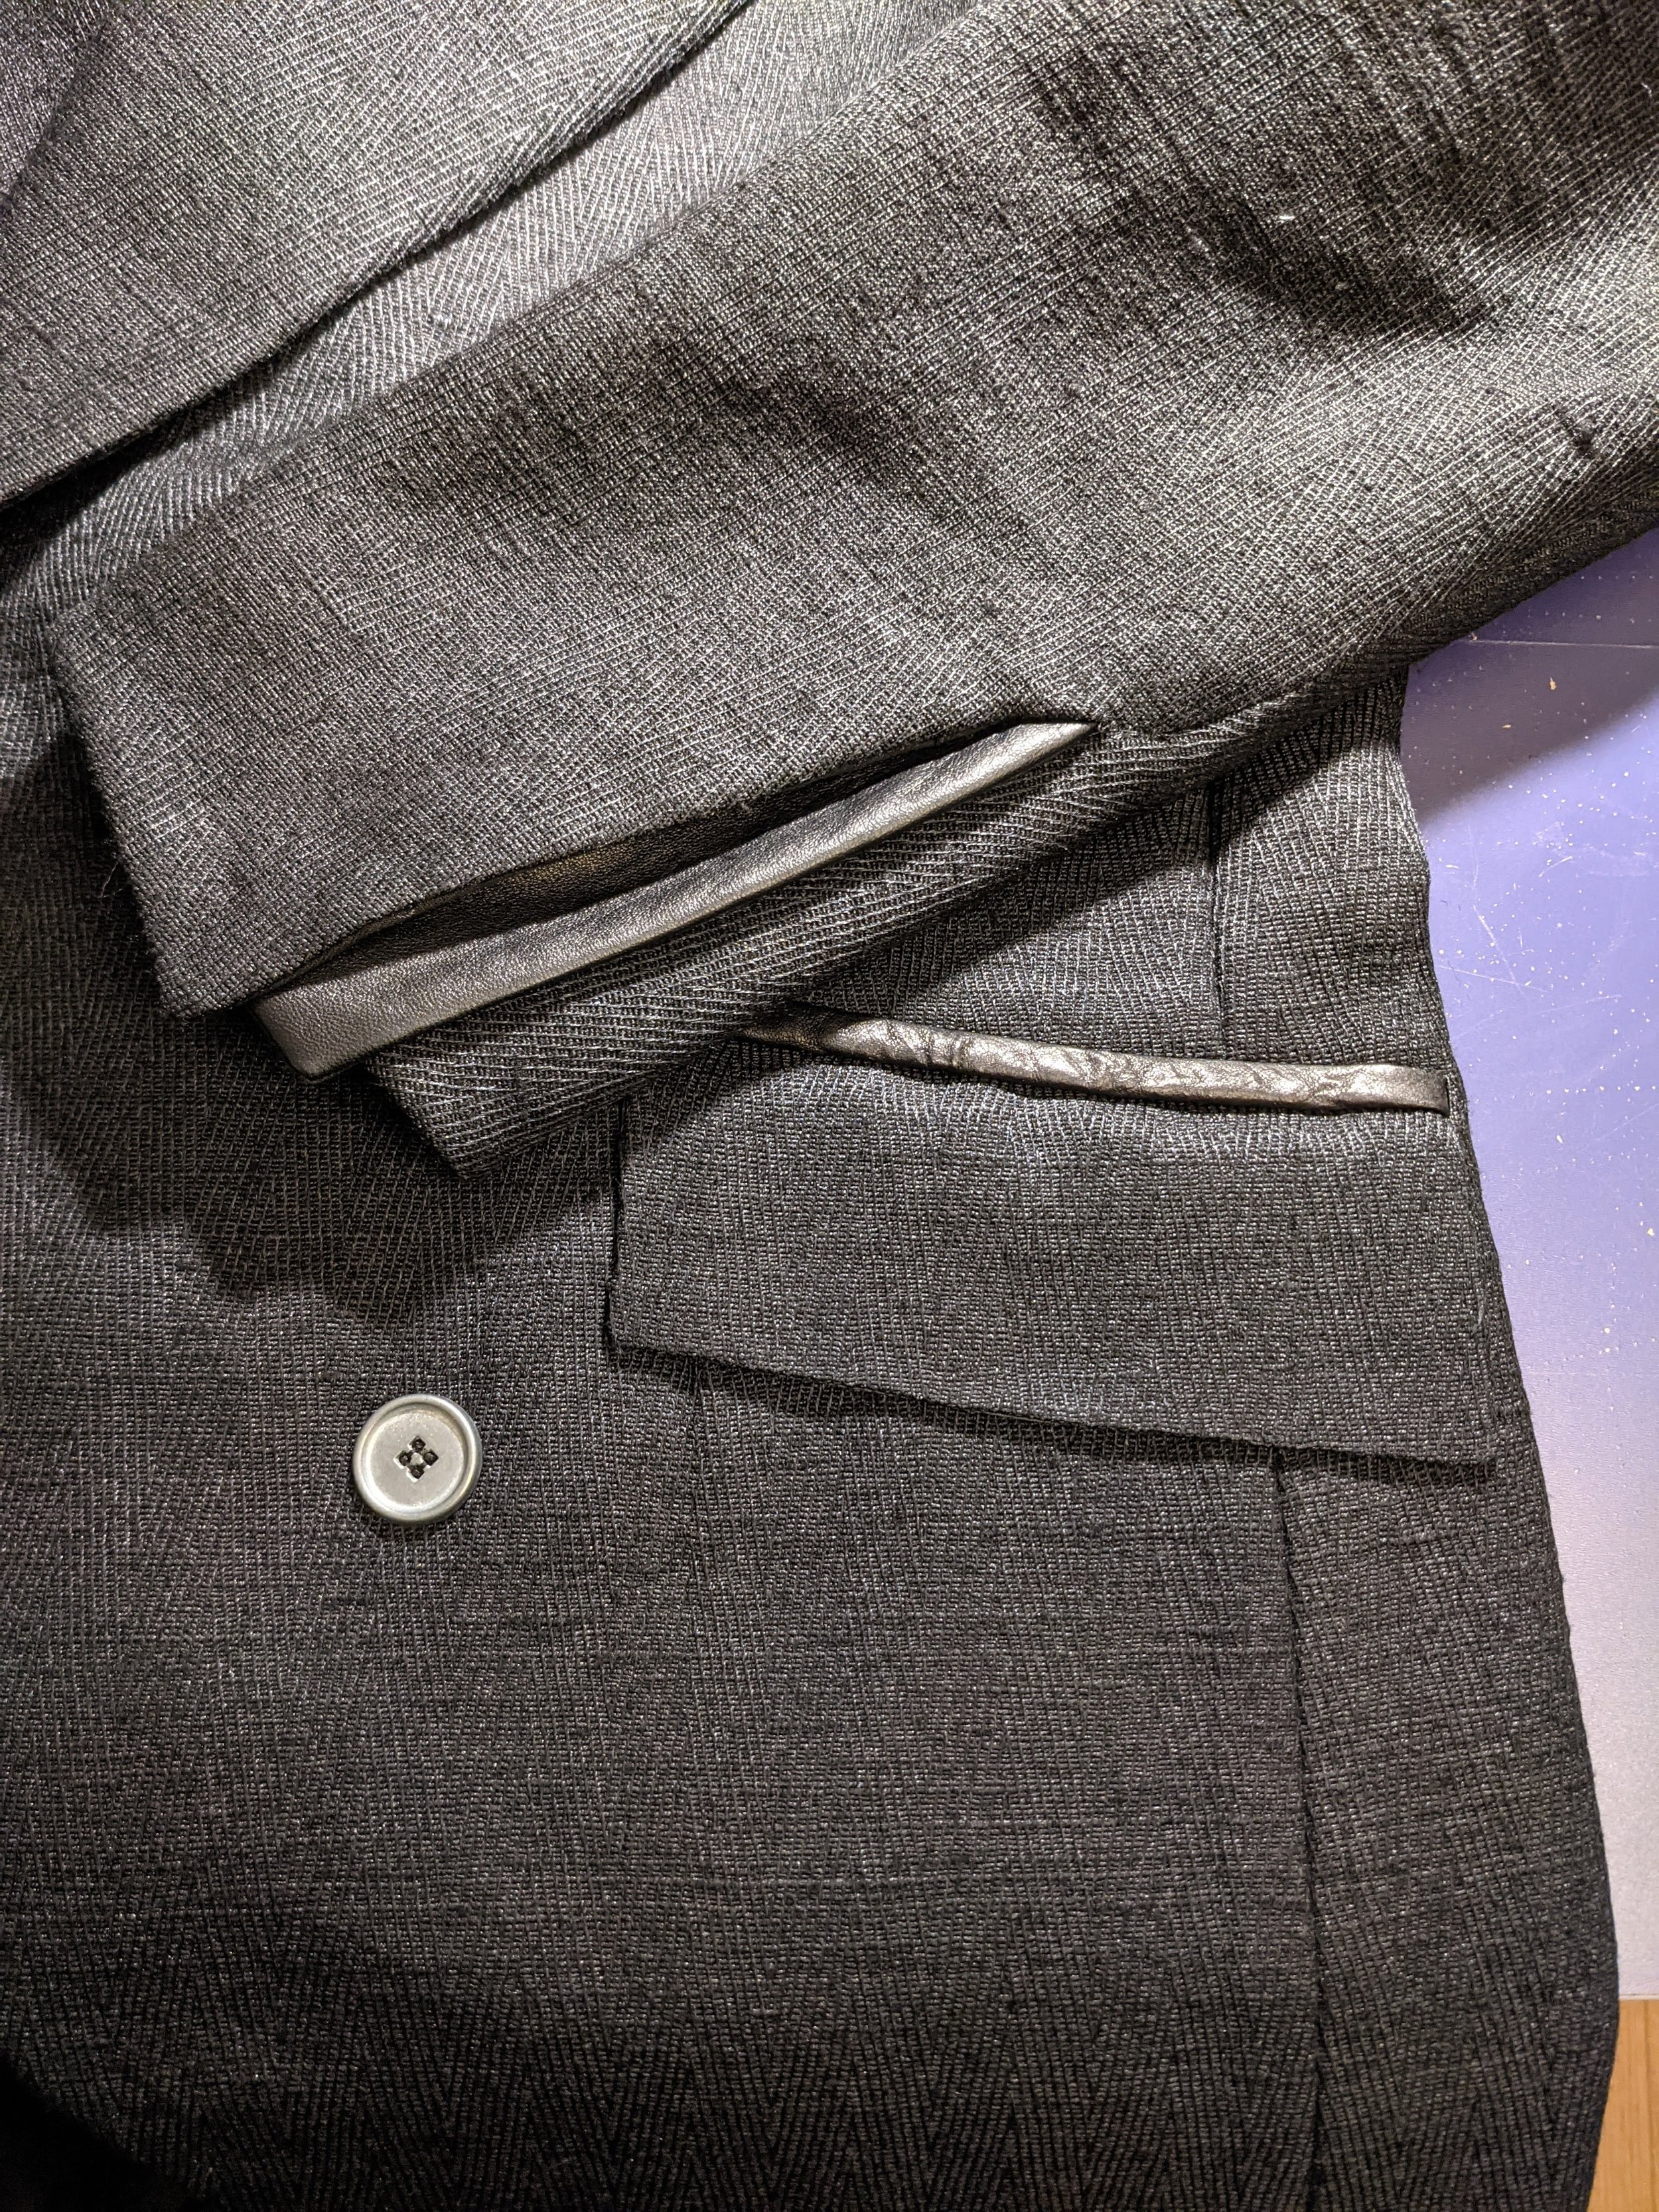
With the front panels of the jacket cut, the welt pockets could then be created. In this case I wanted welt pockets with flaps, which subtly emphasized the waist and added a line of movement from the front to the back of the jacket. The process of cutting a welt pocket requires many steps, with the layers basted (temporarily stitched by hand) in place along the way. I also decided to cut the upper welt of the pocket in a textured lamb leather—a slick, subtle detail.

Many of the finest suits and jackets are “canvassed”, meaning there is an internal structure beneath the outer fabric which gives the jacket (and the wearer) a smooth, perfected chest & torso shape. For this jacket I used a traditional hair canvas, which is a stiff yet lightweight fabric, woven with hair (usually goat or wool) to create a soft structural support. Because the silk itself was fairly thick, I didn’t want to bulk up the jacket any more than necessary. Some jackets include additional layers of padding over the chest, which I chose to omit.
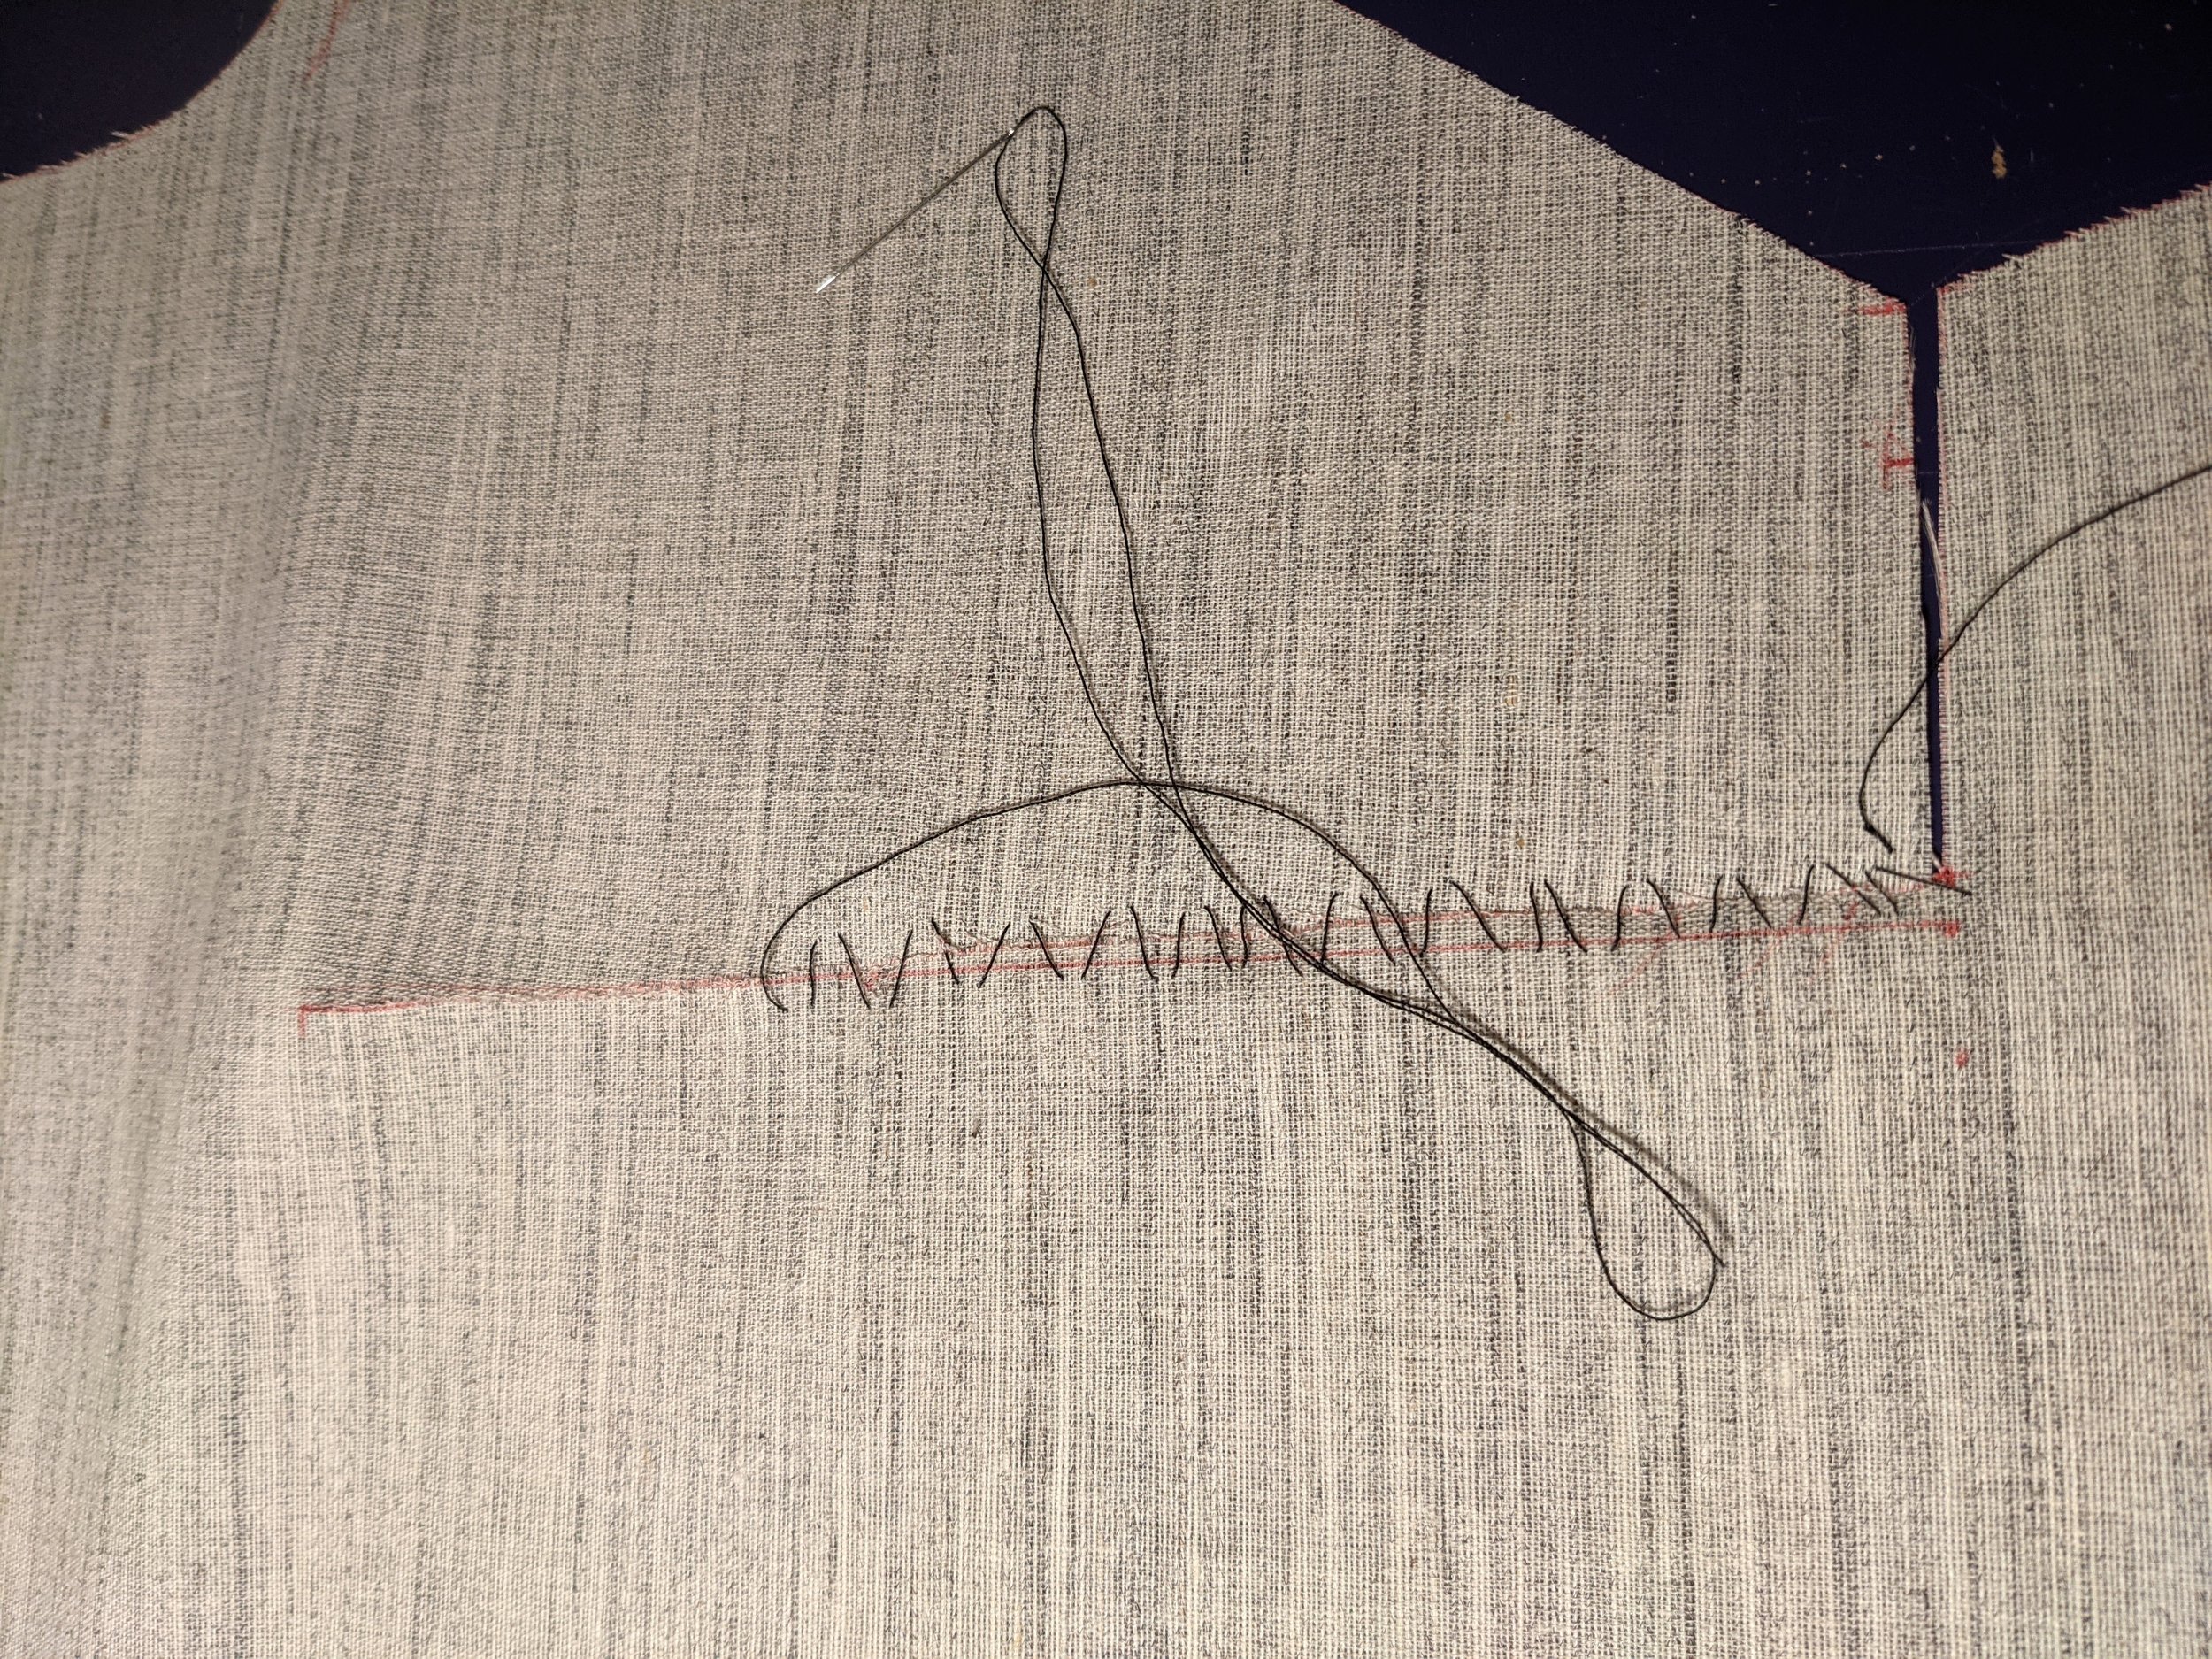
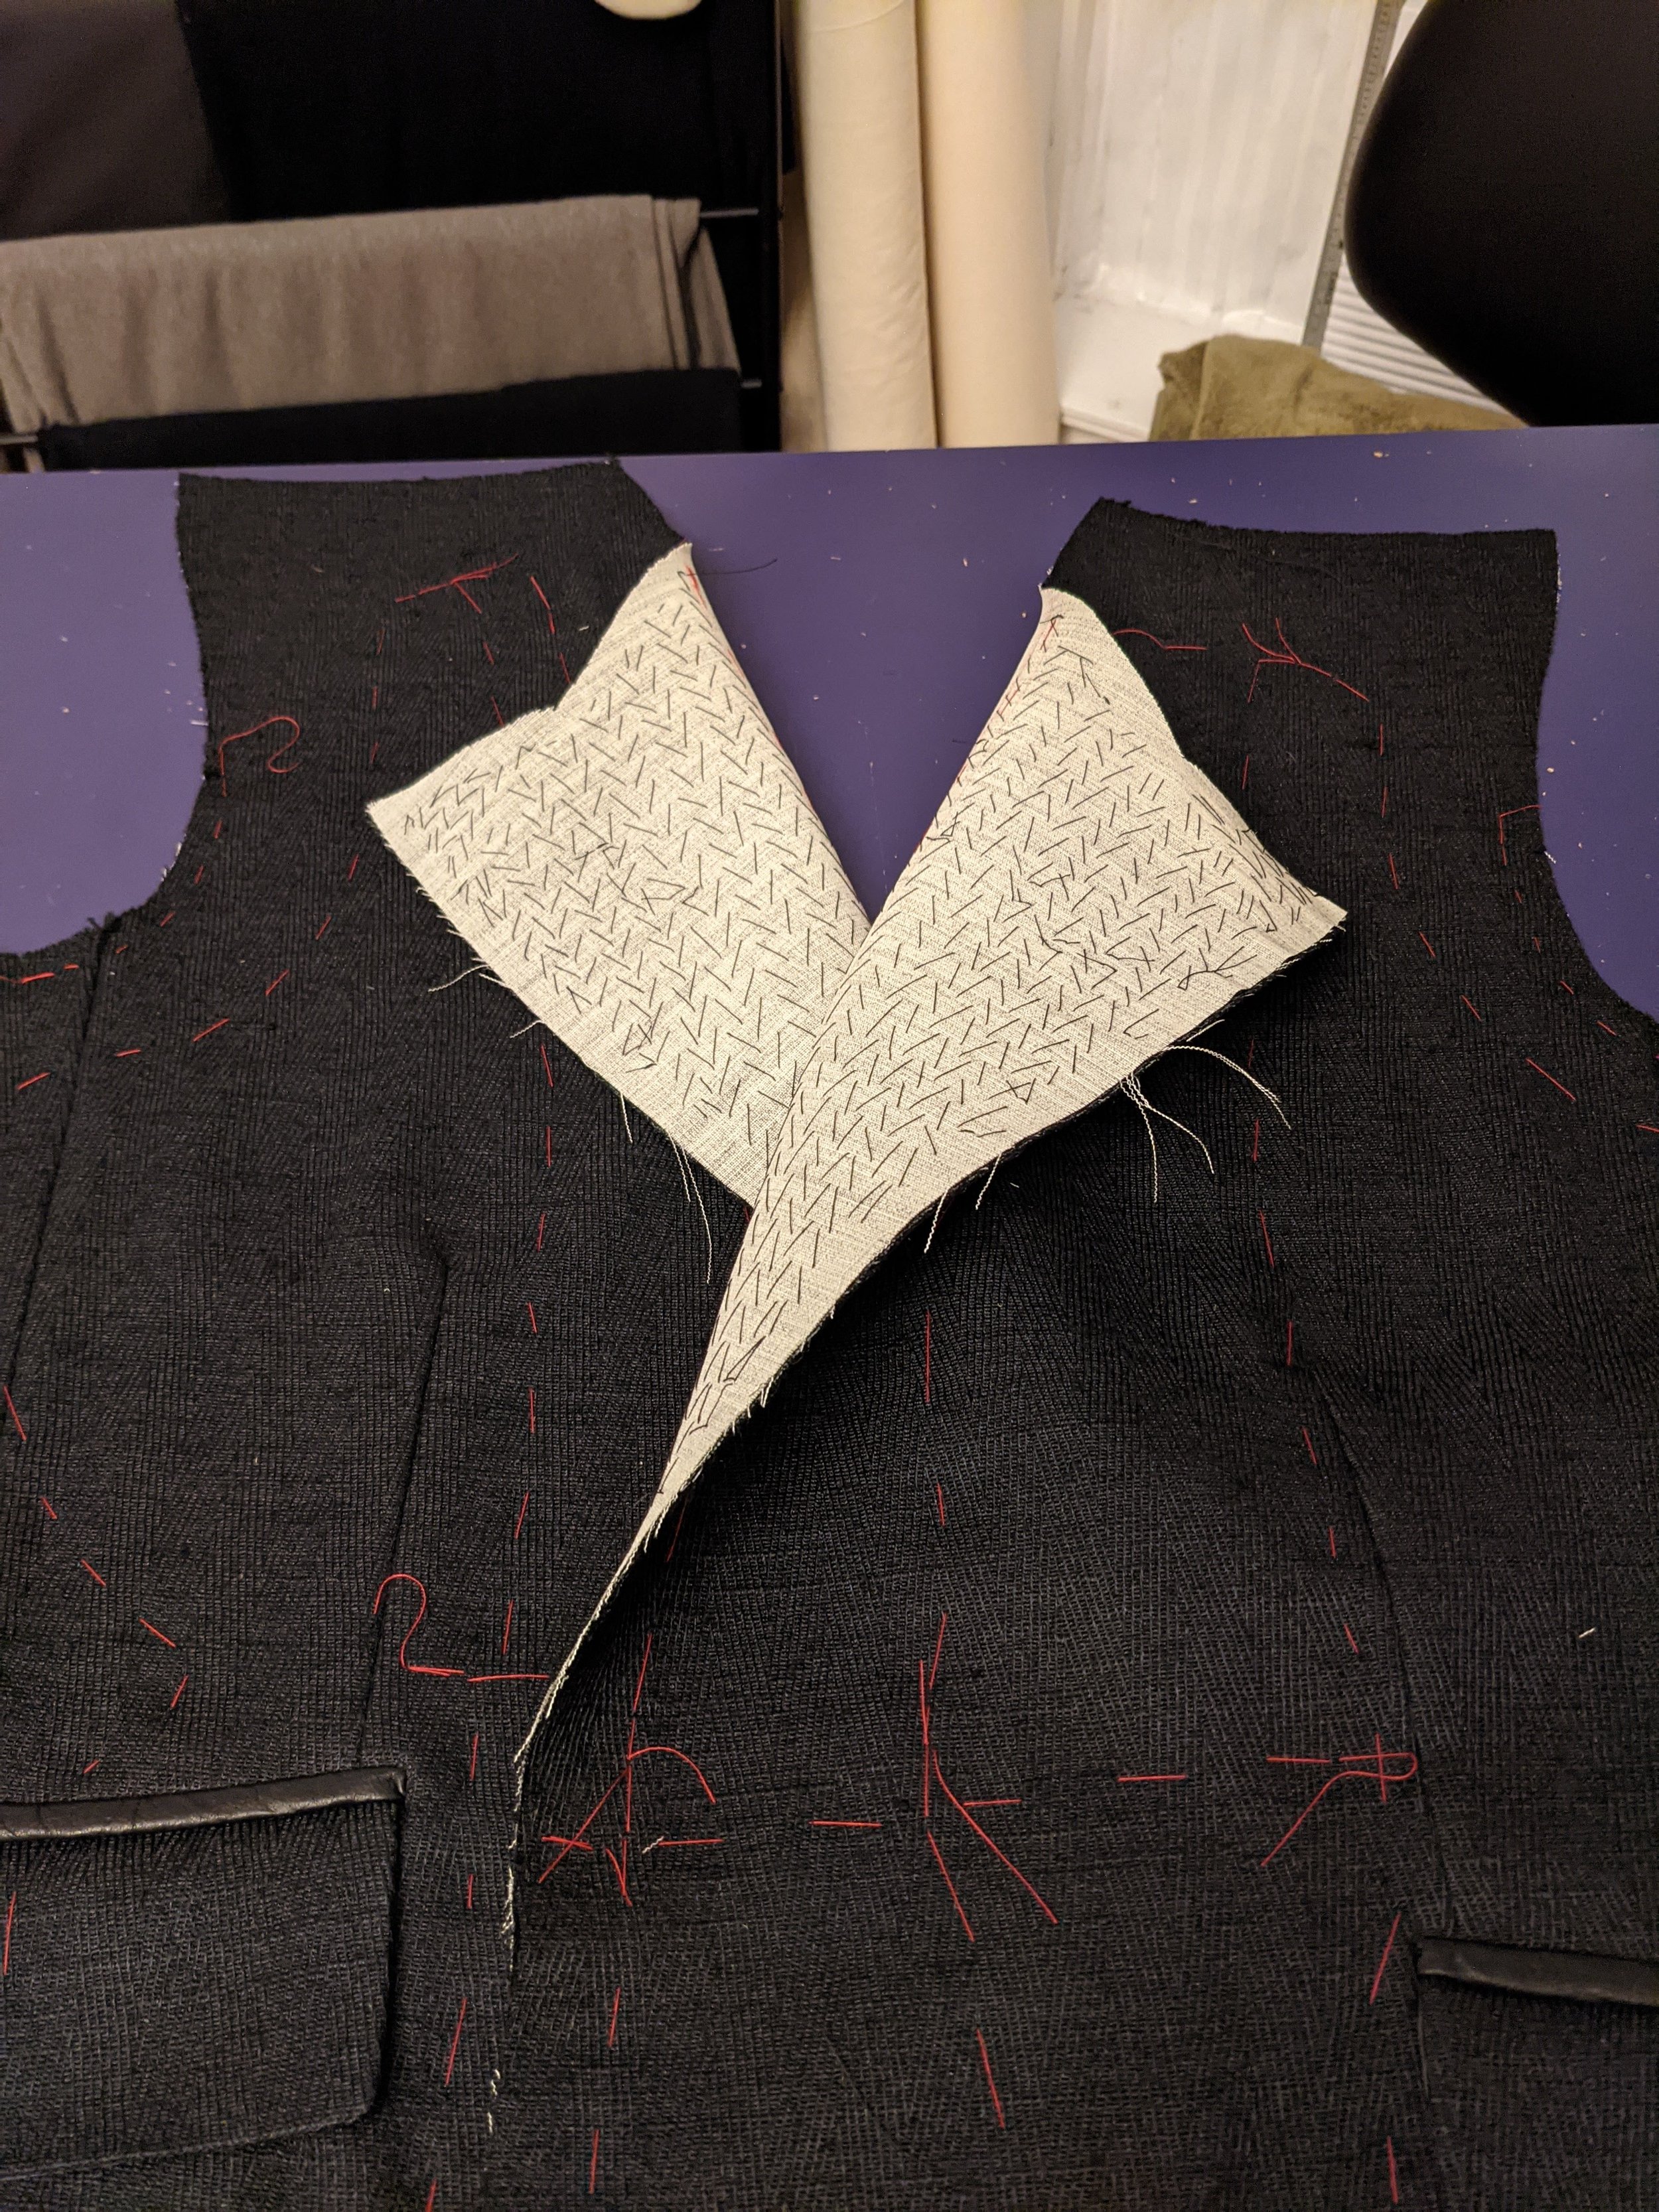
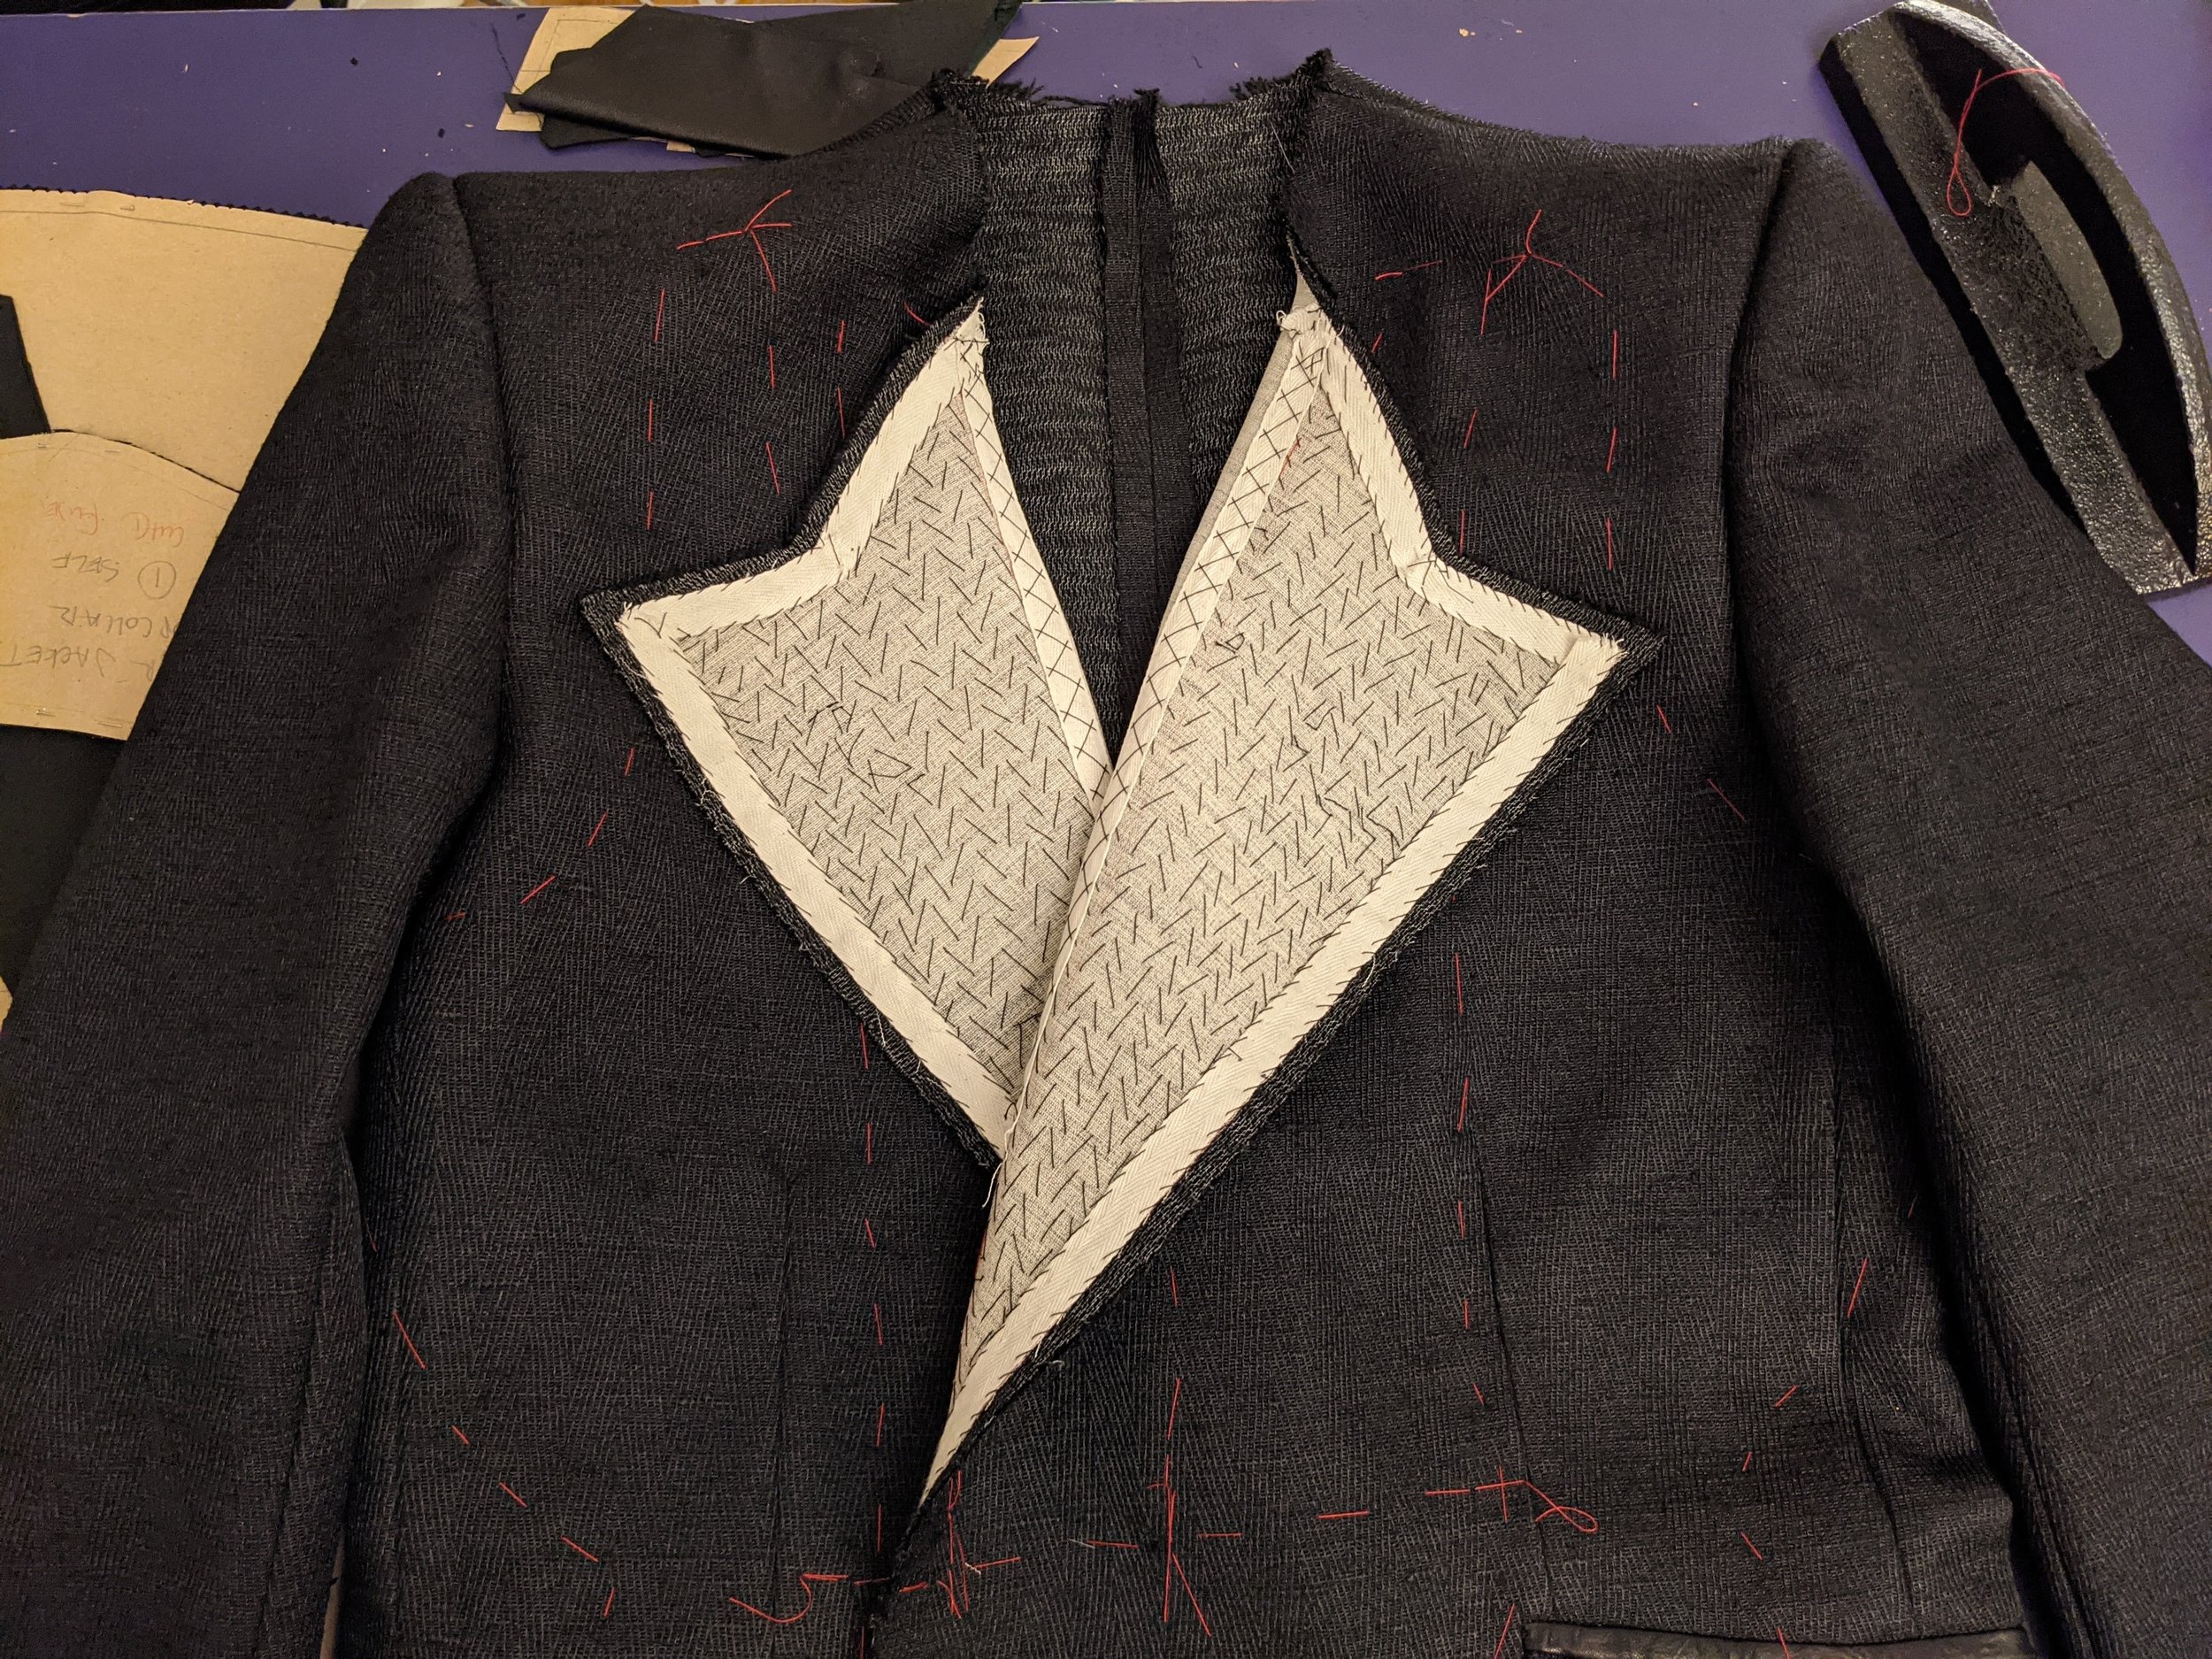
The canvas pieces needed to be specially prepared and inserted into the jacket. This is typically done by hand, using a series of pad stitches, which create a staggered “V” shape. This stitching was done carefully while the lapel was folded back to help sculpt the roll of the lapel into the jacket itself. (The mark of a well-tailored suit is a beautiful, rounded roll sculpted into the lapel, rather than a harsh crease created by heavy pressing with the iron.) The pad stitching is also meticulously sewn so that the stitches are not visible from the right side of the fabric.
Once the jacket was canvassed, I trimmed away the edges from the seam allowance and “taped” the perimeter of the canvas, meaning a material called twill tape was stitched down to help keep the edge of the lapel and the hem of the jacket from losing their shape. Twill tape is a cotton ribbon that will not stretch, so it’s good for stabilizing well-defined edges. To avoid any shrinking as the jacket was pressed and steamed, I first soaked the twill tape in water then ironed it dry before hand-stitching it into the jacket.


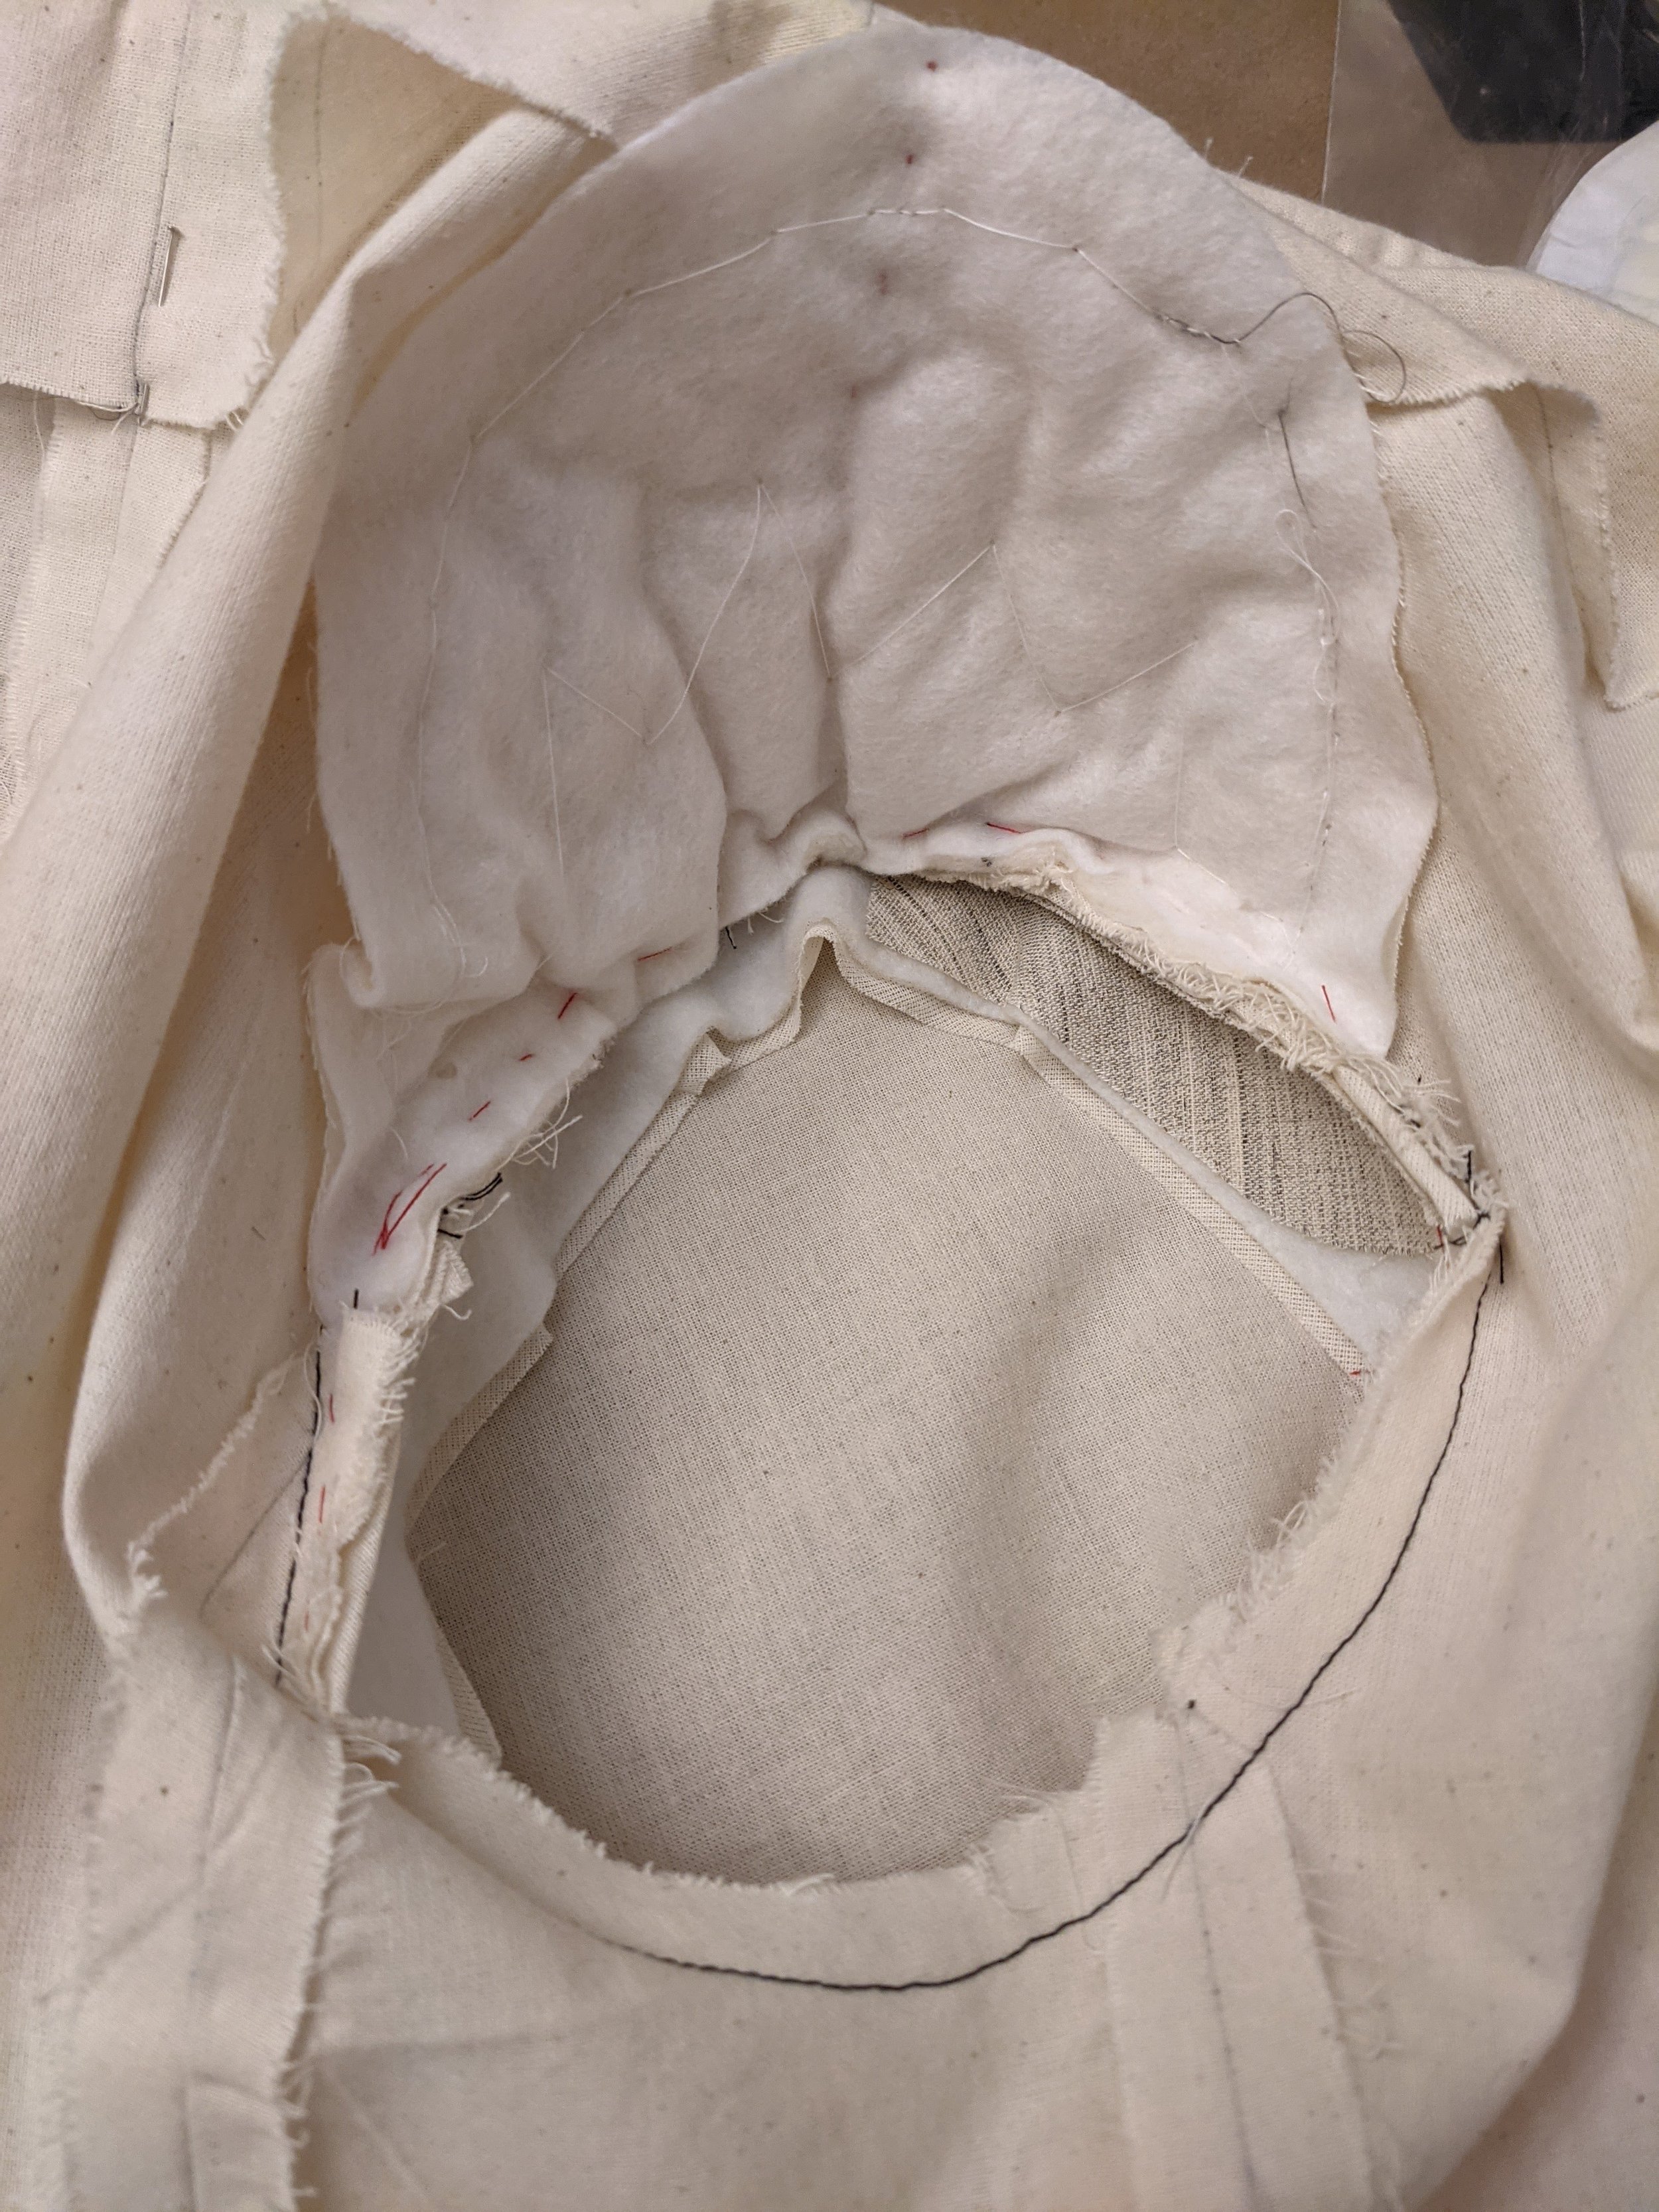
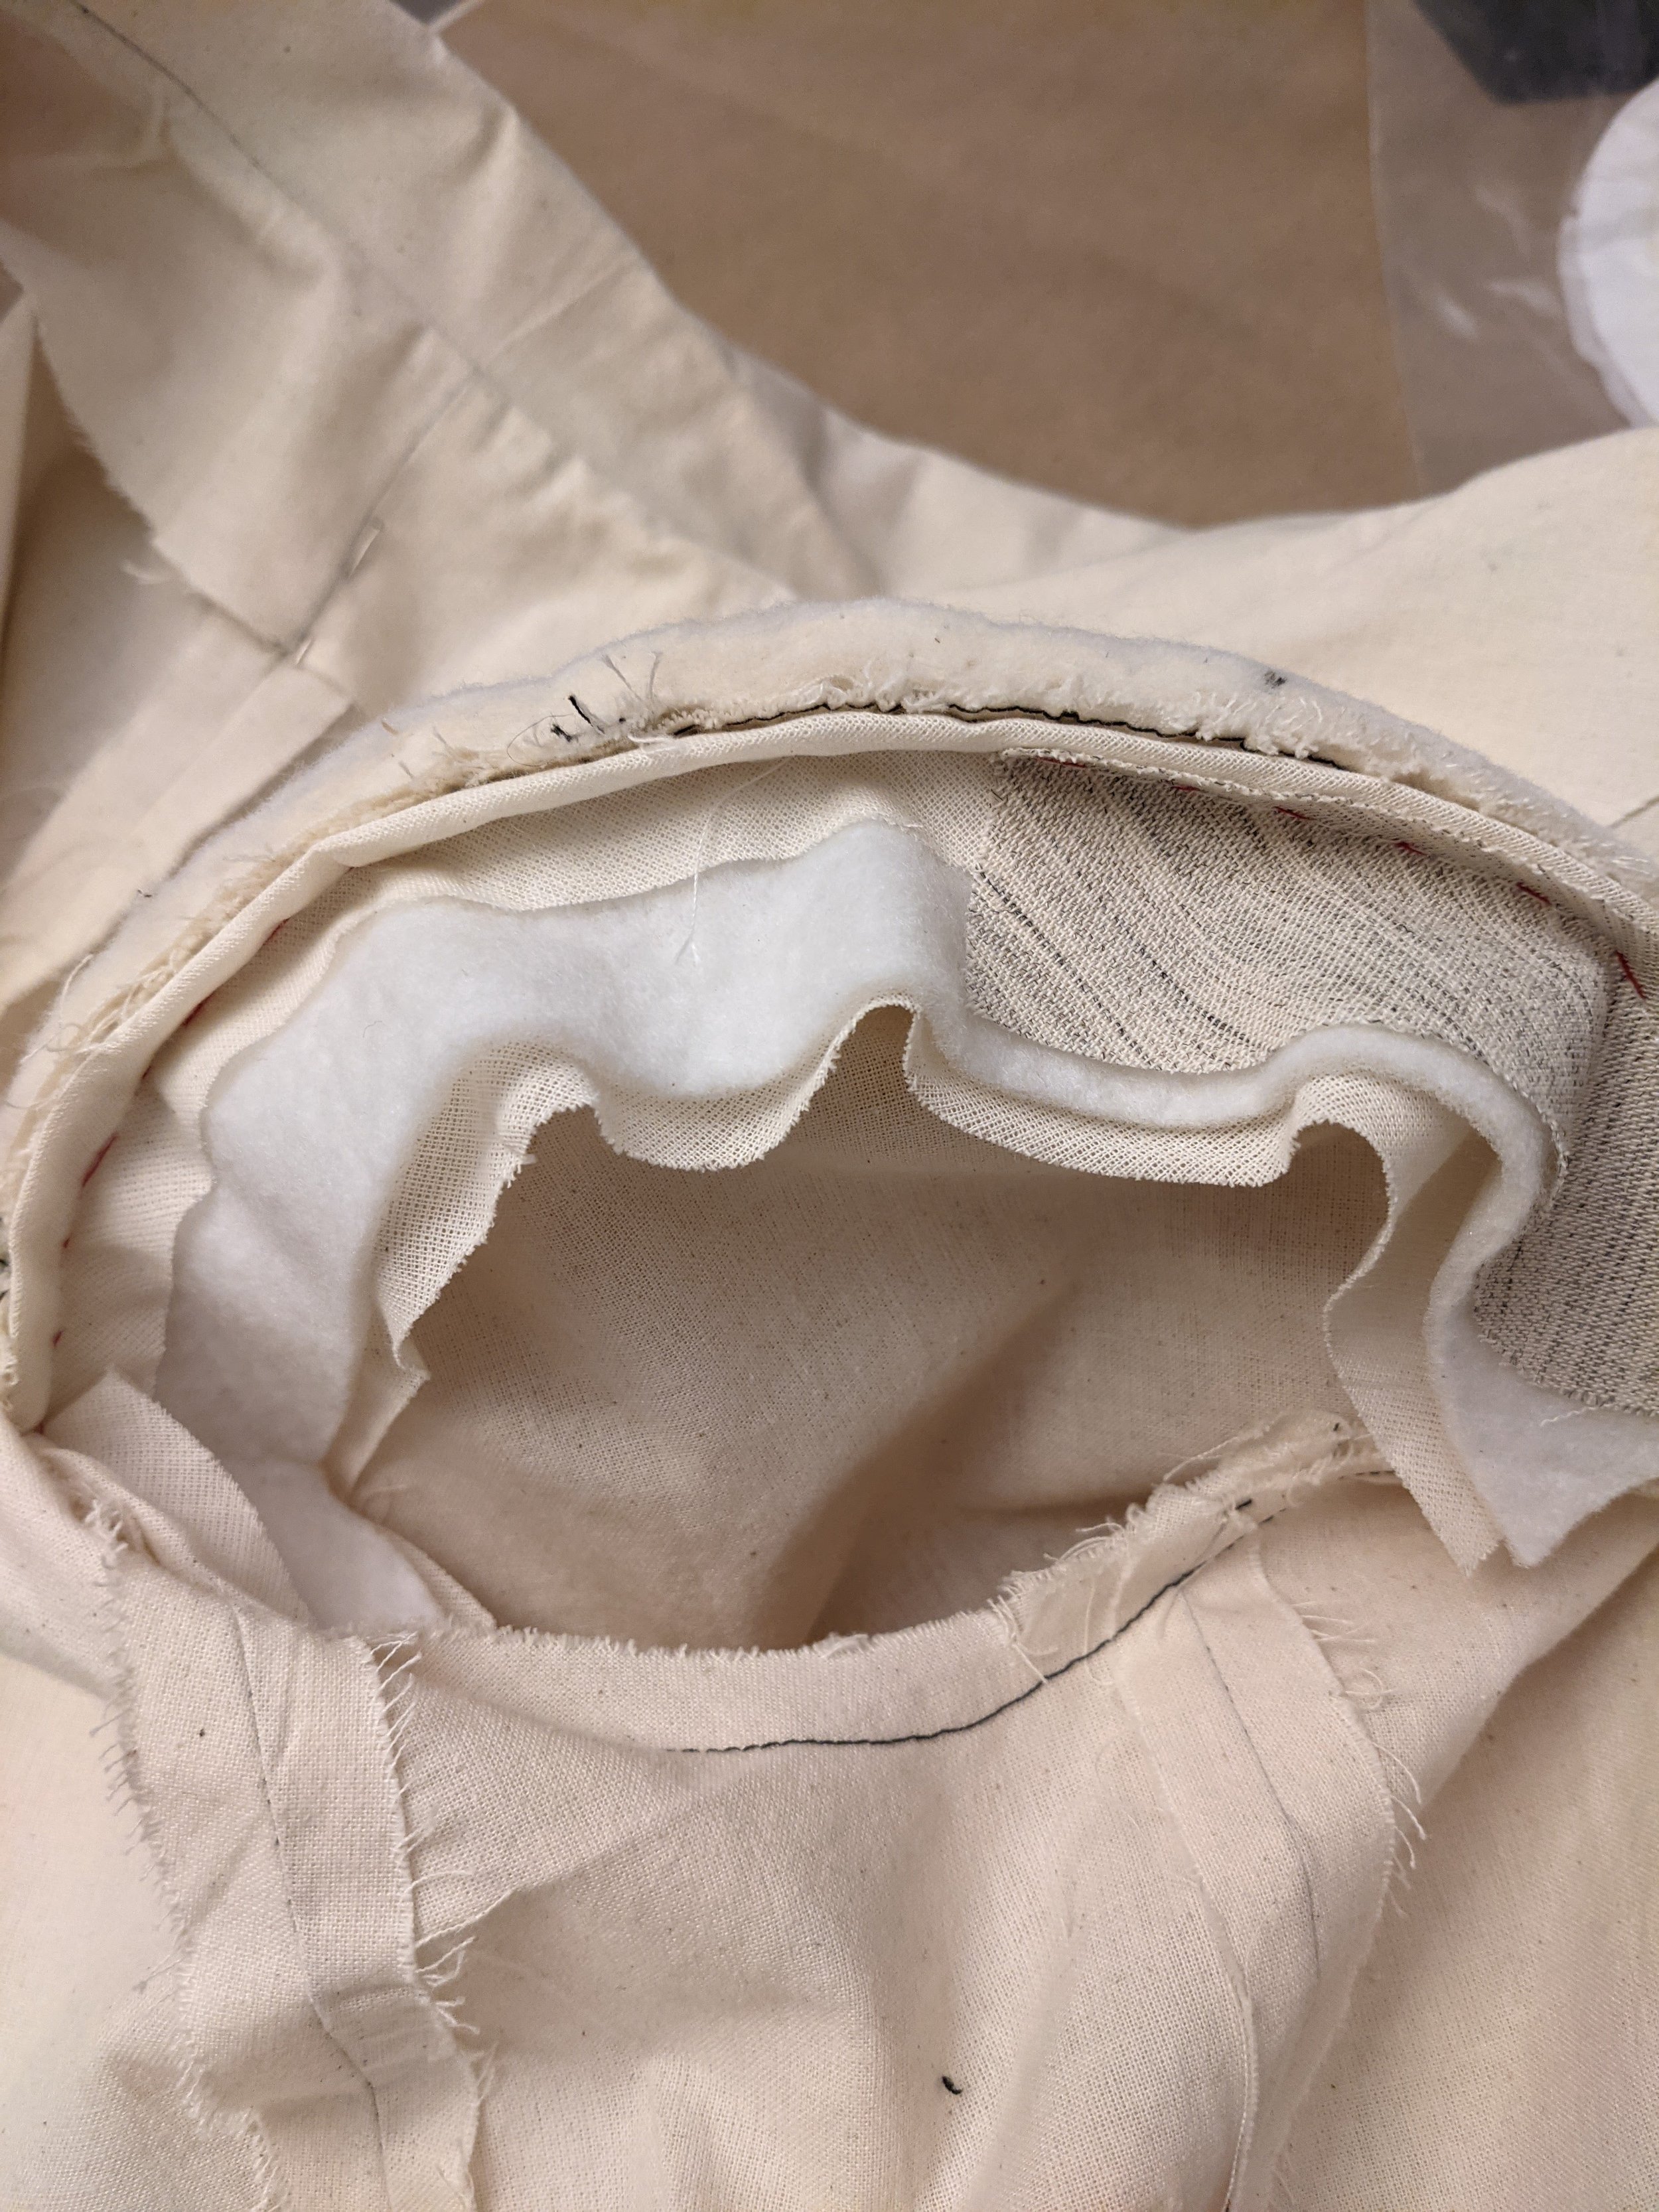
The distinct rounded shape of the sleeve cap is thanks to the sleeve headers. These are usually strips of batting covered with muslin, sometimes including other supportive materials, such as hair canvas. To get the perfect roll along the top of the shoulder, I needed to reshape them using steam and heat. I molded the straight header into a smooth arch before setting it into the armhole. The sleeve header and shoulder pads work together to create a well-sculpted shoulder.
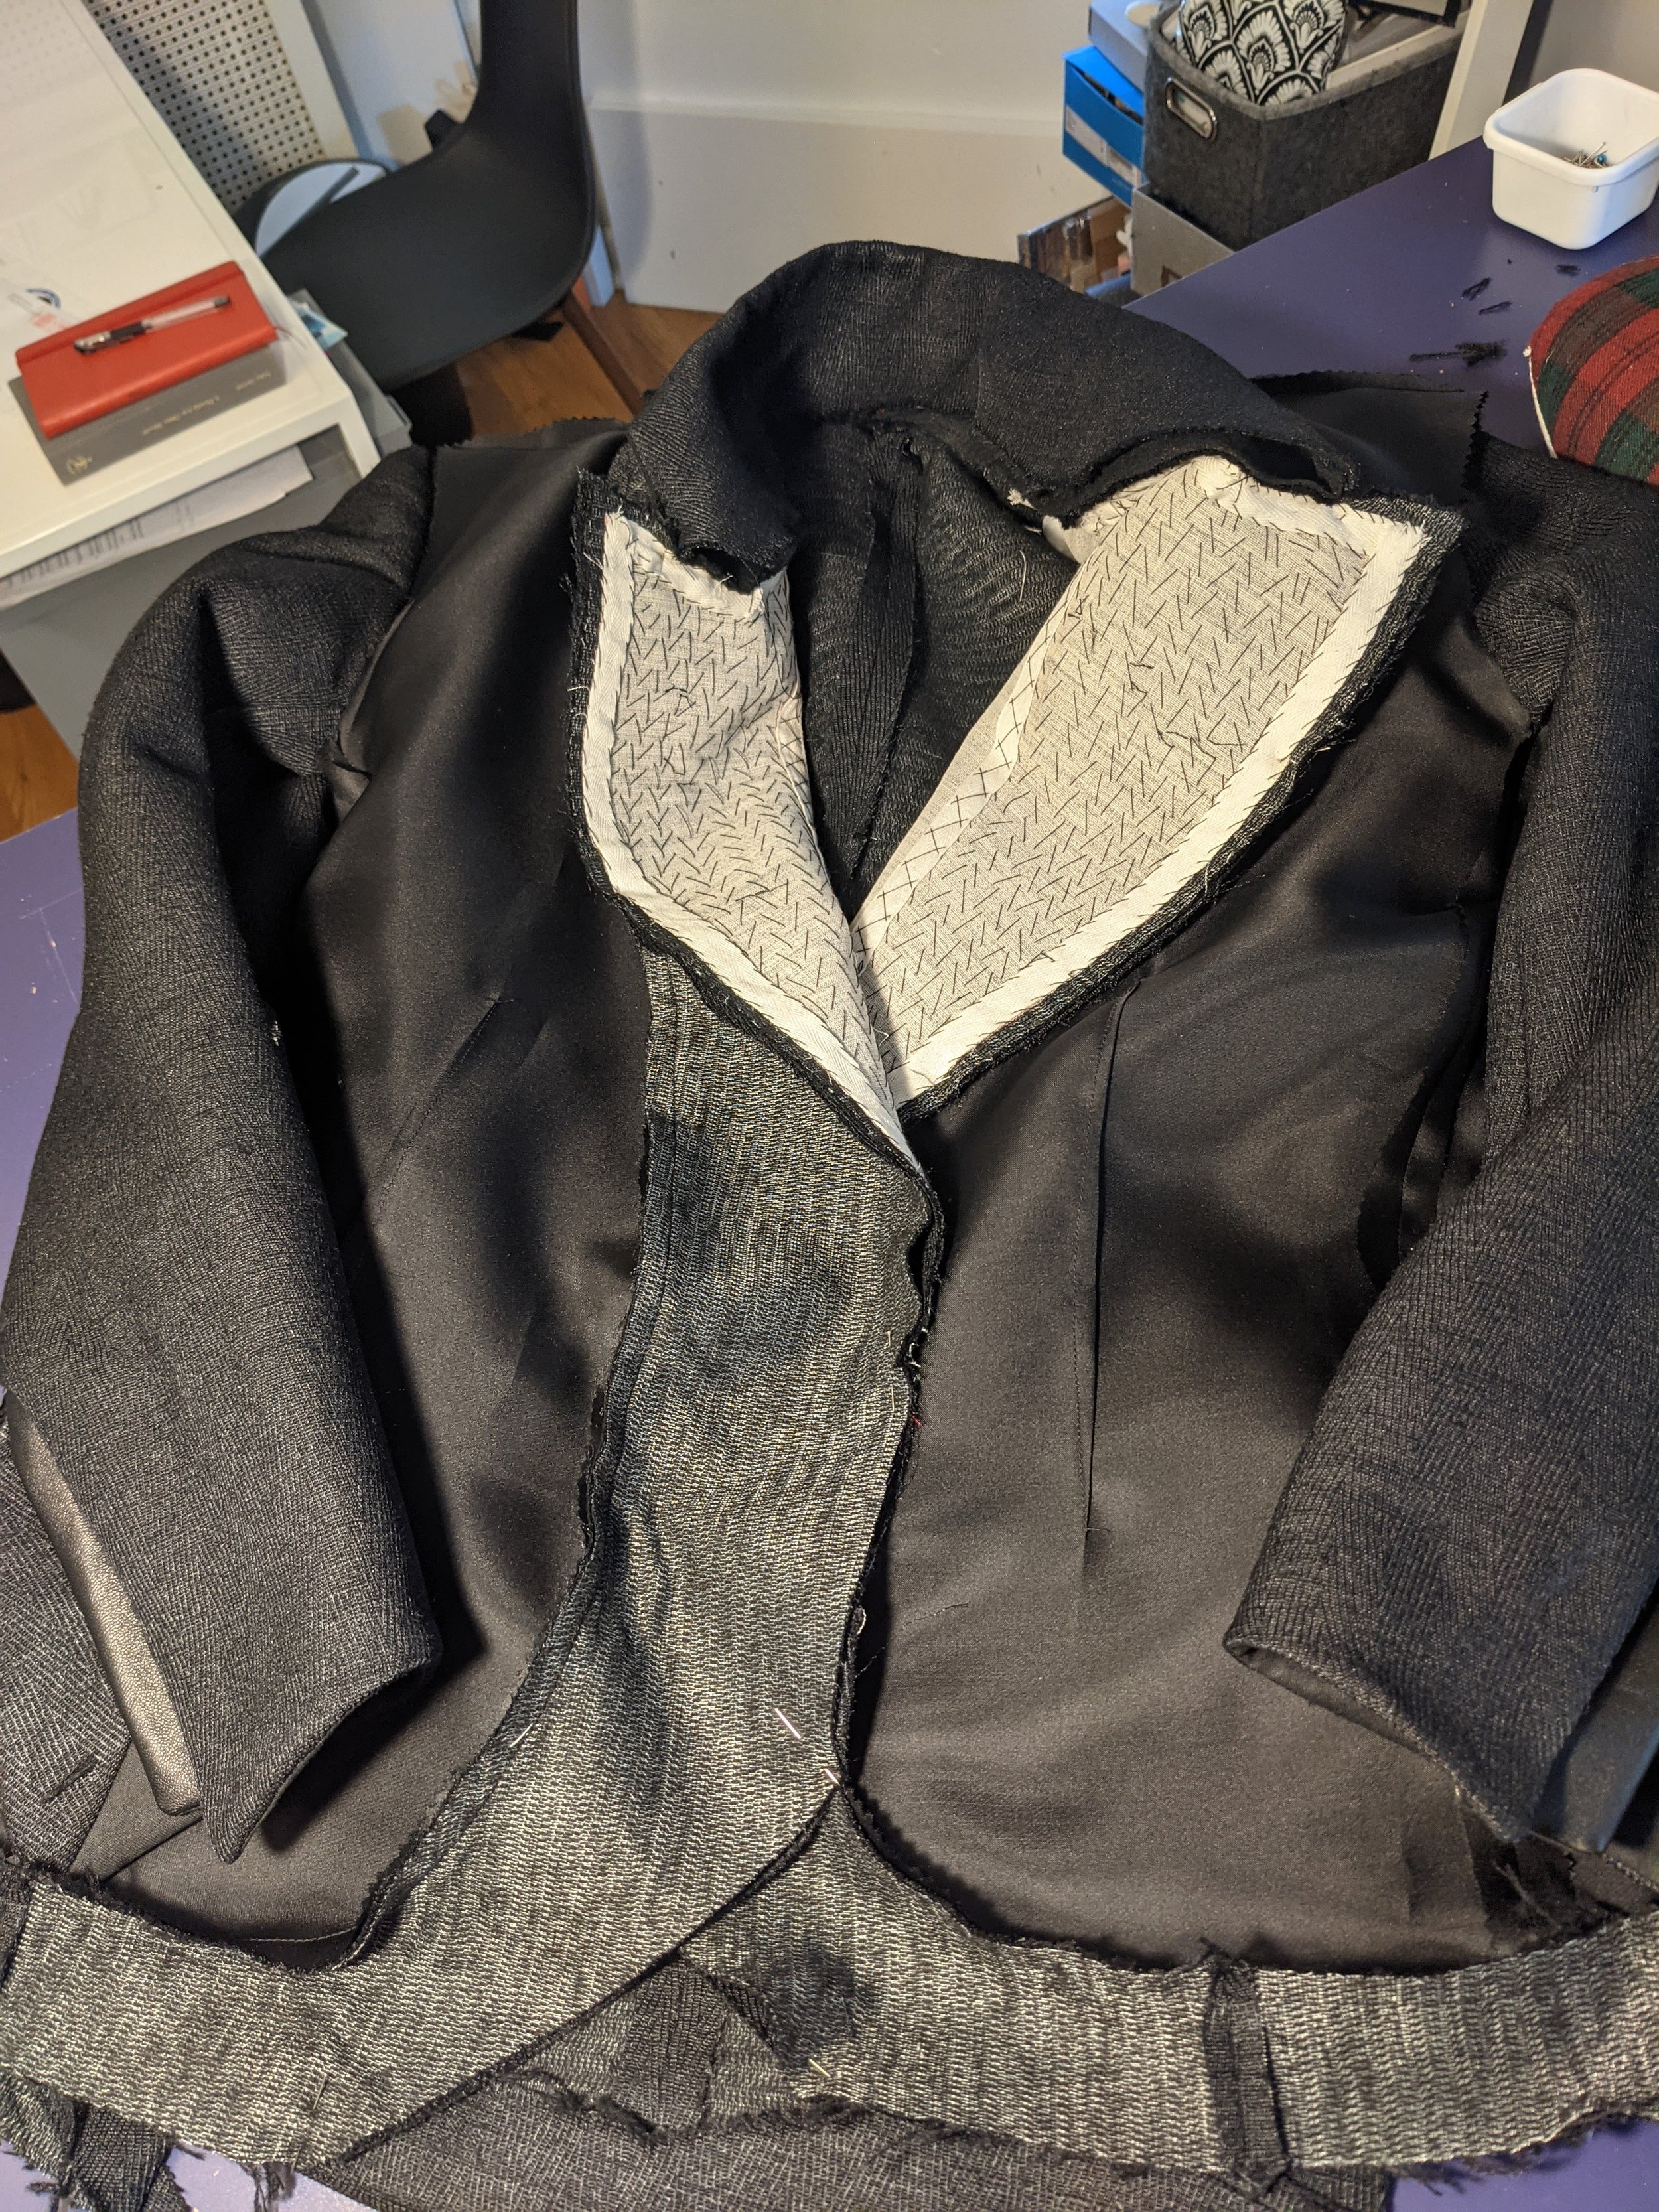
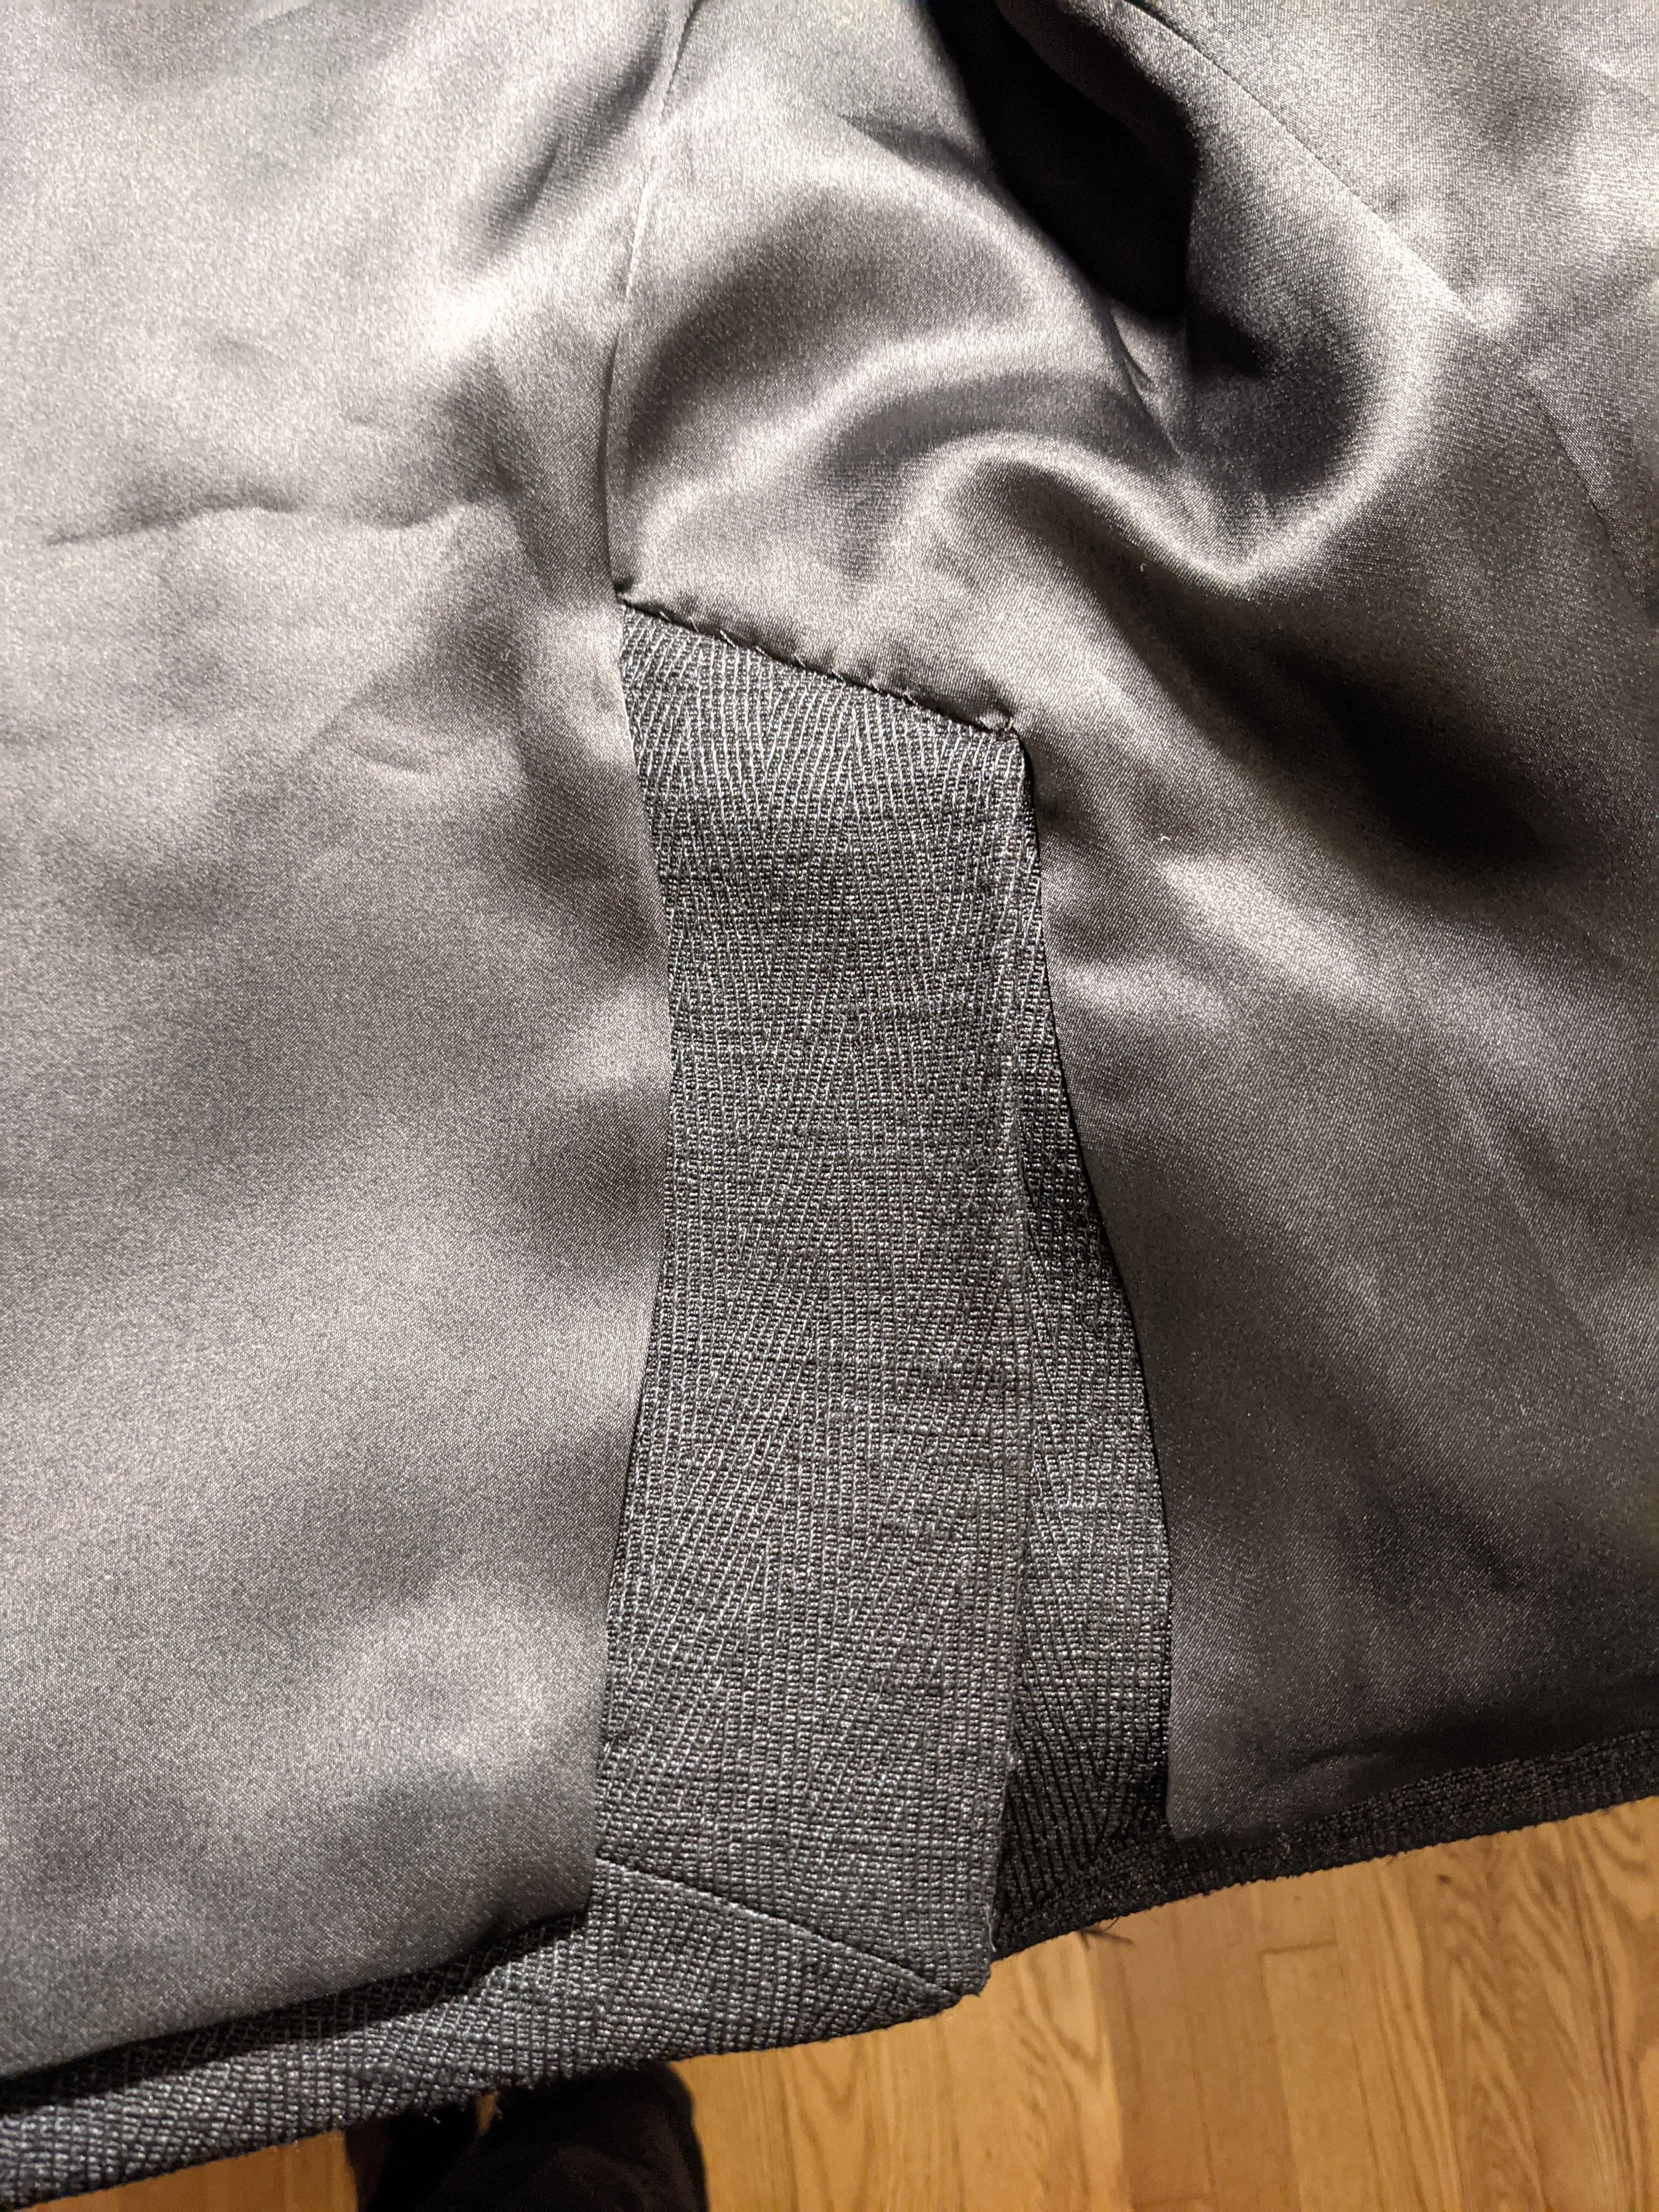
Once the outer shell of the jacket was assembled, the lining and facings were attached. I decided to use a silk organza to line this jacket. Organza is a somewhat transparent fabric, with a smooth, glassy surface and a crisp body. Organza isn’t commonly used as a lining because of its crisp structure, however I found that it actually worked very well to subtly reinforce the sculpted shape of the jacket without adding more bulk or additional layers of padding.
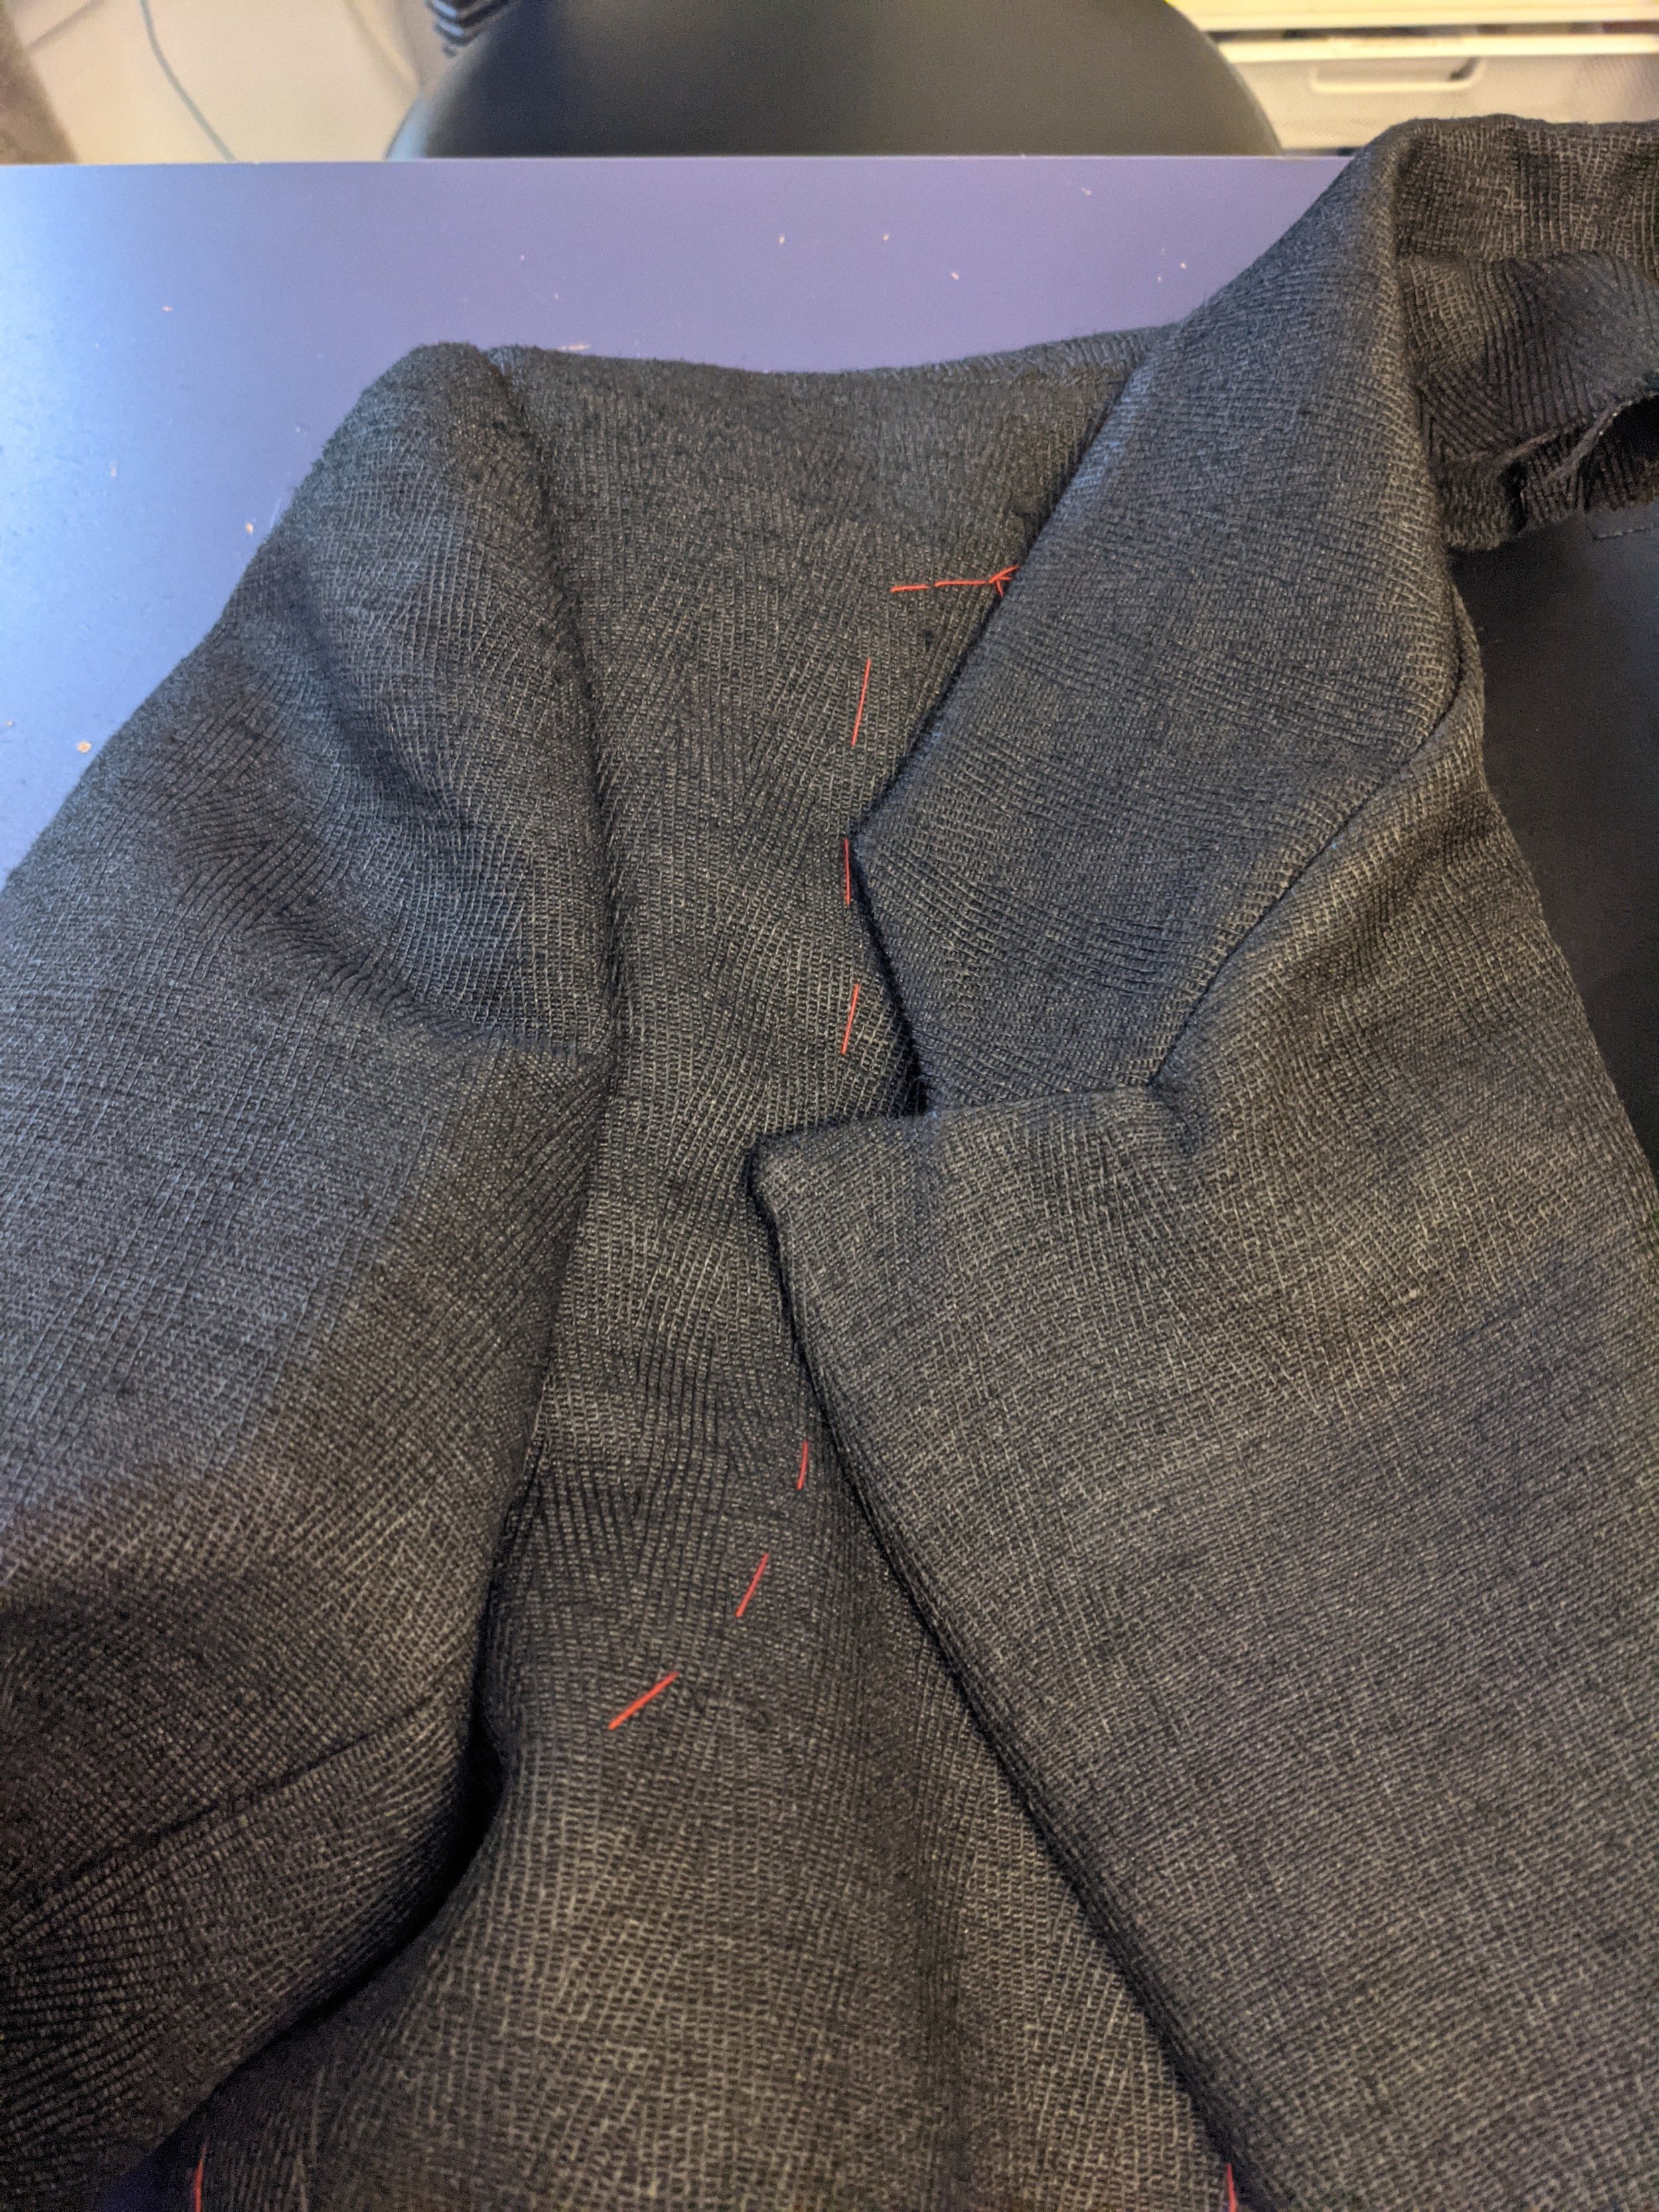
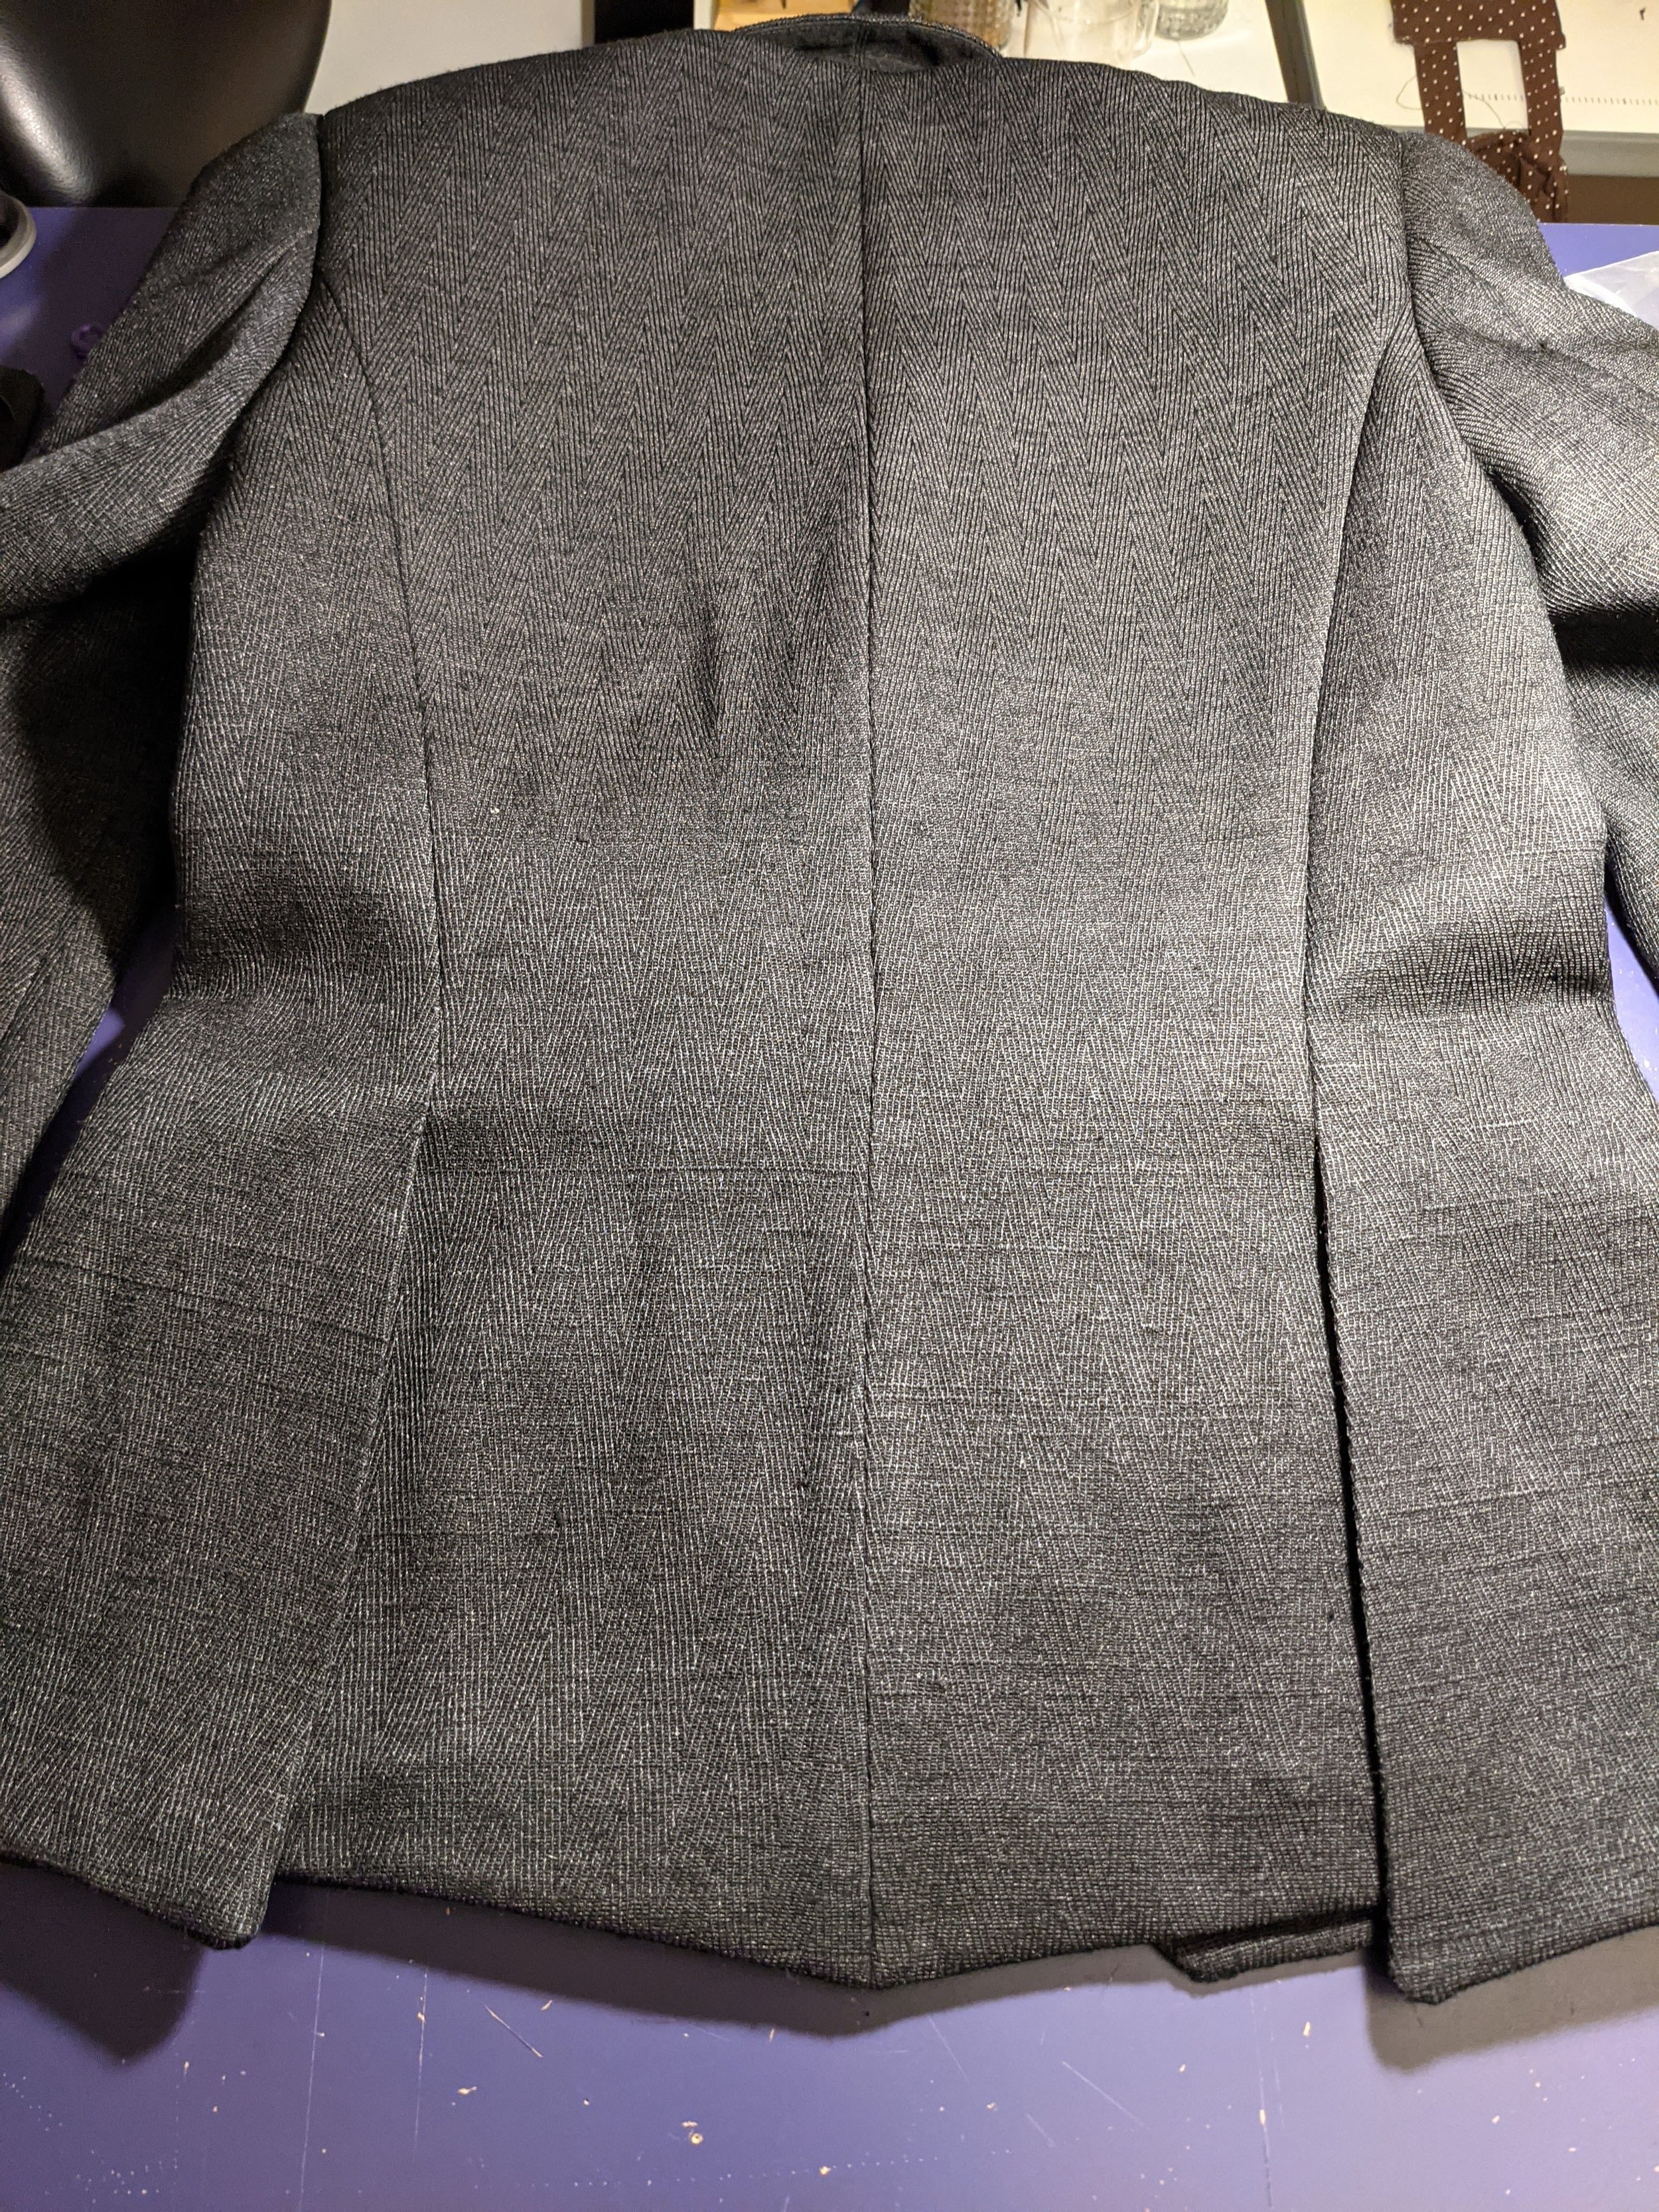
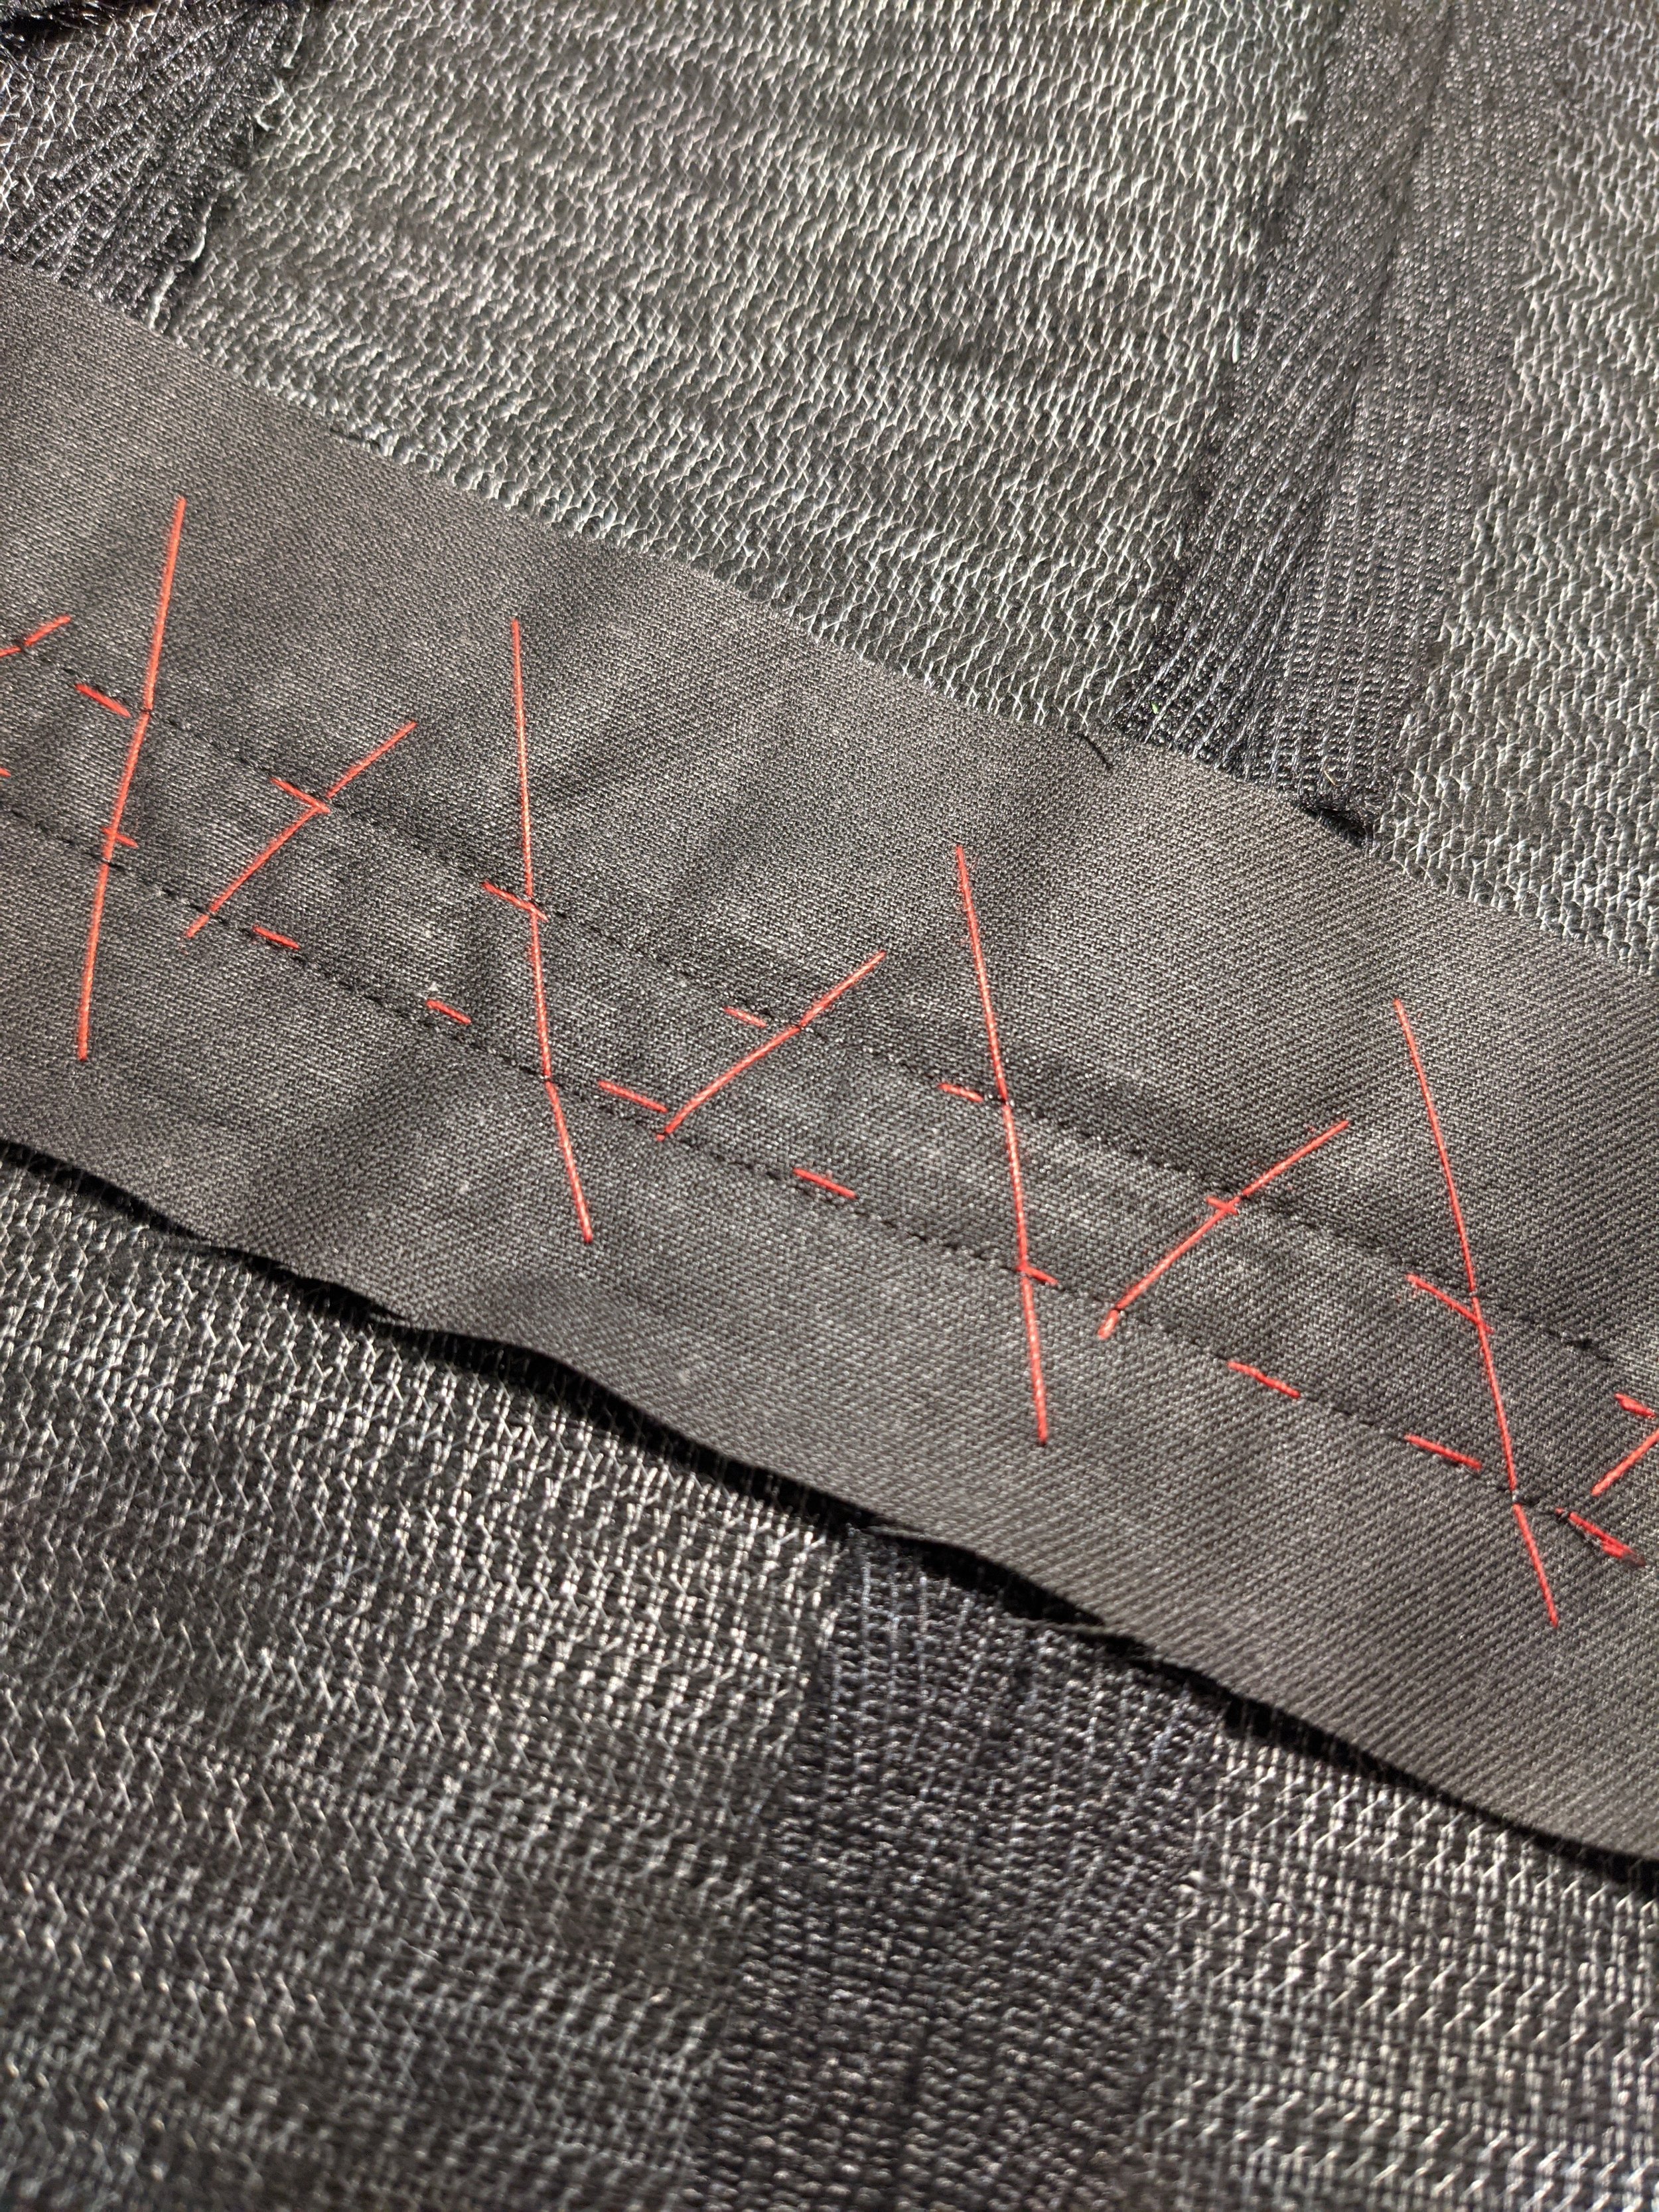
With the entire construction complete, the final step was to remove the basting threads from the body of the jacket. These threads (the red stitching) were put in place at the beginning of the process to help keep the canvas layers & pockets in place as the rest of the jacket was assembled. Once the jacket was completely sewn, final pressing helped ensure everything laid beautifully on the body. The final result was a garment that holds countless skills and techniques for me to revisit (and refine), and a process that continually challenged my desire to define and understand a garment before I set out to make it. With this piece, many steps of the construction process were an opportunity to open myself up to something I hadn’t tried before, and that became what drove me forward. I didn’t know exactly how the jacket would finish up, which left me open to designing solutions along the way.
I guess a clever line about journeys and destinations and birds in flight could just as well wrap this up, but I’ll end this here by saying that I’m grateful and excited to have gained so much insight into my practice and learned so many skills along the way— and all it took was making the most beautiful jacket of my life (so far…).
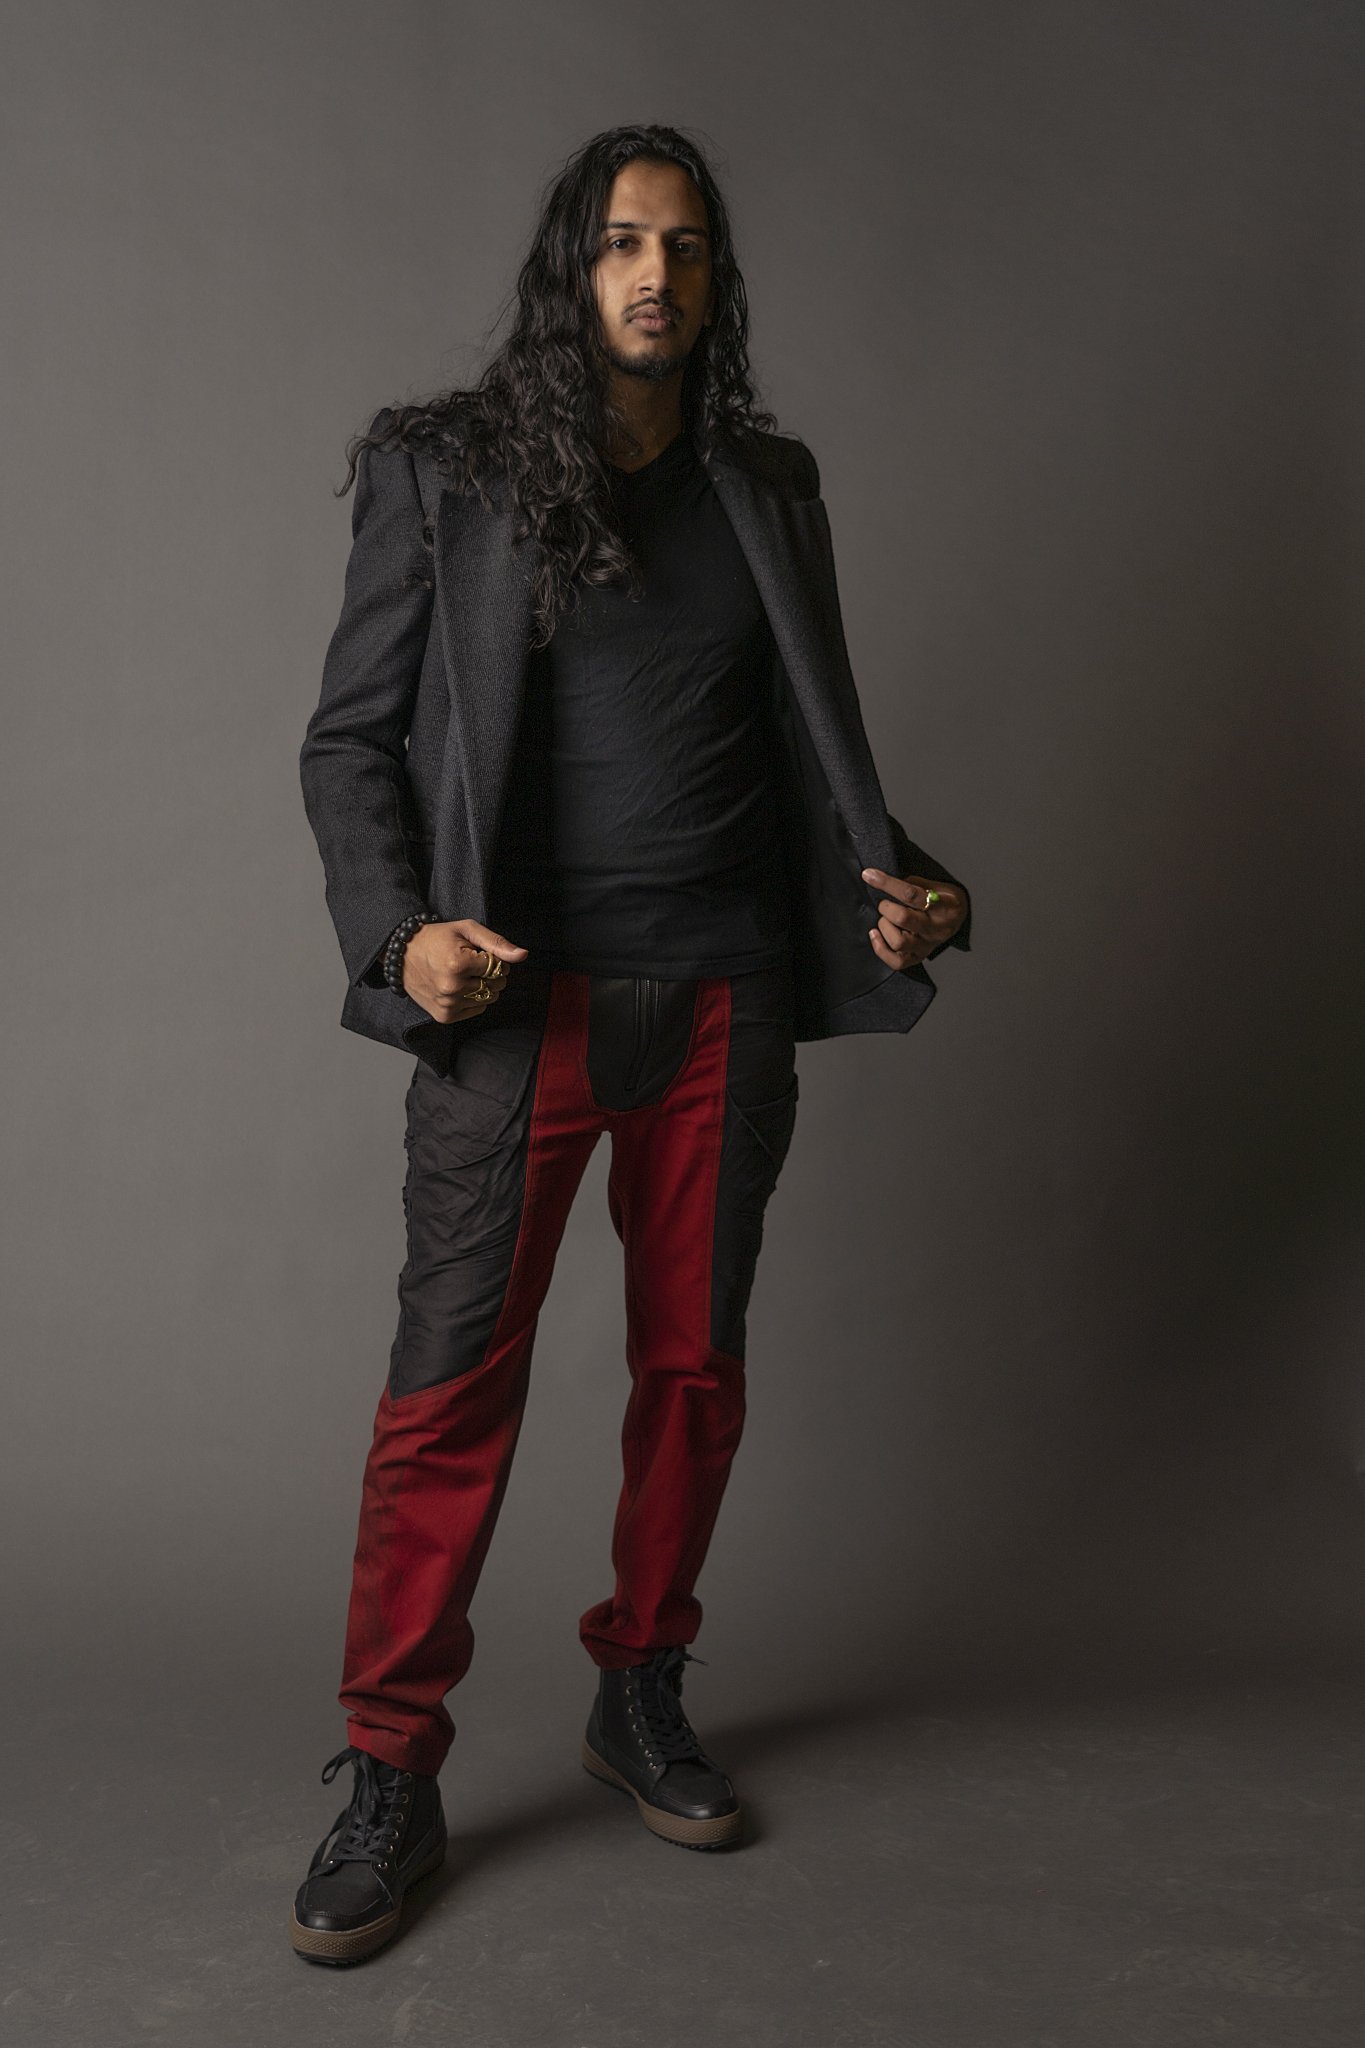
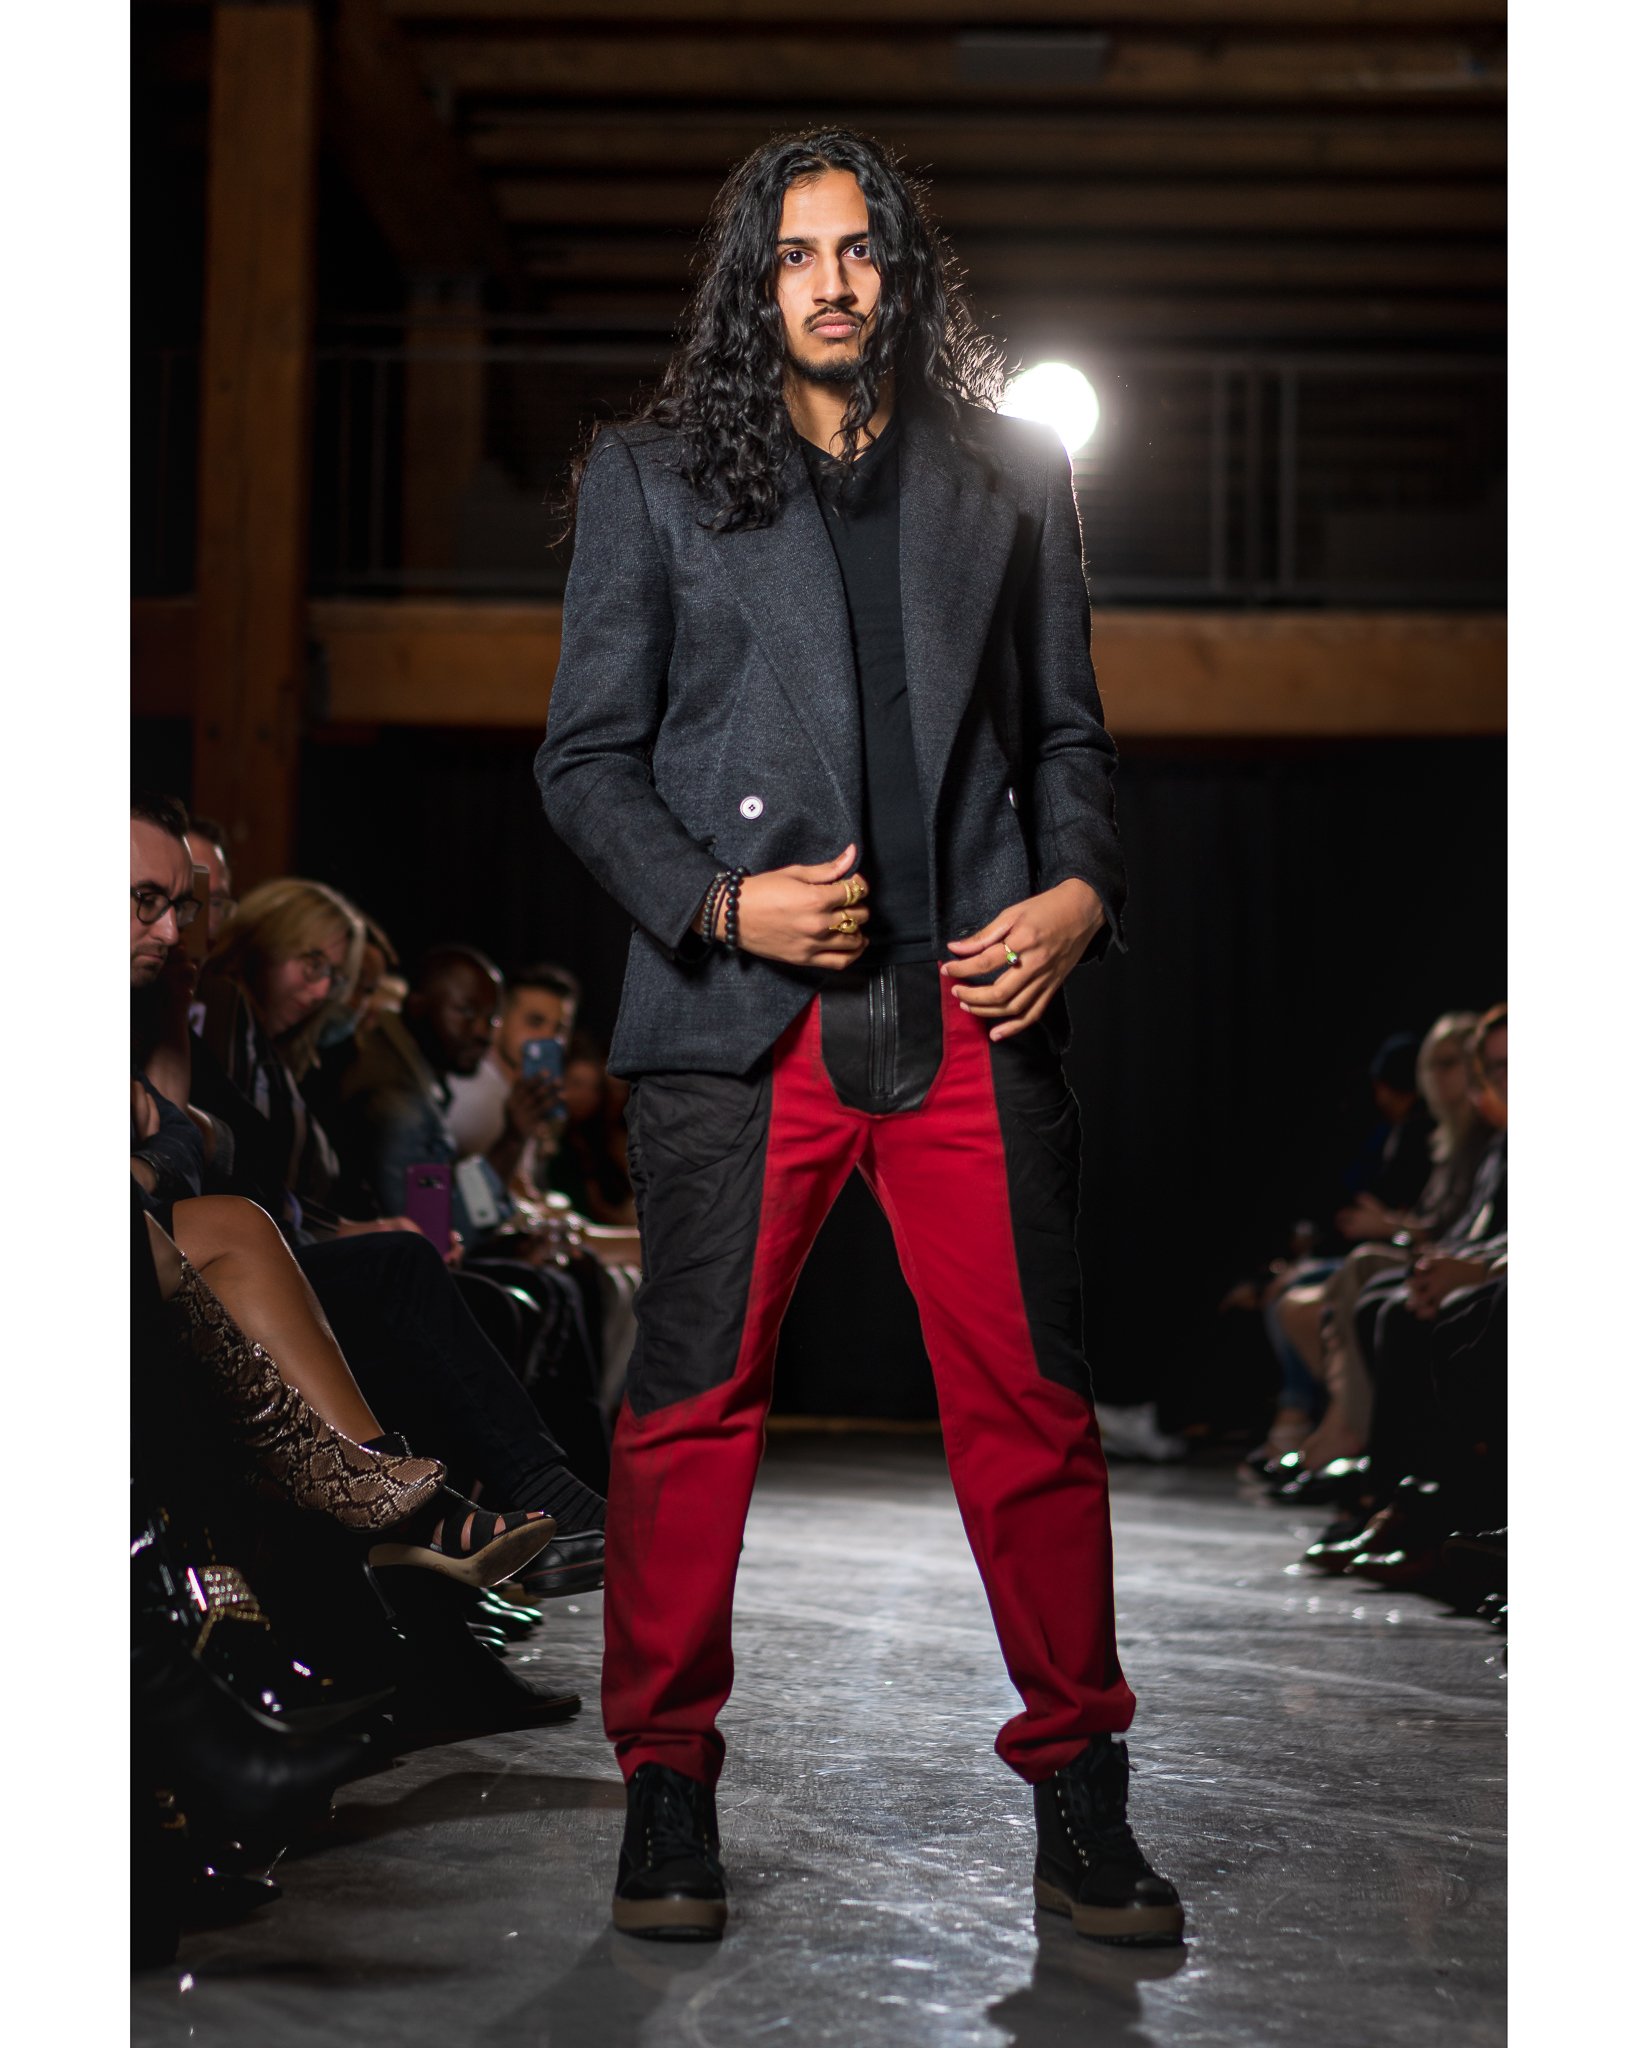
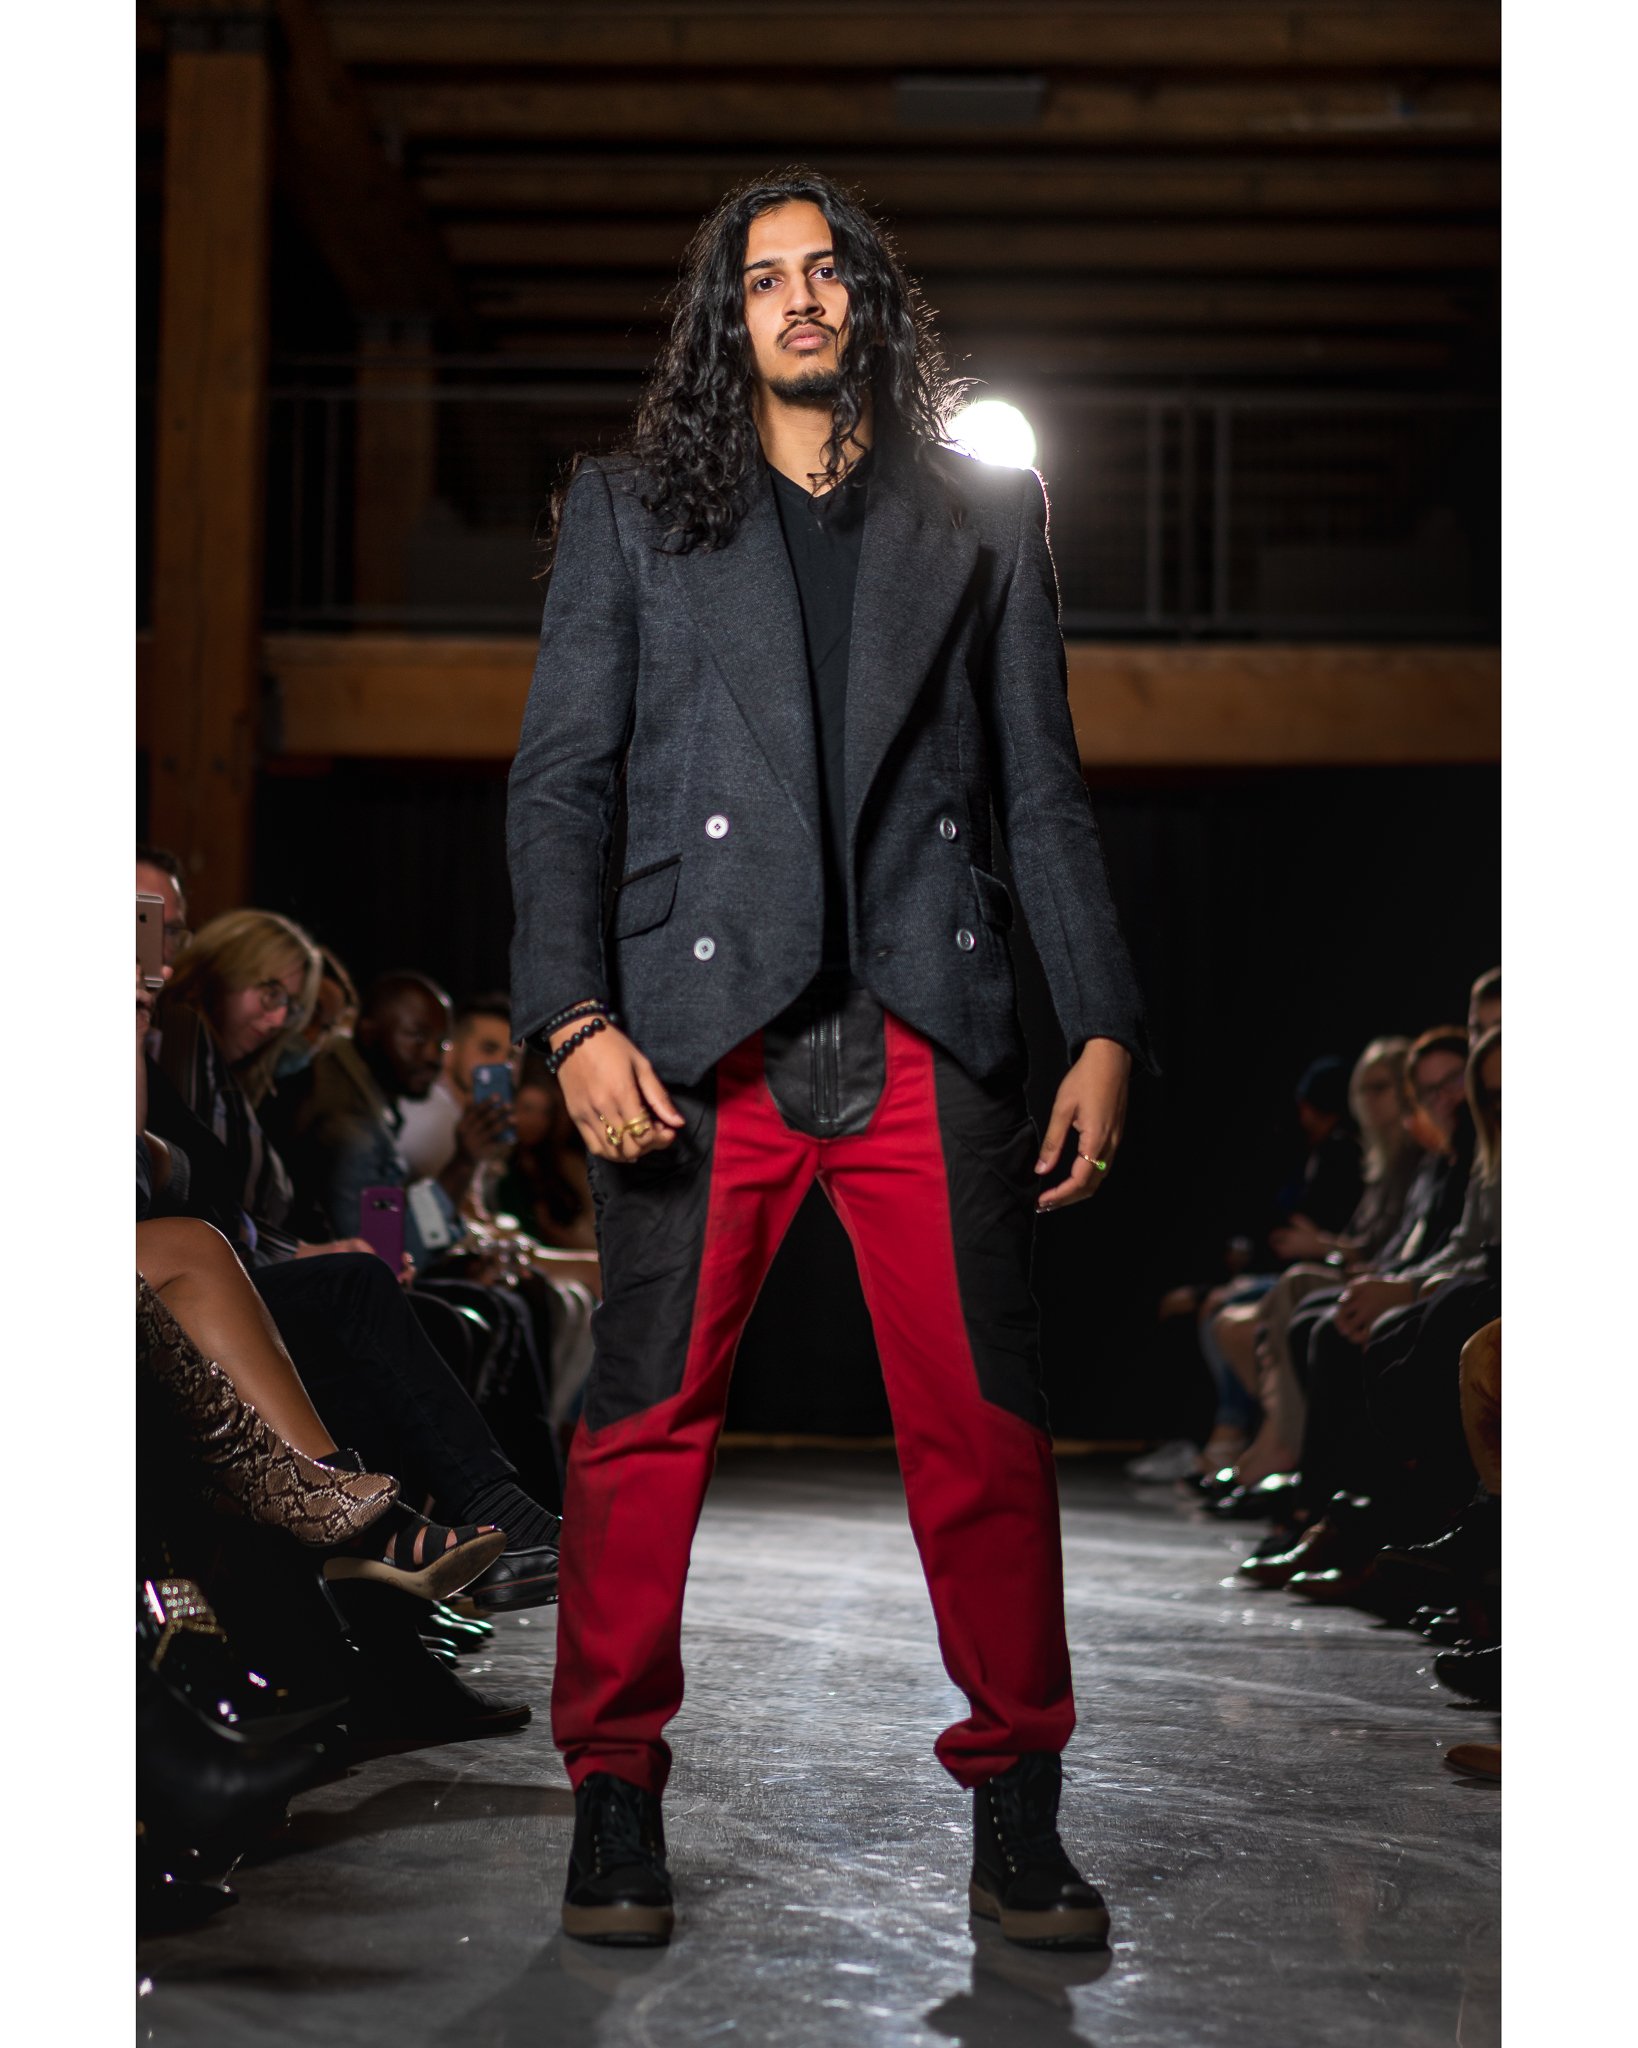
Studio Photography by William Mazdra | Runway Photography by Ed Sochacki